
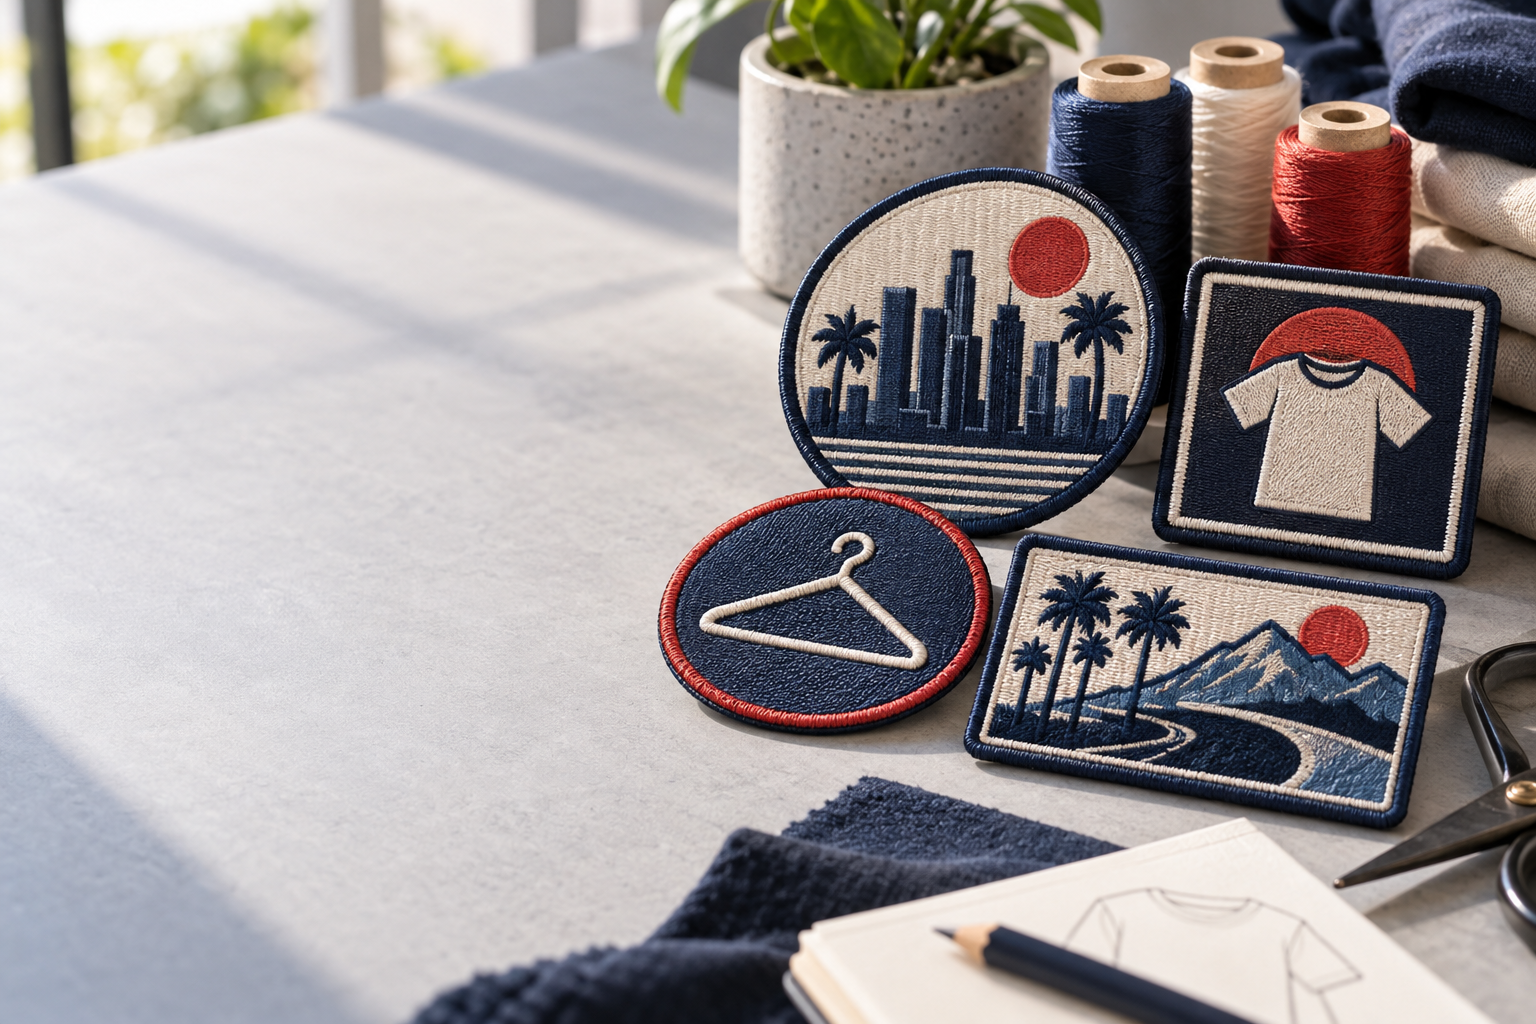
To order custom woven patches Los Angeles apparel startups can use on a first drop, submit your logo, finished size, quantity, garment fabric, and delivery ZIP code online. GetUSAPatches has a 10-piece minimum and provides a free digital mockup before production. We produce only after approval and ship from Corona, CA, to all 50 states.
The useful question is not just what a patch costs. It is whether that patch will read on a curved cap, sit cleanly on a hospitality polo, and stay attached to the jacket your customer actually washes. Across the United States, a small apparel run benefits from the same discipline as a high-school team order or a public-safety uniform program: settle the garment and construction before approving the artwork.
Ordering custom woven patches Los Angeles brands can put into production
A woven patch forms the artwork within a woven textile structure rather than building the design with embroidery stitches over a base fabric. That construction is useful for compact lettering, narrow outlines, and detailed logos that need a relatively flat surface. It still has physical limits; a dense block of tiny text does not become readable just because the order says woven.
For an apparel startup, the best starting point is one garment, one placement, and one clearly defined design. A 2.5-inch cap patch and a 4-inch jacket crest may share a logo, but they should not automatically share the same artwork layout. Readability and attachment both change with the placement.
- Identify the garment: a cotton twill cap, polyester polo, denim jacket, nylon shell, or another specific blank.
- State finished width and height in inches, including the outside border.
- Give the total quantity and identify every design, size, or color variation.
- Specify sew-on, iron-on, or hook-and-loop backing, or ask for a recommendation based on the garment.
- Provide the delivery ZIP code and the date you need patches in hand, not just the launch date.
- Name the person who can approve the artwork and authorize any design changes.
Put those details in one brief instead of spreading them across several messages. The woven patches hub is the relevant starting point for this construction, but the quote should explain the actual application. A patch for a washable work polo needs a different attachment conversation than a removable patch for a gear bag.
Prepare artwork that works at patch size
Send vector artwork when you have it, with fonts outlined or accompanied by an accurate reference. A clear PNG or JPG can also start the discussion, but a screenshot taken from a social profile often hides the very details that need review. The Artwork File Guide for Custom Patches explains the differences without making file preparation more complicated than it needs to be.
Print the logo at its proposed finished size and look at it from a normal viewing distance. If the founding date looks like a gray line on paper, weaving will not rescue it automatically. Remove secondary wording, enlarge the mark, or quote a larger patch before sacrificing the main brand name.
Protect the main mark before the decorative details
A useful order of priority is the brand name, the recognizable symbol, and then the supporting text. Fine hatching, distressed specks, narrow gaps, and tiny registration marks are usually the first elements to question. Ask which details can be retained at the requested size rather than assuming every line in the source file will survive unchanged.
There is no single minimum letter height that applies to every woven design. Font shape, contrast, surrounding detail, and production setup all matter. A simple uppercase word can remain clear where a script word of the same height becomes difficult to separate.
Treat screen color as a reference, not a physical sample
Provide brand color references and identify which colors are critical. A digital mockup communicates layout and color intent, but screens do not reproduce the texture and light reflection of thread. For a color-sensitive launch, ask what physical sample or color-reference options are available and how they affect the quote and schedule.
The same caution applies to black-on-black logos. The design may depend on material contrast rather than a visible color difference, which a flat digital image cannot fully show. The thread color matching guide is useful preparation before approving a tonal design.
Set dimensions and borders around the garment
Measure the blank itself, not a product photo. A cap front has usable space between seams, a polo has stretch and drape, and a jacket chest may have a pocket exactly where the logo looks best on a drawing. The Custom Patch Size Guide can help narrow the options, but your garment measurements should decide the final dimensions.
As a planning example, compare a 2.5-inch-wide patch and a 3-inch-wide patch on the same cap before ordering. Tape paper versions in place and check the cap while someone wears it. These are comparison sizes, not universal recommendations; a low-profile cap may have much less usable height than a structured trucker cap.
A border changes more than the outline
A merrowed border gives many simple shapes a raised, wrapped edge. Merrowed crests look appropriate on traditional club jackets, but that extra edge can feel bulky on a lightweight shirt. A cut edge can follow more detailed contours and keep the outline slimmer, subject to the design and available construction.
Discuss sharp points, narrow necks, and tight inside corners before committing to a shape. A complicated silhouette may look distinctive on a screen but create awkward sewing access or vulnerable projections on the garment. The border comparison guide explains why the outline belongs in the specification, not in a last-minute note.
- Measure the complete patch, including its outer border, rather than the artwork alone.
- Leave enough room between important artwork and the planned attachment stitch line.
- Keep the patch clear of pocket openings and zipper paths unless the garment construction is specifically planned around it.
- Check the reverse side of the placement so attachment does not unintentionally close a pocket or catch a lining.
- Test broad patches against curved surfaces before using the same size across caps and flat jacket panels.
Compare woven, embroidered, and printed before choosing
Woven is a strong candidate for a detailed textile logo, but it is not the right answer to every apparel brief. On a letterman jacket, raised embroidery or chenille may deliver the traditional appearance the buyer expects. On a small patch with photographic artwork, printed is flatter; that is the point.
| Construction | Best starting use | Surface and detail | Main trade-off | Garment check |
|---|---|---|---|---|
| Woven | Compact brand marks, detailed crests, and small lettering | Relatively flat textile surface with fine woven detail | Less raised texture than embroidery; very small text still needs review | Confirm border bulk and attachment on lightweight polos or curved caps |
| Embroidered | Bold logos, school crests, and traditional uniform patches | Visible thread direction and raised stitched texture | Dense detail and small lettering may need simplification | Check weight and stiffness on thin or stretchy garments |
| Printed | Photographs, gradients, and artwork with many tonal changes | Flat printed image rather than a thread-built design | Does not provide the same thread texture as woven or embroidery | Confirm the printed construction and its garment care requirements |
| PVC | Molded badges for caps, bags, and some removable gear patches | Molded surface with possible raised and recessed areas | Different appearance and flexibility from textile patches | Confirm thickness, sewing provisions, and compatibility with the placement |
| Chenille | Large varsity letters and traditional letterman styling | Soft pile with a visibly bulky texture | Not a substitute for a compact fine-detail woven mark | Allow enough garment area and support for the larger patch |
Compare embroidered patches against woven if the logo is bold and texture matters more than fine detail. Compare printed patches if removing gradients would damage the artwork. For a school-inspired jacket, chenille patches deserve a separate look rather than forcing a varsity design into a small woven format.
Do not choose by material name alone. The finished dimensions, border, backing, and garment placement can change the result more than the category label suggests. A useful quote explains why the proposed construction fits your design and identifies what must change if you switch.
Choose backing for the fabric and attachment method
Backing is part of the garment plan, not an accessory to select after artwork approval. A patch intended for a sewing contractor needs different instructions from one packed loose for customers to apply at home. The patch backing guide is a useful reference, especially if your first run includes several blank styles.
Sew-on for controlled garment assembly
Sew-on is often the practical starting point for denim jackets, work shirts, wool coaches' jackets, and biker vests. It avoids relying on heat-activated adhesive alone, although needle holes, lining access, and puckering still need attention. On thin polos, have the decorator check support and stitch tension before attaching the whole batch.
Iron-on only after a compatibility check
Iron-on can be useful on suitable fabrics, but the patch instructions and garment care label both matter. Nylon shells, waterproof coatings, and heat-sensitive synthetics require special caution because a press can damage the fabric or its finish. Sewing is not automatically harmless on coated outerwear either; needle holes may affect water resistance.
An iron-on that peels after a dryer cycle is often an attachment or care problem, not a reason to order thicker artwork. Inadequate pressure, unsuitable fabric, incomplete bonding, or incompatible laundering can all contribute. Follow the specified process and test a representative garment; the iron-on application guide is a starting reference, not a substitute for product-specific instructions.
Hook-and-loop for removable patches
For Velcro panels on bags, jackets, or gear, specify hook backing and confirm whether the mating loop panel is already on the garment. Do not assume both sides are included in a quote. Hook-and-loop adds thickness, so check the finished feel before putting it on a light polo or an unstructured cap.
Compare quotes using total decorated-garment cost
A low patch unit price can hide an expensive garment assembly problem. If a complicated contour takes longer to sew, or patches must be forwarded to another contractor, the savings may disappear. Compare the cost of getting an approved patch onto a sellable garment, not just the number beside quantity.
The quote should identify the requested size, quantity, construction, border, backing, and delivery destination. Ask how artwork revisions, optional physical samples, shipping, and taxes are handled rather than assuming every item is included. The custom patch cost guide explains the main price drivers without replacing a design-specific quote.
- Patch production: compare the same finished dimensions and construction across quotes.
- Quantity: request pricing for realistic reorder levels, not only a large quantity you cannot use.
- Variations: identify separate logos, size changes, and colorways so the quote covers the actual assortment.
- Attachment: obtain a separate sewing or pressing price if garment decoration is not included.
- Delivery: distinguish patch shipping from forwarding costs and shipping finished apparel to customers.
- Testing and reserves: budget for a garment test and a few replacement patches if the launch plan calls for them.
An example budget is not a price promise
Suppose your internal budget allows $240 for patches and inbound shipping on a 60-garment drop, plus $120 for local sewing. That is a hypothetical $6 per garment for those two categories before taxes, blanks, packaging, rejects, or outbound fulfillment. It is not a GetUSAPatches quote; it is a way to see whether the decoration fits your retail margin.
GetUSAPatches has a 10-piece minimum, which gives small projects a starting quantity without requiring a large launch. Ask how that minimum applies to the specific designs and variations in your request; ten assorted designs should not be assumed equivalent to ten copies of one design. A larger run may reduce unit cost, but excess inventory still uses cash.
For useful price comparisons, request the same specification at quantities you could genuinely purchase. A startup might compare 25, 50, and 100 pieces after confirming demand and attachment capacity. The bulk ordering guide helps separate production savings from inventory risk.
Place the online order and build an honest delivery schedule
The online ordering sequence starts with a complete brief and ends with a checked garment, not an uploaded logo. The six steps below match the preparation process for this guide. Assembling the brief may take about 25 minutes if your files and measurements are ready; proof review, revisions, manufacturing, and shipping are separate.
- Measure the garment placement. Measure the usable area on the actual cap, polo, jacket, or vest. Record finished patch width and height in inches, including the border, and note nearby seams, pockets, zippers, or curved panels.
- Prepare the artwork. Attach vector artwork if available, or the clearest original image you have. Include exact wording, color references, and any details that cannot change; flag small lettering so its readability can be checked at finished size.
- Specify construction and quantity. Request woven construction and name the border and backing you want considered. State the garment fabric, quantity, and any design variations; GetUSAPatches has a 10-piece minimum, and variations should be reviewed in the quote.
- Submit the delivery requirements. Provide the delivery ZIP code, required arrival date, and whether patches go to you or a garment decorator. Ask for an itemized quote that identifies production timing, shipping, attachment exclusions, and any optional sample costs.
- Review and approve the mockup. Check the free digital mockup against your written specifications, including spelling, dimensions, colors, border, and backing notes. Request corrections before approving the final version; GetUSAPatches produces only after approval.
- Receive and test before the full garment run. Count the patches and compare them with the approved specifications. Have the decorator attach one to a representative garment and evaluate placement, puckering, adhesion where applicable, and care compatibility before decorating the entire run.
Approval is a production checkpoint
Assign one person to collect feedback and return a single set of revisions. Conflicting comments from a founder, designer, and decorator can leave the wrong file looking like the final version. Check the design version, wording, dimensions, color notes, border, and backing together before approving.
GetUSAPatches provides a free digital mockup before production and produces only after approval. A digital mockup is not a physical sample and does not establish exact texture, drape, or attachment performance. If those qualities are critical, ask about sample availability, cost, and timing before approving the production plan.
Separate manufacturing, transit, and attachment
Ask for the current production estimate for your approved specification and confirm what starts that clock, including any payment requirements. Then allow for carrier transit, receiving checks, the decorator's queue, and finished-garment inspection. The production timeline guide explains why an artwork submission date is not the same as a production start date.
We ship from Corona, CA, to all 50 states, including Alaska and Hawaii. A Los Angeles destination does not eliminate production time, and a Southern California address is not a promise of same-day service. Confirm the shipping method and destination-specific estimate, especially if the order goes directly to a sewing contractor outside California.
Give us both the required patch arrival date and the apparel launch date. If timing is tight, ask what is feasible before advertising a ship date to your customers. An unapproved logo revision can consume the buffer you intended to reserve for garment finishing.
Inspect the shipment before decorating every blank
Open the shipment before the day your sewing contractor expects to start. Count pieces by design and compare several patches with the approved dimensions, wording, backing, and border notes. If something appears different, photograph it beside a ruler and reference the approved file when you ask for a review.
Inspecting one piece is not enough for a mixed order. Check each size and colorway, and separate any pieces you want reviewed rather than putting them straight into garment assembly. Once a patch is attached, replacing it can leave stitch marks or require extra labor.
- Confirm that wording and orientation match the approved artwork.
- Measure representative patches and compare them with the quoted specification and any agreed tolerances.
- Check edges for loose areas or irregularities that could affect attachment.
- Verify the backing and whether any requested mating hook-and-loop pieces are present.
- Review color under consistent lighting, using an agreed physical reference if one was part of the order.
- Record which patch version goes on each garment so the decorator does not mix similar designs.
Test the patch and garment as one product
Attach one patch to the actual blank using the intended production method. Check for puckering, stiffness, edge lift, and placement while the garment is worn, not just laid flat. For cap programs, confirm that the sewing equipment can reach the location without catching the sweatband or distorting the crown.
Where laundering applies, test according to compatible patch and garment care instructions before approving the whole apparel run. The patch washing and care guide covers material differences, while the sew-on guide helps frame attachment questions. One successful test reduces uncertainty; it is not a lifetime performance guarantee.
Apply the specification to real apparel runs
The same logo can need different patch specifications across a collection. A soft beanie folds, a cap crown curves, a polo stretches, and a lined jacket adds sewing-access problems. These examples are planning scenarios, not customer testimonials or claims about completed orders.
Streetwear caps and nylon outerwear
For a cotton twill cap, start with the usable panel area and simplify small supporting text before reducing the whole logo. For a nylon shell carrying the same mark, confirm the attachment method with the garment supplier and decorator before choosing adhesive. Review hat patch options separately if the cap needs a different size or construction from the jacket.
If the design depends on a sculpted surface rather than fine woven lines, compare PVC patches or 3D embroidered patches. The Los Angeles guide to PVC patches for hat brands offers another way to evaluate that choice. Changing materials should solve a design problem, not merely add another product variation.
Hospitality polos and public-safety garments
A lightweight hospitality polo needs a patch that does not pull the chest panel out of shape. A smaller, simpler woven design may be easier to balance, but the attachment test still decides the result. Repeated laundering also makes care instructions and replacement planning more important than how the mockup looks on day one.
For fire and public-safety units, use the approved emblem and obtain the organization's authorization before ordering. Do not modify protective clothing or assume a decorative patch meets any equipment requirement. The uniforms and workwear guide is useful for planning, but department and garment-manufacturer requirements control the application.
High-school teams, letterman jackets, and club vests
A high-school team may want small woven sponsor marks on travel jackets while keeping chenille letters on letterman jackets. That is a sensible split: each material has a different job. Do not force detailed sponsor lettering into pile texture or replace a traditional varsity letter with a flat patch unless that change is intentional.
For biker vests, confirm the complete layout, club-approved wording, and available back-panel area before quoting individual pieces. Large biker and motorcycle club patches bring different sewing and placement considerations than small woven chest marks. Check pockets, lining access, and existing patches so a new piece does not create an attachment conflict.
Save a repeatable specification for the next drop
After the first run, save the approved artwork, order reference, finished dimensions, border, backing, color notes, and attachment instructions in one folder. Keep a physical reference patch if possible. A reorder request that says only 'same as last time' is harder to verify if the garment, buyer, or decorator has changed.
Separate true reorders from revisions. A new cap blank, narrower patch, added city name, or changed backing deserves another specification check even if most of the logo stays the same. Record what worked during the garment test so the second run starts with useful production information instead of memory.
- For another local branding perspective, read Embroidered Patches for Small Businesses in Los Angeles: Design and Pricing Tips.
- For woven-specific cost questions, read How Much Do Custom Woven Patches Cost in New York? Prices and Minimums; request a current quote for your own destination and specification.
- For launch scheduling, keep Custom Patch Production Timeline: From Artwork to Delivery with your garment production checklist.
The first order should leave you with more than a box of patches. It should establish a specification your designer, patch supplier, and garment decorator can all follow. That is what makes the next apparel drop easier to quote and less likely to need rework.


