
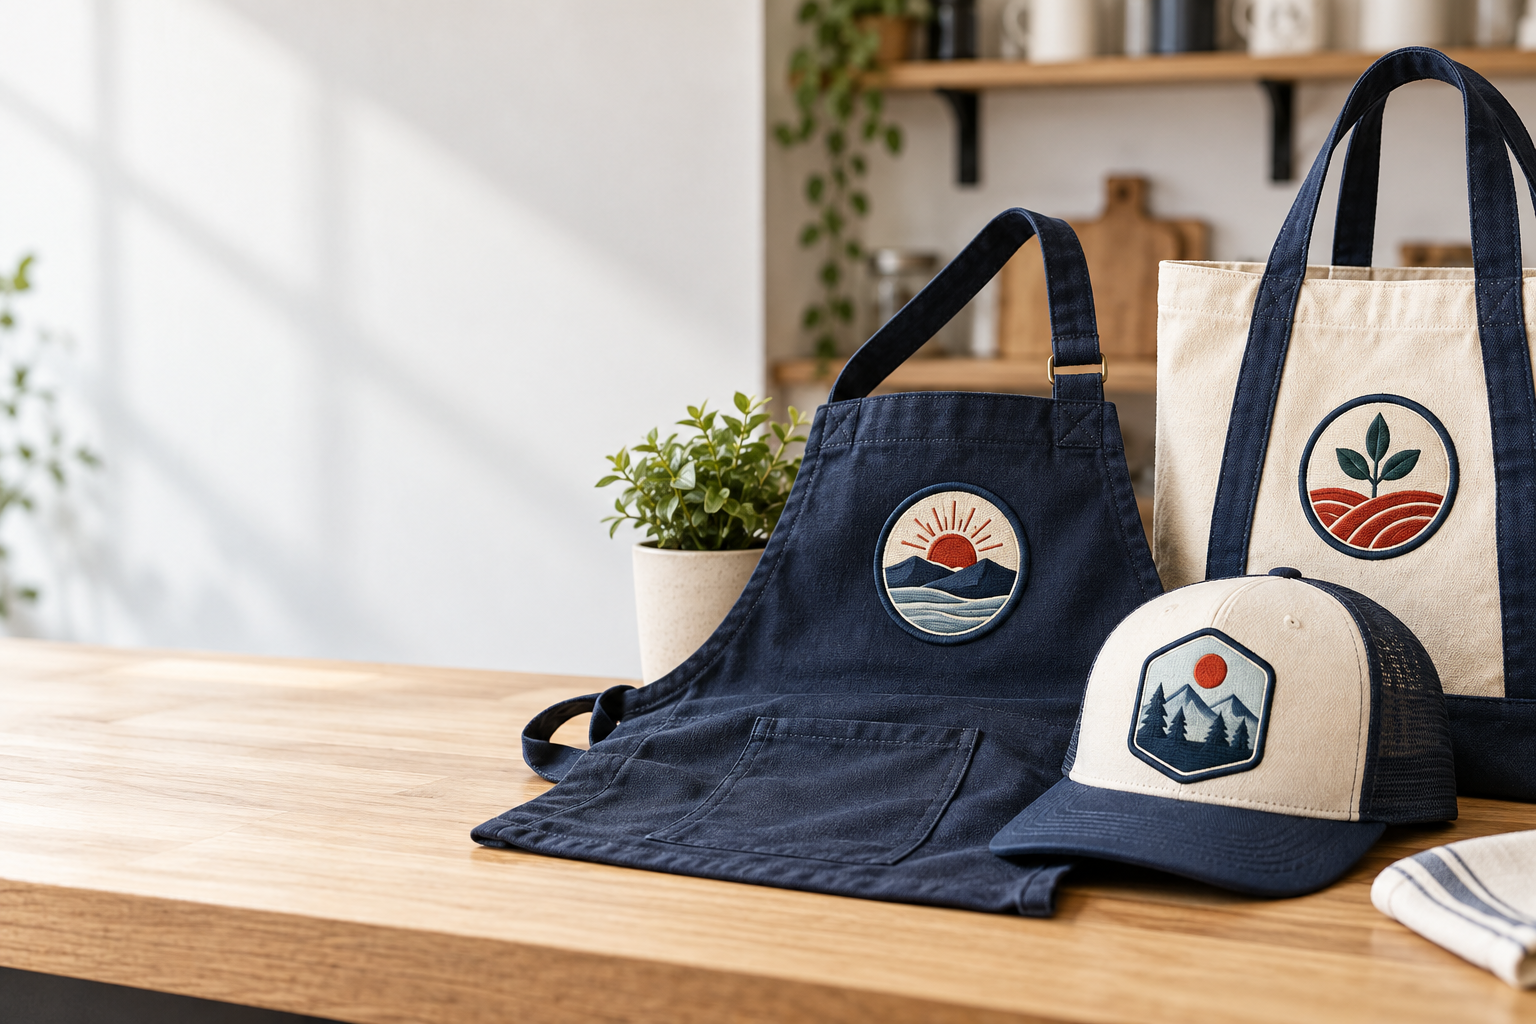
For custom embroidered patches Los Angeles businesses can wear daily, start with a readable logo, a measured placement, and backing that suits the garment. Price depends on finished size, quantity, stitch coverage, border, and backing—not simply the number of colors in the artwork. GetUSAPatches has a 10-piece minimum and provides a free digital mockup before production.
We produce only after approval and ship from Corona, CA, to all 50 states in the United States. On the production desk, a café apron, a high-school warm-up jacket, and a biker vest are three different quoting jobs, even if each needs a 3-inch crest. The useful question is not just what the patch costs; it is what will stay readable, attach correctly, and survive the way that garment gets used.
Custom Embroidered Patches for Los Angeles Businesses: Start With the Job
A patch for staff identification has a different job from a patch sold at the register. Staff need a name or logo people can recognize across a counter, while merchandise may need enough visual interest to justify the purchase. Decide which job comes first before packing every brand detail into the design.
For an independent coffee shop, a compact wordmark on a canvas apron often makes more sense than a miniature version of the storefront sign. An HVAC crew may need a clear chest emblem on work shirts plus a larger mark on jackets. A clothing label selling caps might prioritize the patch silhouette because shoppers see the cap before they read the wording.
- Hospitality uniforms: prioritize readable branding, comfortable placement, and attachment that suits frequent washing.
- Service and trade crews: check pockets, high-visibility areas, outerwear layers, and the actual uniform care process.
- Retail merchandise: consider how the patch looks on a shelf, on a person, and in product photos without relying on tiny text.
- Teams and clubs: establish one consistent master design, then identify any separate names, roles, years, or size versions.
Keep the first order focused. One approved design on a well-chosen garment is easier to evaluate than five versions spread across unrelated blanks. The small-business branding guide is useful for choosing placements before you start comparing production specifications.
Measure the Garment Before Choosing the Patch Size
Patch size means the finished outside dimensions, including the border. A 3-inch-wide patch does not provide 3 inches of uninterrupted artwork space, and a circular crest loses usable width near its top and bottom. Specify width and height instead of sending only a diagonal measurement.
For an initial paper test, try a 3-inch-wide by 2-inch-high rectangle on an apron bib or work-shirt chest. On a cap, a 2.5-inch-wide by 1.5-inch-high template can help you judge available space, but the crown shape and sewing access still decide the fit. These are starting templates, not universal production limits.
Paper reveals placement problems faster than a screen
Cut out the proposed shape and hold it on the actual garment while someone wears it. A patch that looks balanced on a flat polo can tilt across the chest or crowd the placket once the shirt is on a person. Photograph the template straight on, then check it from a few feet away.
Cap center seams deserve attention, especially on structured six-panel caps. Sewing through a finished cap requires suitable equipment and access, and a patch can bridge the crown unevenly if its size or stiffness is wrong. Start with hat patches and the patch size guide if one logo needs both a cap version and a jacket version.
- Keep the patch clear of buttons, zippers, pocket openings, and garment labels that need to remain visible.
- Check the lining before specifying a jacket placement; an installer may need access between layers.
- Measure existing Velcro panels instead of assuming a standard tactical patch size will fit.
- Treat a larger back patch as a separate layout if the chest version leaves too much empty space when enlarged.
Design for Thread, Not Just for a Logo File
Embroidery translates artwork into stitches, and thread has physical width. Narrow gaps can close, delicate outlines can get heavy, and tightly spaced lettering can become one connected shape. A design that looks sharp at 800% zoom may be the wrong design for a 2.5-inch patch.
Keep the important lettering and simplify the rest
Use the business name as the main read, then ask whether the neighborhood, establishment date, and slogan all need to remain. As an artwork starting point, aim around 0.25 inch or taller for important lettering, while recognizing that font, thread, and construction affect the actual limit. Final stitchability needs artwork review; one minimum letter height cannot cover every font.
A bold block name generally survives reduction better than a thin script with tight loops. If the logo depends on tiny wording, woven patches may keep more detail without increasing the overall size. That is usually a better conversation than promising embroidery can reproduce every line unchanged.
Use contrast and coverage deliberately
Light thread on a dark field often reads well, but color names alone do not establish contrast. Two different brand colors can still look similar from a distance, especially in dim restaurant lighting. Ask to see the main lettering against the proposed background rather than judging separate color swatches.
Full embroidery coverage creates a heavily stitched face; partial coverage lets areas of the base fabric remain visible. More stitching is not automatically better, and greater coverage can affect cost, stiffness, and the look of the background. A clean twill field with a strong embroidered name may be exactly right for a uniform.
Give us brand color references, but remember that a glowing monitor is not thread. Thread sheen, stitch direction, and room lighting can change the apparent shade, so a digital mockup is a layout and specification reference rather than a physical color sample. The thread color matching guide explains what information helps narrow the match.
Choose the Patch Construction, Border, and Backing Together
Standard embroidered patches suit bold lettering, simple illustrations, and the raised texture people expect on workwear and club crests. They are not the answer to every logo. Printed is flatter; that is the point when the artwork depends on gradients, photographs, or fine color transitions.
Use the table as a construction shortlist, not a universal price ranking. Size, quantity, finish, and artwork can move the quote in different directions. Comparing identical artwork at the same dimensions gives you a more useful answer than assuming one material is always less expensive.
| Construction | Good small-business use | Main advantage | Trade-off to check |
|---|---|---|---|
| Standard embroidery | Apron logos, work-shirt crests, club jackets | Visible thread texture with a familiar uniform appearance | Small lettering and narrow spaces may need simplification |
| Woven | Detailed wordmarks and compact cap emblems | Finer woven detail with a lower-profile face | Less raised texture than standard embroidery |
| Printed | Illustrated merchandise and artwork with gradients | Reproduces visual detail without converting every element into thread | Flatter appearance; confirm material and care requirements |
| PVC | Removable marks on compatible gear panels | Molded relief and a face that is easy to wipe down | Different hand and appearance from a traditional cloth crest |
| Chenille | Large varsity letters and letterman-style merchandise | Soft pile and strong visual weight at larger sizes | Not the first choice for tiny lettering or intricate logos |
Borders affect the silhouette and the usable artwork area
Merrowed crests have a wrapped, raised edge that suits many circles, ovals, shields, and straightforward shapes. Intricate silhouettes and tight inward corners may need a cut edge instead, depending on the construction. Ask for the border treatment by name and check how much space it occupies around the lettering.
A narrow border can preserve artwork space, but it changes the visual finish. A thick border frames a simple badge nicely and may overwhelm a small cap patch. The border comparison guide helps explain that difference before the shape is approved.
Select attachment for the fabric and the wash routine
- Sew-on: a practical starting point for canvas aprons, denim jackets, and many washable uniforms, provided the installer can access the placement.
- Iron-on: requires compatible fabric and the correct application conditions. Do not assume a household iron or a quick press will suit every garment.
- Hook-and-loop: useful for removable identifiers when the garment has a correctly sized loop panel. Specify whether the quote needs the hook back only or the mating loop piece too.
- Specialty garments: coated nylon shells, stretch knits, lined jackets, and protective uniforms need garment-specific attachment review before production.
Iron-on that peels after a dryer cycle is often an application, fabric, or care mismatch rather than a reason to make the patch thicker. Nylon shells can be heat-sensitive, and needle holes can affect a shell's weather resistance, so neither heat nor sewing is an automatic answer. Review the garment instructions and the backing options guide before choosing.
What Drives Small-Business Patch Pricing?
A useful embroidered patch quote starts with a specification, not a guessed price range. Without dimensions, artwork, quantity, and backing, a per-piece number can leave out the very feature your garment needs. We would rather identify that feature before approval than let a low-looking estimate become a different order later.
Larger patches generally require more material and can require more stitching. Greater coverage and complex stitch work can also affect production effort, while border construction and backing add their own requirements. The final quote should reflect the actual combination rather than a single rule such as price per inch.
- Finished dimensions: include both width and height, the shape, and any separate size versions.
- Artwork and coverage: identify open fabric areas, dense fills, detailed lettering, and any raised embroidery request.
- Quantity: request comparable counts without changing the design or backing between options.
- Versions: disclose individual names, different business locations, alternate colors, or separate role titles.
- Delivery and extras: ask how shipping, applicable tax, setup or digitizing, samples, and garment attachment are treated.
Compare total usable cost, not just patch unit cost
For a planning example only, suppose a hypothetical 50-piece order totals $250 for patches, $20 for shipping, and $100 for installation, with applicable tax calculated separately. The planned cost is $370 before tax, or $7.40 for each installed patch. Those numbers are arithmetic examples, not GetUSAPatches pricing or an installation offer.
That calculation matters because a business usually needs finished uniforms, not a bag of unattached emblems. If a sewing shop charges separately, include that amount in the budget before approving a patch order. For a fuller cost checklist, use How Much Do Custom Patches Cost?.
Order the quantity you can actually use
A 10-piece minimum lets a small crew begin without buying a large inventory. Larger identical runs often spread preparation costs across more pieces, but a lower unit price does not save money if half the patches sit unused after a rebrand. Ask for 10-, 25-, and 50-piece comparisons when those counts fit your real needs.
Count garments rather than employees. Eight staff members with three aprons each already need 24 patches before you consider replacements, new hires, or merchandise. List spare patches as a deliberate quantity, not as an unexplained cushion.
Three Los Angeles Business Briefs and the Trade-Offs Behind Them
These are planning examples, not customer reviews or completed-order claims. They show how the same logo question changes once the garment and daily use are on the desk. Start with the closest situation, then adjust the measurements and care requirements to your own blanks.
A neighborhood café outfitting a small staff
For cotton canvas aprons, test a rectangular chest patch with the café name and one simple icon. Remove the street address if it forces the name too small, and consider sew-on attachment for repeated laundering. On a lightweight hospitality polo, the same densely stitched patch may feel stiff, so review weight and placement separately.
The economical choice may be one shared logo across several apron colors, rather than a different patch colorway for each shift. Keep enough contrast against all the garments and ask whether one thread palette can work throughout. The uniform and workwear guide covers the placement issues that tend to get missed.
A service company replacing mixed workwear
A plumbing or electrical crew may wear sturdy shirts in the morning and nylon shells when the weather changes. Do not give both garments the same attachment instruction without checking them. A sewn shirt crest can work well while the shell needs a garment-approved alternative or a different decoration location.
If names change more often than the company logo, keep those identifiers separate. A permanent company patch and a removable name area can make more operational sense than repeatedly replacing a large combined design. Confirm panel dimensions and both sides of the hook-and-loop system before ordering.
A small clothing brand selling caps and jackets
A cap design may need bold, compact artwork while the jacket version can carry secondary wording. If the brand wants raised lettering, compare 3D embroidered patches only after checking whether the letter strokes suit that construction. Fine script does not become more readable simply because it is raised.
For wool coaches' jackets or letterman jackets, a large varsity letter may belong in chenille patches rather than standard embroidery. For an illustrated retail patch with shading, compare printed patches instead. Choose the material for the artwork and garment, not because every item in the collection must use the same technique.
Prepare the Artwork and Approve a Specific Production Proof
A vector file is helpful because shapes and lettering can be inspected without pixel blur. A clear PNG or JPG can still be useful for review, but a screenshot of a screenshot leaves more room for interpretation. Send the best original artwork you have rather than spending hours trying to convert a poor image yourself.
The artwork file guide explains what different formats provide. Include the exact business name as typed text as well, especially if the logo file has small or stylized lettering. A file named final-logo-new-final does not tell the production team which slogan is current.
- Send the artwork and identify the details that must remain: spelling, logo shape, main colors, and required wording.
- State finished width and height in inches, then include a placement photo or the garment model if available.
- Specify quantity, embroidered construction, proposed border, and backing. List every separate design or size.
- Provide the delivery ZIP code and the date the patches must be in hand, not just the event date.
- Review the free digital mockup and written specification together. Resolve every mismatch before approving production.
What to inspect on the mockup
Read every letter, including punctuation and the year, before judging the overall appearance. Check the outside dimensions, edge style, background treatment, thread color references, and backing notes. If you need a hook back with a separate loop piece, that requirement should be written down rather than implied by the word Velcro.
A digital mockup is not a stitched sample and cannot prove the hand, exact thread sheen, or fit on every garment. If those physical details are critical, ask about sample options, cost, and timing before committing to the full run. GetUSAPatches produces only after approval, so the approved version needs to represent the order you actually want.
Ordering, Lead Time, and Shipping From Corona, CA
Split the schedule into artwork review, approval, production, shipping, and garment attachment. Those are separate stages, and a fast carrier service does not shorten the time needed to resolve unfinished artwork. Likewise, a completed patch order still needs installation time if a local shop is sewing it onto uniforms.
GetUSAPatches ships from Corona, CA, to all 50 states. Being near Los Angeles does not make same-day production, delivery, or pickup automatic; confirm the available service for the specific order. A shipping origin also should not be treated as proof of a particular country-of-origin claim, so ask directly if sourcing documentation is a purchasing requirement.
- Give an in-hand date and destination ZIP code at the quote stage, especially for openings, school events, and staff launches.
- Ask what production timing applies after final approval and how payment or specification changes affect the schedule.
- Confirm carrier service, shipping charges, and whether the estimated arrival leaves time for installation.
- Disclose Alaska, Hawaii, or other destination-specific delivery considerations instead of assuming one transit estimate applies nationwide.
- Build time for checking the shipment and fitting one garment before distributing the whole run.
A clean reorder may require less artwork discussion, but do not assume the previous price, availability, or schedule is unchanged. Reference the approved design and confirm quantity, size, border, colors, and backing again. The production timeline guide provides a useful framework for planning backward from the day your staff needs finished garments.
For school teams, club runs, and seasonal hospitality hiring, appoint one person to collect feedback and approve the proof. Conflicting edits from several people can consume more calendar time than a straightforward artwork revision. A single written approval keeps the production instruction clear.
Inspect, Attach, and Care for the Finished Patches
When the shipment arrives, compare the patches with the approved specification before distributing them to staff or an installer. Check the count, dimensions, spelling, color arrangement, border, and backing. Lay a few pieces side by side so an obvious mismatch is easier to spot.
Test the installation on one representative garment before treating the entire batch. A stitch line can catch a pocket shut, a dense patch can pull on a thin knit, and heat can mark a fabric that looked ordinary in a photo. Small installation checks are far less disruptive than correcting a full stack of uniforms.
Use attachment instructions that match the whole garment
For sewing, choose placement and access before starting; the sew-on guide covers the basic process. On biker vests, check pockets, lining, and the spacing of an existing club set before placing a new crest. A large back patch may require a different installer or machine setup than a small apron patch.
For iron-on, use the supplied application guidance and the garment's care restrictions rather than a universal temperature found online. The iron-on guide explains the preparation issues, but it does not override fabric limitations. Where heat is unsuitable, discuss another attachment method before risking the blank.
Fire and public-safety units may have agency rules for insignia and restrictions on modifying issued or protective garments. Get placement and attachment approval through the appropriate uniform contact before ordering. Decorative patches should not be represented as making a garment compliant or protective.
Plan care and reorders as part of the purchase
Follow the more restrictive care requirements of the garment and patch assembly, including any adhesive limitations. Removable patches can be taken off before washing when appropriate, and exposed hook backing should be kept from snagging nearby fabric. See the patch care guide for material-specific considerations.
Save the approved artwork, dimensions, color references, backing, and order information in one shared location. Keep a small set of replacement patches if staff turnover or uniform damage is predictable. The next order goes better when someone can send a complete specification instead of a faded phone photo of last year's jacket.


