
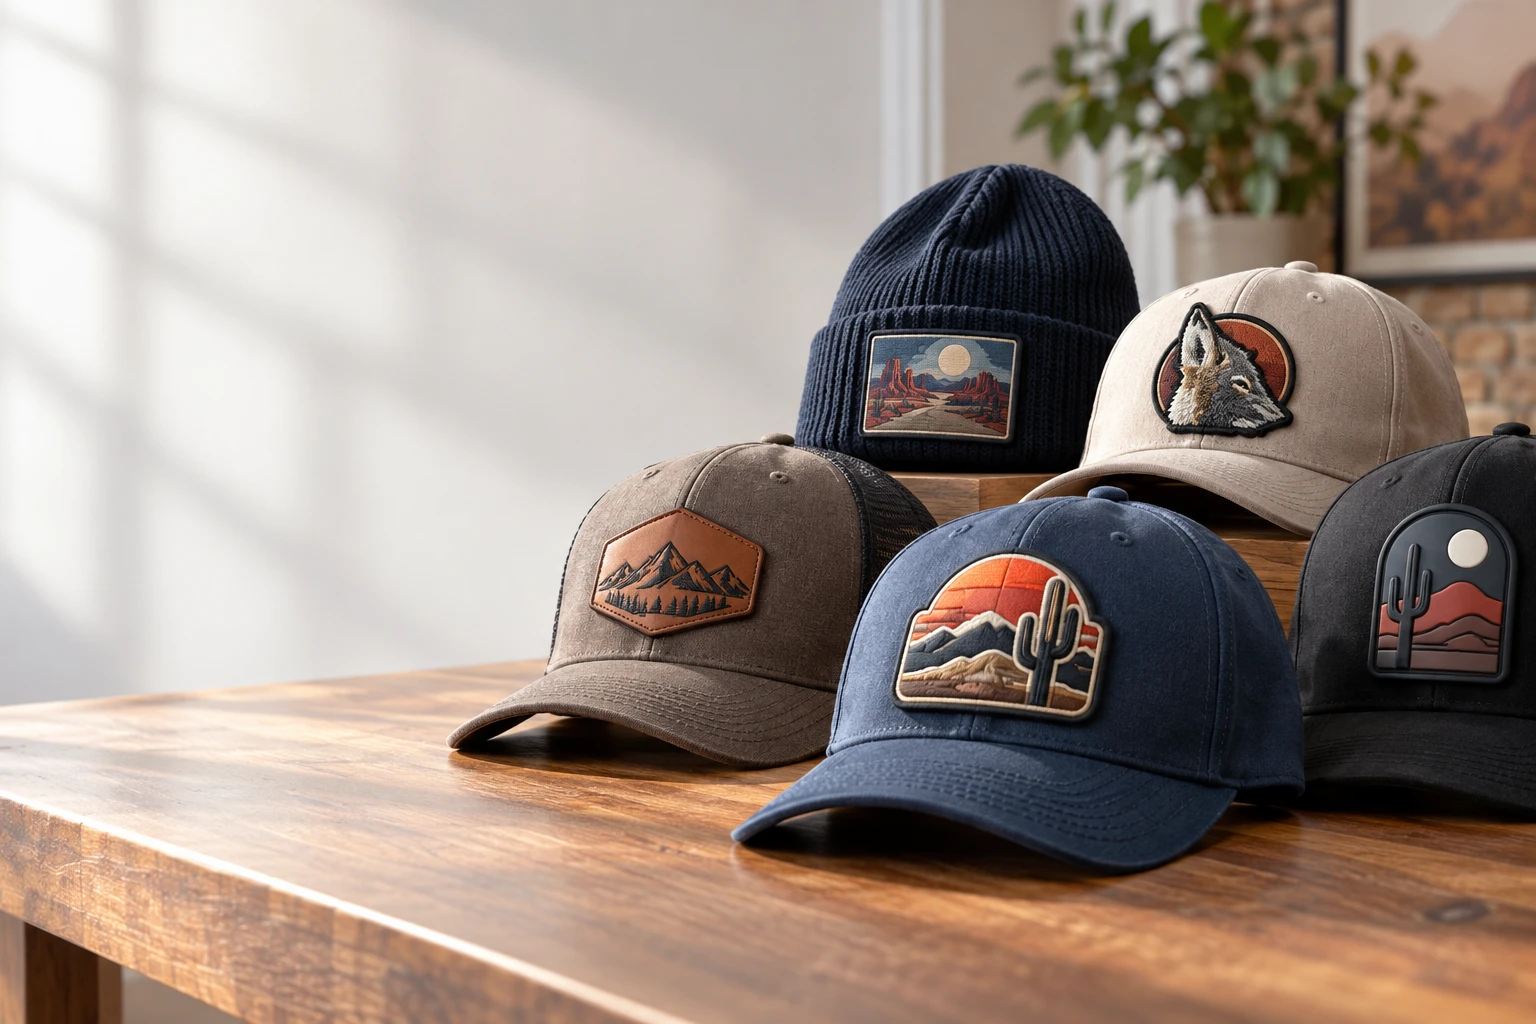
Phoenix hat brands choose 3D embroidered patches because raised thread makes a bold logo easier to recognize and gives a structured cap a distinct surface texture. The construction works especially well for block initials, short brand names, and simple symbols. It is less forgiving with tiny lettering, narrow gaps, or a soft crown that cannot support a substantial patch.
At GetUSAPatches, we start with the cap and artwork, not a promise that every design should be puffed. We serve customers throughout the United States with a 10-piece minimum, provide a free digital mockup before production, and produce only after approval. Orders ship from Corona, CA, to all 50 states, including Arizona.
What raised embroidery actually adds to a hat
A 3D embroidered patch uses raised embroidered areas to create depth above the patch surface. Foam-supported stitching is a common way to build that effect, but the construction should be confirmed for the specific design. The useful distinction is between a raised logo and ordinary embroidery that simply has dense thread coverage.
On a structured cotton-twill snapback, that depth creates small shadows around broad letters. A two-letter mark can stay visually strong without needing several extra colors or a busy background. That makes 3D embroidered patches worth considering for a hat line built around a recognizable wordmark.
A patch is not the same as direct-to-cap puff embroidery
Direct puff embroidery is stitched into the cap itself. A patch is made separately and then attached, so it has its own base, edge treatment, and attachment requirements. That separate construction can help a brand coordinate one emblem across several garments, provided the patch fits each garment and the correct backing is specified.
There is a trade-off. A patch adds an edge and another layer, while direct embroidery avoids that separate border. If the desired look is a bare raised monogram with no visible badge shape, discuss direct decoration with your cap decorator rather than assuming a rectangular patch will create the same result.
Phoenix is the delivery market, not a reason to ignore construction. Outdoor retail, tournament merchandise, and hospitality uniforms all have different wear patterns. Raised embroidery may suit the brand's visual style, but it does not make a cap cooler, waterproof, or immune to sunlight and abrasion.
Start with the crown: structured caps, truckers, and soft hats
The first production question is simple: what hat is this going on? A structured six-panel cap, a five-panel trucker, and an unstructured dad hat can all show the same logo very differently. A patch that looks balanced in a flat proof may dominate a low crown or pull a soft front into a stiff rectangle.
Structured twill caps are often a sensible starting point because their front panels already hold a shape. A five-panel trucker may offer an uninterrupted front, while a six-panel cap places a seam behind the center of the patch. Neither is automatically better; the actual seam thickness, panel shape, and attachment method matter.
- Structured cotton-twill snapback: usually a practical candidate for a bold badge, but check front curvature and clearance above the brim.
- Foam-front trucker: visually compatible with bold branding, but pressure and heat can mark or compress the front. Test the exact blank.
- Unstructured dad hat: a smaller or more flexible patch may sit better than a wide, heavily built emblem.
- Nylon performance cap: inspect heat sensitivity, coatings, and panel stretch before choosing adhesive application.
- Cap with an existing loop panel: match the usable panel dimensions and specify hook backing on the patch.
Do not use the blank's product photo as a measurement tool. Put a ruler on the actual crown and hold a paper outline against it. For example, a proposed 2.5-inch-wide by 1.5-inch-high badge is a starting layout to test—not a universal hat-patch size.
We ask the same garment-first questions on high-school sports runs, hospitality polos, and club jackets. A wool coach's jacket can support a different patch than a lightweight polo, and neither tells us how a cap front will behave. The hat patches hub is a useful place to compare formats before locking the artwork into one construction.
Build the artwork around what raised thread can reproduce
The strongest 3D designs usually have fewer competing parts. Think broad initials, a short block word, or one clear symbol, with supporting information stitched flat if it remains readable. Giving every line the same raised treatment often makes the patch harder to read rather than more impressive.
Keep narrow strokes and small counters under review
A counter is the open space inside a letter such as A, B, or R. Those spaces can close visually when thread builds around them, especially at small sizes. Thin scripts, distressed textures, and tightly packed outlines need close review because their screen appearance does not describe their stitched behavior.
There is no responsible universal minimum letter height for every font and every raised construction. Ask for the design to be reviewed at its final size in inches. If the solution requires thicker strokes, wider spacing, or a simplified letterform, make that decision before approving the proof.
Use flat details deliberately
Suppose a Phoenix coffee brand wants large initials above a small establishment date. Raise the initials and keep the date flat, or remove the date from the hat version if it will not read. A hat logo does not need to carry every detail from a menu, website header, or storefront sign.
Thread colors also need enough separation to hold the design together. Black raised lettering on a black base can create a restrained tonal look, but the brand should accept lower contrast. If recognition from across a counter matters, a contrasting base may do more useful work than additional embroidery height.
For detailed seals, long location names, or fine linework, compare woven patches before rebuilding the whole logo. For gradients and illustrated scenes, printed patches may preserve more of the artwork. Printed is flatter; that is the point.
3D embroidered patches Phoenix hat brands can compare by specification
Choose the patch type by the part of the artwork that cannot be sacrificed. If the essential feature is a chunky monogram with visible depth, raised embroidery belongs on the shortlist. If it is a detailed desert illustration with a small place name, another material may preserve the brand more accurately.
This comparison is about design fit, not a universal price ranking. Size, quantity, backing, edge construction, and application can change the finished cost. Compare quotes using the same dimensions and order count so one option does not appear less expensive simply because it covers a smaller area.
| Patch type | Best design use | Hat-specific trade-off | What to confirm |
|---|---|---|---|
| 3D embroidered | Bold initials, broad lettering, and simple raised symbols | Adds depth and bulk; narrow details and flexible crowns need extra review | Raised versus flat areas, finished dimensions, border, and attachment |
| Flat embroidered | Traditional badges, simple crests, and lettering with a stitched texture | Less raised than 3D; very fine artwork still has thread limitations | Text readability, background fabric, coverage, and border construction |
| Woven | Fine lettering and detailed linework that should remain thread-based | A flatter face does not create the same sculpted letter effect | Actual-size legibility, edge finish, and backing |
| Printed | Gradients, illustrations, and complex multicolor artwork | Preserves image detail without raised thread definition | Print method, base material, care instructions, and edge finish |
| PVC | Molded logos and badges intended for wipe-clean surfaces | Has a molded rather than textile feel; thickness and flexibility vary | Relief levels, thickness, attachment features, and weight |
| Leather or leather alternative | Simple marks with a restrained workwear or outdoor appearance | Material choice affects color, care, flexibility, and decoration results | Exact material, decoration method, thickness, and installation |
Specify the edge, not just the face
A merrowed edge gives many traditional crests a wrapped, rounded border. It can suit simple shapes, but tight corners and detailed outlines may need a different edge finish. Keep the raised centerpiece away from the attachment area so the installer has a workable perimeter rather than a crowded ridge.
The written specification should identify finished width and height, thread and base colors, raised elements, border style, backing, and quantity. A digital mockup communicates the proposed appearance; it is not a physical test of height, softness, or fit. If those properties decide the purchase, ask whether a physical sample is available and what it adds to cost and scheduling.
Choose backing for the installation, not just the order form
Backing is where an attractive patch can turn into an installation problem. The right choice depends on the hat fabric, the available equipment, and whether the emblem should be permanent or removable. Ordering loose patches and ordering decorated hats are different scopes of work, so put that distinction in writing.
Sew-on gives a mechanical attachment
Sew-on is often the practical starting point for permanent hat decoration because the attachment does not depend solely on adhesive. It still requires access around the crown and a suitable sewing setup. The installer should avoid catching the sweatband, distorting the front, or stitching through raised design areas that were not intended as an attachment path.
Iron-on needs compatible materials and controlled application
Iron-on can work where the adhesive, fabric, temperature, pressure, and dwell time are compatible. A household iron on a curved crown may not apply even pressure, and a cap press still needs a process suitable for the exact patch. Do not guess at a generic temperature or press directly onto a raised face without application guidance.
Iron-on that peels after a dryer cycle is not a mystery to solve with another random blast of heat. The original bond, wash conditions, garment finish, or adhesive compatibility may be wrong. Nylon shells and coated performance caps deserve particular caution because a heat treatment that bonds the patch may also damage the garment.
Hook-and-loop requires both sides of the connection
A hook-backed patch attaches to a compatible loop field; it does not attach itself to a plain twill cap. For hats with Velcro panels, specify the panel dimensions and confirm which mating components are included. For fire and public-safety units, also confirm the department's uniform requirements rather than treating a decorative patch as approved identification.
The Custom Woven Patches for Boutiques in Phoenix: Backing and Size Guide is useful if the project shifts toward a thinner emblem. The same basic question still applies: how will this particular patch attach to this particular garment?
Use the hat version of the brand—not every version at once
A patch family can share colors and lettering without using an identical construction on every item. That is often a better production decision than forcing one heavy badge onto caps, polos, and jackets. These are example briefs, not claims about named customers or completed projects.
- Phoenix streetwear drop: use a broad raised monogram on a structured snapback, then compare a flatter woven neck label or sleeve patch for lighter garments.
- High-school booster run: put a simplified team initial on caps and reserve the full mascot crest for a larger jacket location.
- Hospitality uniform program: keep the cap mark bold, but check whether a smaller flat emblem is more comfortable on a lightweight polo.
- Outdoor club merchandise: use a simple raised symbol for retail hats, and compare molded or removable patches where cleaning and equipment compatibility matter more than textile texture.
- Motorcycle club merchandise: distinguish the casual merchandise hat from official vest insignia, keeping approved artwork and placement requirements separate.
Letterman jackets can carry large chenille patches that would overwhelm a cap front. Biker vests can support broad back emblems and rocker arrangements with their own layout requirements. The biker and motorcycle club patches hub covers a different garment problem, even if the same club name appears on both orders.
A leather badge may be the better visual choice for a muted outdoor line, while PVC patches offer a molded surface rather than thread. Neither is automatically tougher in every installation. Attachment, material specification, exposure, and care still decide how the finished hat behaves.
For a closer comparison with leather styling, see Where to Order Custom Leather Patches in Phoenix, AZ: Buyer's Guide. Make the choice from the actual design and intended use, not from the assumption that the most dimensional patch must be the most suitable.
What changes the price of a 3D hat patch order?
There is no honest fixed dollar price for an unspecified custom patch. A small two-color monogram and a larger crest with raised lettering, flat details, and hook backing are different production jobs. The useful quote separates what you are buying and states the quantity, dimensions, and construction clearly.
Ask for the total in USD and check whether it includes artwork preparation or digitizing, backing, samples if requested, shipping, and any applicable tax. Also confirm whether installation is included or handled by your own decorator. A patch-only unit price is not the finished cost of a sellable hat.
- Finished size: larger patches can require more material and embroidery, and may create additional installation work.
- Artwork construction: raised areas, flat supporting details, and stitch planning affect how the design is produced.
- Shape and border: an uncomplicated badge outline is a different job from a detailed contour with narrow turns.
- Backing: sew-on, adhesive, and hook-and-loop constructions are not interchangeable quote lines.
- Quantity and versions: ask how pricing changes with the order count and how separate designs or colorways are treated.
- Application and shipping: include decorator charges, freight, and any testing or handling costs in the finished-hat budget.
For budgeting only, imagine a $9 blank, a $3 patch, and $2 of installation labor. That is $14 before shipping, tax, packaging, rejects, or other overhead; those numbers are arithmetic placeholders, not a GetUSAPatches price quote. The point is to compare finished costs rather than saving a small amount on a patch that takes much longer to attach.
GetUSAPatches has a 10-piece minimum. A smaller initial run can limit inventory exposure, but ask how quantities are counted across different artwork versions before assuming a mixed order qualifies. Keep the approved specification for future orders, while recognizing that new blanks or production lots may still require another fit and color check.
How to order and plan delivery to Phoenix
Send one complete brief rather than several partial messages that leave the backing or deadline unclear. The production schedule cannot be evaluated properly from a logo alone. We need to know what is being made, how many pieces are required, and when the order must be in your hands.
- Identify the garment. Provide the cap brand and model, fabric, front-panel construction, and photographs if available.
- Set a starting size. Give finished width and height in inches, and note any maximum space imposed by the crown or existing loop panel.
- Attach the best artwork available. Vector artwork is useful where available, but send what you have and identify any missing fonts or uncertain colors.
- Mark the intended raised areas. Separate the bold logo from small text that may need flat stitching, simplification, or removal.
- Choose the backing and application plan. State whether a local decorator will sew or press the patches onto the hats.
- Give the quantity, delivery ZIP code, and in-hand date. An event date without installation time is not a complete deadline.
- Review the free digital mockup and written details. Approve only after spelling, dimensions, colors, border, backing, and raised areas are correct.
GetUSAPatches produces only after approval. A requested revision is part of review, not permission to begin a different version, so make sure the final approval refers to the correct proof. A digital image can show the design plan, but it cannot certify exact thread color on every screen or reproduce the physical feel of a raised surface.
Separate approval, production, shipping, and installation
Do not treat delivery time as one undivided number. Artwork review takes time, production follows approval, and carrier transit follows dispatch. If a decorator still needs to attach the patches, that appointment comes after the shipment arrives and should have its own allowance.
Orders ship from Corona, CA, to all 50 states. Phoenix's proximity to Southern California does not establish a guaranteed arrival date; service level, dispatch timing, carrier conditions, and the destination address still matter. Ask for the current production estimate and shipping option for your exact order instead of borrowing a timeline from a different patch style.
For tournament weekends, staff launches, or market events, give the required in-hand date and explain whether it refers to loose patches or finished hats. The guide How Long Do Custom Embroidered Patches Take to Arrive in Phoenix, AZ? provides a useful place to continue the scheduling discussion. Keep a buffer for inspection and application rather than booking those jobs for the last available afternoon.
Inspect one finished hat before decorating the whole run
When the patches arrive, compare them with the approved specification before applying the entire order. Check quantity, dimensions, colors, border, backing, and the intended raised areas. Look for loose stitching, exposed support material where it should be covered, or an edge that will not sit properly on the chosen crown.
Then make one application test on the actual cap model. A successful attachment on scrap fabric does not reproduce the shape, seams, foam, or coatings of a finished hat. Check the inside too; a neat exterior is not enough if the installation catches the sweatband or creates an uncomfortable ridge.
- View the hat straight on and from both sides to check centering and edge lift.
- Inspect the raised lettering for crushing or distortion after application.
- Look for heat marks, flattened foam, fabric shine, or crown puckering.
- Confirm the patch clears the brim and does not interfere with an existing panel or seam.
- Evaluate care using the cap maker's instructions and the patch application guidance before releasing the full run.
Raised stitching can catch abrasion when hats are tightly stacked, rubbed against rough gear, or packed under heavy items. Store and ship finished hats without crushing the decorated front. Do not promise machine washing or tumble drying unless the complete cap-and-patch combination supports those instructions.
The best choice is the one that preserves the logo and works on the garment after installation. For a bold Phoenix hat line, that may be raised embroidery; for fine detail or a softer cap, it may be a flatter construction. Start with embroidered patches, compare the actual alternatives, and keep the final specification specific enough that the next person handling the order does not have to guess.


