
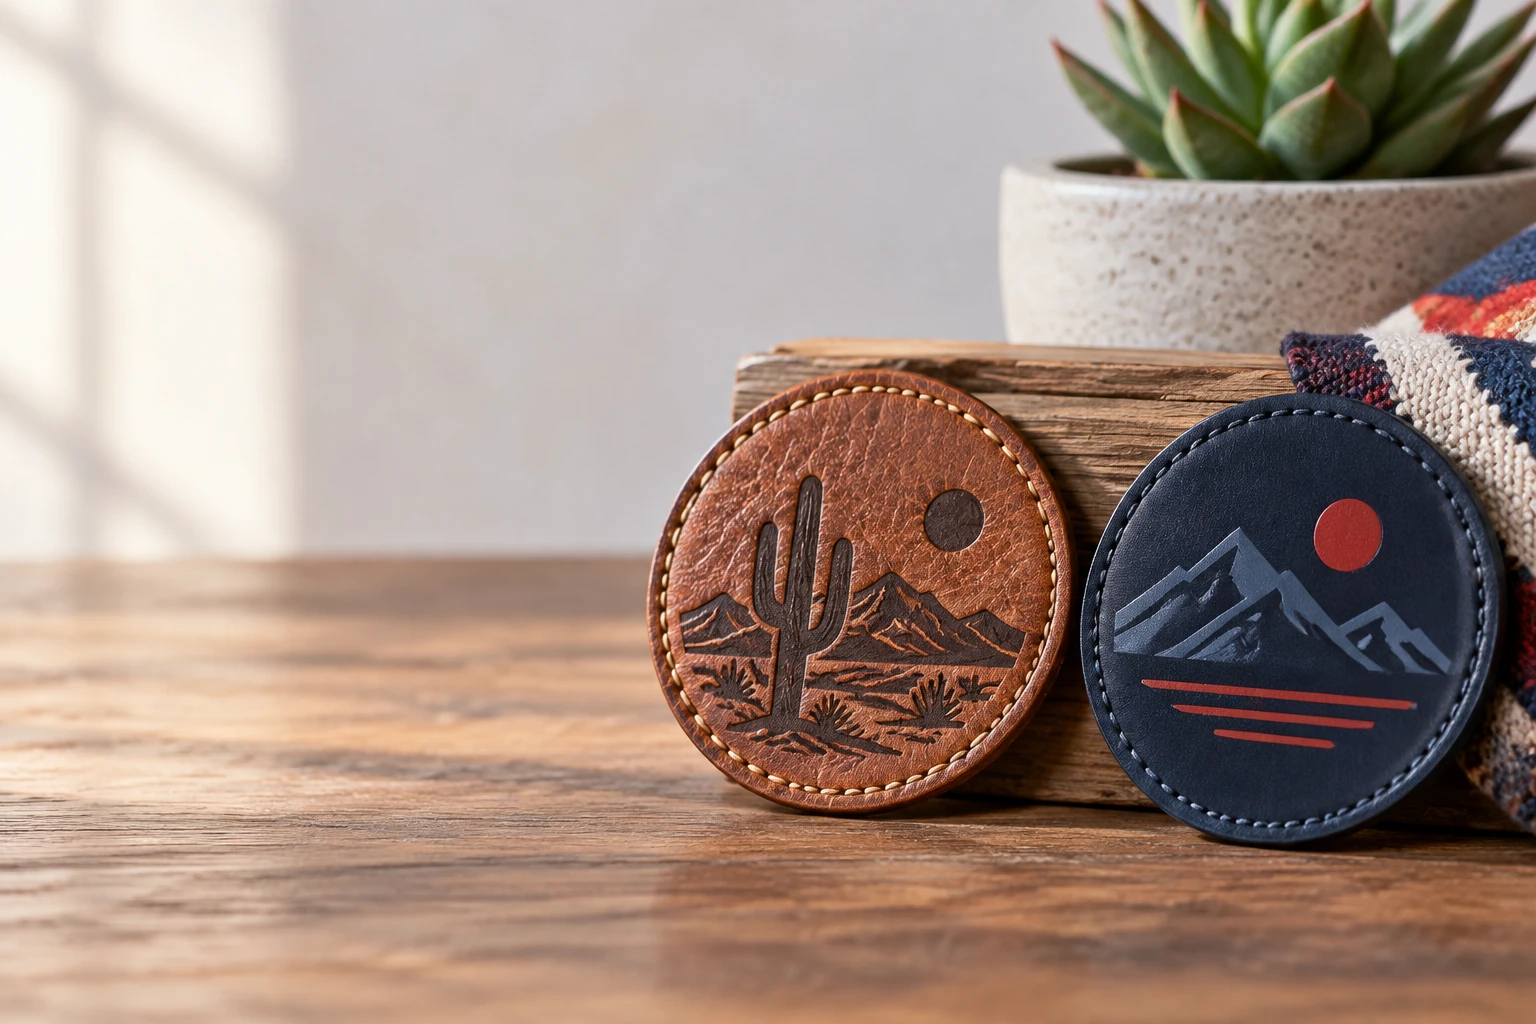
For custom leather patches Phoenix teams and businesses can order online, GetUSAPatches offers a 10-piece minimum and shipping from Corona, CA. You receive a free digital mockup before production, and we produce only after approval. We ship to Phoenix and all 50 states, so a local storefront is not required to place an order.
The better buying question is what arrives in the box: loose patches or decorated garments, which material, which backing, and what finished size. A leather badge that looks right on a structured trucker cap can be too stiff for a hospitality polo. Start with the garment and its care routine, then build the patch around those limits.
Where to order custom leather patches in Phoenix
Phoenix buyers generally have three routes: a local apparel decorator, a dedicated custom patch supplier, or a seller offering a fixed menu of designs and sizes. None is automatically the best choice. Compare who makes the specification clear, who handles attachment, and who takes responsibility if the delivered patch does not match the approved order.
A local decorator can be useful when you need someone to inspect a cap or sew patches onto finished garments. A dedicated patch supplier is worth comparing when you already have an installer or need the same loose patch sent to several locations. A fixed-menu seller may suit a simple name badge, but check whether custom shapes, artwork revisions, and repeat orders are supported.
What to establish before comparing suppliers
- Scope: Does the quote cover loose patches, blank garments, attachment labor, or a complete decorated order? Do not assume a hat shown in a mockup is included.
- Specification: Will the seller identify the material, finished dimensions, marking method, backing, and edge treatment in writing?
- Approval: Can you review the artwork before production, and what changes require a revised quote or schedule?
- Delivery: Where does the order ship from, what shipping service is quoted, and is the date an estimate or a confirmed commitment?
- Reorders: Can the supplier reference the approved specification later, and how are material substitutions or color differences handled?
GetUSAPatches is based in Corona, CA, and serves buyers throughout the United States. Our leather patches hub is the starting point for this material; use hat patches when the cap is the main constraint. A U.S. shipping address does not by itself establish manufacturing origin, so request origin information separately if your purchasing policy requires it.
Choose the material and finish before choosing the color
“Leather patch” is not a complete material specification. Ask whether the quoted patch is natural leather, a synthetic leather-look material, or another construction, and request the thickness and surface description. Those details affect flexibility, marking contrast, cleaning, and how the patch sits on a curved cap.
Natural leather versus leather-look materials
Natural leather can show grain and shade variation. That variation may suit a brewery hat, workwear label, or denim waist patch, but it can frustrate a buyer expecting every piece to look identical. Confirm the expected range rather than approving a single flat brown color on a screen.
Synthetic leather-look materials often provide a more uniform surface, although performance depends on the actual construction. Do not treat every synthetic option as washable, heat-safe, or suitable for laser processing. The supplier should identify the stock and use a marking method approved for that material.
Engraving, debossing, and readable contrast
Engraving changes the surface to create the design; debossing presses the design below the surrounding surface. They do not produce the same depth or contrast, and not every material supports both methods. Ask which treatment is included in the quote and whether tooling or setup changes the price.
A tan patch with a dark mark usually reads differently from a dark patch with a subtle impression. If the logo must be recognized across a counter or from the bleachers, prioritize contrast over tiny decorative detail. A tonal mark can look restrained up close and nearly disappear at a distance.
Leather is also not the right answer for every full-color logo. Printed patches can preserve color artwork without pretending to have the same material character; printed is flatter, and that is the point. For a traditional stitched crest, compare embroidered patches before forcing a multicolor seal into a single-tone leather treatment.
Size the patch on the actual hat, vest, or jacket
Quote the finished width and height in inches, not “medium” or “standard hat size.” A 2.5-inch-wide by 1.5-inch-high rectangle is a useful paper-test starting point for some adult caps, not a universal fit. Crown height, center seams, curvature, and the decoration area can all change the workable dimensions.
Print the outline at actual size and hold it against the garment while the garment is in its normal shape. A cap should be curved, not flattened on the desk. A sleeve should be checked with the arm bent, and a vest pocket should remain usable after the patch is attached.
Make small artwork earn its space
Small type is often the first thing that fails. The brewery name may survive reduction while the establishment date, neighborhood line, and fine border crowd into one dark area. Remove secondary wording or increase the patch size before asking production to rescue a design that is too dense.
- Send vector artwork when available, along with a readable preview. If only a screenshot exists, identify the lettering and details that must remain unchanged.
- Keep important letters and symbols away from the cut edge and the intended stitch path. Ask production to show the required clearance for the selected construction.
- Specify whether dimensions include the outer border. Finished size and artwork size are not interchangeable.
- For a cap with a center seam, ask the installer how that seam affects contact, stitching, and the appearance of the finished patch.
- Request review of narrow gaps, small counters inside letters, and fine lines at the actual finished size rather than only on an enlarged screen.
A 3-inch patch on a youth team cap can look very different from the same patch on an adult work jacket. High-school sports orders often mix several garment sizes, so check the smallest garment first. If fine lettering is essential, woven patches may be a better match than enlarging a leather badge beyond the panel.
Match the backing to the garment, not the other way around
Backing is where an attractive patch can become an expensive repair. Sew-on attachment gives a mechanical connection, but the needle path must work with the garment, lining, and patch thickness. Heat-applied attachment avoids some sewing operations, but only when the patch adhesive and garment tolerate the specified process.
Phoenix heat is a reason to check the material and adhesive service conditions, not proof that any backing will fail. A patch on a shaded indoor uniform has a different exposure from one left in a vehicle or worn through long outdoor shifts. Ask about intended use instead of accepting “strong adhesive” as a specification.
| Attachment | Useful application | Main trade-off | Confirm before approval |
|---|---|---|---|
| Sew-on | Denim jackets, many workwear pieces, and caps that an installer can access | Stitching is visible and makes needle holes; stiff patches can resist a curved surface | Patch thickness, stitch clearance, installer access, lining, and whether any holes are supplied |
| Heat-applied backing | Garments and cap panels approved for the specific adhesive and application process | The required heat or pressure can affect the garment or patch finish | Compatible fabric, temperature, time, pressure, cooling method, and a test application |
| Hook-and-loop backing | Removable identification on an existing compatible loop panel | Adds thickness and requires a matching receiving surface | Hook side, loop side if needed, panel dimensions, corners, and required flexibility |
| Pressure-sensitive adhesive | Temporary placement or applications specifically approved for the adhesive | Not a blanket substitute for permanent garment attachment or repeated laundering | Approved surface, expected service conditions, removal behavior, and whether sewing is still needed |
Watch nylon shells and finished caps
Nylon shells can be heat-sensitive, and coatings add another variable. Sewing may also puncture a weather-resistant layer, so neither method should be treated as automatic. Get the garment manufacturer's decoration guidance and have the installer test the proposed construction.
Iron-on that peels after a dryer cycle may point to poor bonding, incompatible materials, or care outside the approved limits. More heat is not a safe universal fix. A finished cap also needs equipment that applies suitable contact and pressure across its curve, not just a household iron pressed onto the middle.
For removable patches, measure existing Velcro panels corner to corner and confirm the hook-and-loop pairing. A patch that extends past the panel can snag or curl at the edge. The garment-fit questions in Custom Woven Patches for Boutiques in Phoenix: Backing and Size Guide also help when comparing attachment plans across materials.
What works for Phoenix teams, hospitality crews, and clubs
The same artwork should not automatically mean the same patch construction on every garment. A brand may need leather on retail hats, thread on employee polos, and a removable badge on equipment bags. Keep the identity consistent while allowing the material to change with the job.
Caps and hospitality uniforms
For a brewery or restaurant cap, a compact leather badge can carry the name without turning the entire crown into a stiff panel. Check structured truckers and unstructured cotton caps separately. A patch that holds its shape on the first may pull or flatten the second.
Hospitality polos deserve a harder look at laundering. A leather badge on a soft performance knit can feel heavy, and the patch may not tolerate the uniform's normal wash routine. A small embroidered or woven identifier may be the better daily-use choice, with leather reserved for caps or aprons whose care instructions support it.
High-school jackets and team merchandise
Letterman jackets already have a visual language: large chenille letters, stitched names, and merrowed crests. A small leather team badge can work as a secondary detail, but it is not a direct substitute for a raised varsity letter. Compare chenille patches when the goal is that familiar wool-and-pile texture.
For wool coaches' jackets, inspect the lining and ask how attachment will be handled without catching unwanted layers. For lightweight team warmups, check stretch and heat sensitivity instead. One decoration plan across both garments can create puckering on the warmup or awkward stitching through the lined jacket.
Biker vests and public-safety units
On biker vests, patch placement has to respect seams, pockets, existing rockers, and the club's approved arrangement. Needle holes in leather are difficult to hide after a patch moves. Compare biker and motorcycle club patches for large club artwork, and finalize position before installation.
Fire and public-safety units should separate casual merchandise from operational identification and protective garments. Do not assume a leather badge is suitable for turnout gear, exposure to heat, or a regulated uniform application. Follow agency and garment requirements; PVC patches may be worth comparing for suitable removable badges, but material choice alone does not establish approval.
Build a quote that includes the cost after the patch arrives
A useful quote is more than a price per patch. Ask for the selected material, dimensions, quantity, artwork treatment, backing, and any setup or tooling charges. Then separate shipping, applicable tax, garment blanks, and installation so you can compare the delivered project rather than one attractive line item.
GetUSAPatches has a 10-piece minimum. For multiple designs, sizes, colors, or backings, ask how that minimum applies to each variation before splitting the run. Ten patches spread across several specifications should not be assumed to price like ten identical pieces.
- Request two practical quantity breaks, such as 25 and 50 identical patches, if either amount could meet your need. Compare total spending as well as unit cost.
- Identify custom tooling, unusual shapes, special finishes, or separate artwork versions. These can change the economics of a short run.
- Ask whether installation is included. Loose patches and patches already attached to caps are different deliverables.
- Include a reasonable spare quantity for replacements or new members, but do not overbuy an untested construction.
- Ask how rush handling and faster shipping are charged. Faster transit does not erase the time needed to manufacture an approved patch.
Here is planning arithmetic, not a GetUSAPatches price quote: if 50 patches cost $200, attachment costs $100, and shipping costs $20, the project is $320 before garments and applicable tax. That is $6.40 per decorated position before those remaining costs. Comparing only the $4 patch price would miss a meaningful part of the budget.
A smaller badge may use less material, but size alone does not determine the final price. Artwork treatment, order quantity, backing, setup, and installation can matter just as much. How Much Do Custom Patches Cost? What Drives the Price explains the variables to keep consistent across competing quotes.
Use the digital mockup to catch errors, not to prove durability
A digital mockup is an approval document for the proposed design and specification. It should show enough information to check spelling, layout, shape, dimensions, and placement of the artwork. It cannot let you feel the leather, measure its flexibility in your hand, or prove how an adhesive behaves on your particular cap.
For a large rollout or an unfamiliar garment, ask whether a physical sample or test piece is available and how it affects price and timing. Do not assume a physical sample is included in the free digital mockup. A test application can answer a construction question that another screen revision cannot.
Check these details before saying approved
- Read every word, including the city name, establishment year, unit number, and punctuation. Compare against the source artwork rather than memory.
- Check finished dimensions in inches and confirm orientation. A horizontal logo accidentally sized as a vertical patch changes the entire layout.
- Review material, color description, artwork treatment, edge, and backing together. An attractive front view does not identify the back.
- Check that the intended stitch path or edge clearance does not cross lettering or a critical part of the logo.
- Confirm quantity, the final artwork version, delivery destination, and any agreed production notes in the same approval record.
We provide a free digital mockup before production and produce only after approval. Assign one approver for a team or committee order so conflicting revisions do not keep restarting the conversation. If a coach changes the mascot after approval, contact the supplier immediately; whether a change is possible depends on the production stage.
How to order and plan delivery to Phoenix
The useful deadline is the day the finished garments must be ready, not simply the day loose patches reach Phoenix. Separate artwork review, production, shipping, receiving inspection, and attachment. A short shipping route from Corona, CA, does not remove any of those earlier steps.
GetUSAPatches ships to all 50 states, including Arizona. Ask for a current production estimate and a shipping estimate tied to your quantity, construction, delivery ZIP code, and approval date. There is no reliable universal arrival promise for every custom leather patch order.
- Send the artwork and garment information. Include the garment brand and style if known, fabric, placement photo, and any restrictions on sewing or heat application.
- State width, height, and quantity. Identify separate versions and tell the supplier which details are essential if the artwork needs simplification.
- Request material and backing confirmation. If you are undecided, explain the wear and cleaning conditions instead of choosing a backing by name alone.
- Give the delivery ZIP code and required in-hand date. Also state the event date and whether another business will attach the patches after delivery.
- Review the itemized quote and free digital mockup. Resolve artwork, attachment, and schedule questions before sending final approval.
- Confirm the production and shipping plan. Keep the approved specification accessible for receiving inspection and future reorders.
Work backward from the installer
Suppose a Phoenix club needs 60 patched caps ready for a Saturday event. Ask the decorator when the loose patches and blank caps must arrive to leave time for attachment and inspection. That receiving deadline, not Saturday morning, is the date to use when discussing patch delivery.
Book installation capacity separately if a local shop is handling it. A delivery that reaches you on schedule can still miss the event if the sewing shop has a full queue. Include time to inspect the first attached piece before authorizing the installer to finish the batch.
The scheduling framework in How Long Do Custom Embroidered Patches Take to Arrive in Phoenix, AZ? is useful for separating approval, manufacturing, and transit. Do not transfer an embroidered production estimate directly to leather, though. Material sourcing, marking, tooling, and backing preparation can create different schedules.
Inspect the shipment before attaching the full run
Open the order while there is still time to resolve a question. Count the patches, compare them with the approved specification, and measure several pieces rather than only the one on top. Check the material appearance, marking, cut edge, backing, and any supplied sewing holes.
Some variation may be expected with natural leather, but that does not make every difference acceptable. Compare the shipment against the agreed material and appearance range. Photograph concerns clearly and contact the supplier before installing pieces that may need review.
- Attach one patch to a representative garment first. Check alignment, curve, edge contact, stitch tension, and whether the patch catches a lining or closes a pocket.
- Inspect the garment inside and outside. A neat front does not excuse a damaged lining, restricted pocket, or uncomfortable back surface.
- Follow the confirmed attachment process. Do not invent a higher press temperature or stronger glue to compensate for an unexplained fit problem.
- Keep a few uninstalled patches and the approved artwork record for comparison if the project needs replacements later.
Care instructions must suit the finished garment and the patch together. Do not promise machine washing, tumble drying, dry cleaning, or a leather conditioner without confirmation for the selected materials. Give the wearer written instructions, especially when the original garment label no longer describes the limits of the decorated item.
Plan reorders before the first batch sells out
A reorder goes better when the first order has a complete specification. Save the finished size, material description, marking method, backing, edge treatment, approved artwork version, and garment style. “Same brown patch as last spring” leaves too much room for a different result.
Natural leather can vary between batches, and synthetic stock or garment colors can change too. Ask the supplier to flag substitutions before production rather than silently accepting the closest available option. If a club or retail brand needs close visual consistency, discuss that requirement at the first quote.
For cap-focused runs, Bulk Leather Patches in Los Angeles: Ordering Guide for Hat Brands offers another useful planning reference. The destination changes, but the core questions remain the same: panel fit, repeatable artwork, reliable attachment, and an installer who understands the construction.
The right Phoenix order is not necessarily the largest patch or the lowest unit price. It is a clearly specified patch that fits the garment, survives its intended care routine, and arrives with enough time to finish the job. Get those decisions onto the quote before approval, and the rest of the project becomes easier to manage.


