
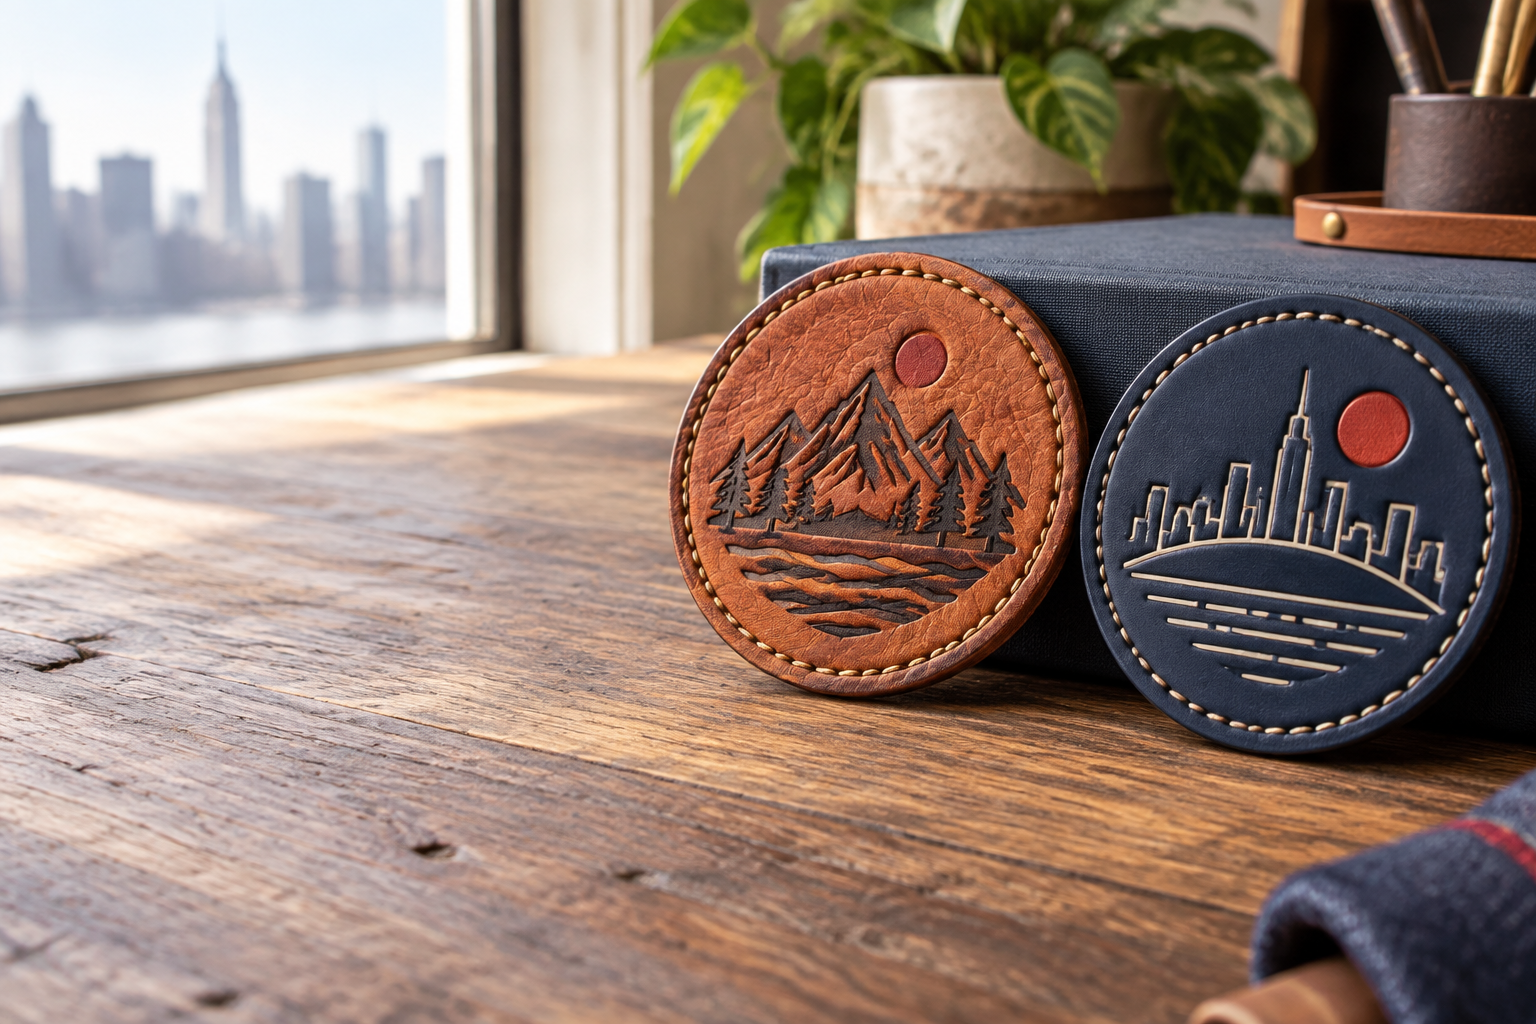
To design custom leather patches New York craft businesses can use reliably, start with the finished product, simplify the logo, and choose an attachment that suits its fabric and care instructions. Check the design at its actual size in inches before approving it. A patch that looks right on a canvas tote may be too stiff for a knit beanie or unsuitable for a frequently washed apron.
GetUSAPatches serves businesses throughout the United States with a 10-piece minimum and a free digital mockup before production. We produce only after approval and ship from Corona, CA, to all 50 states. For a New York craft label, that means you can start with a small run, but you still need to settle the material, placement, and installation details before the order moves.
Start with the product your customer will actually use
The first useful question at the production desk is not which leather color looks best. It is where the patch will live. A maker selling waxed-canvas tool rolls at a Hudson Valley market has different requirements from a Brooklyn ceramics studio ordering staff caps and washable workshop aprons.
The same thinking applies when quoting high-school sports teams, fire and public-safety units, hospitality polos, biker vests, and letterman jackets. Fabric, placement, service conditions, and replacement needs change the specification. One logo does not mean one patch construction belongs on every garment.
- Canvas totes and tool bags: Check thickness, pocket placement, and whether a sewing machine can reach the proposed location without closing a pocket.
- Structured trucker caps: Measure the usable front panel and account for its curve, center seam, and stiff backing.
- Knit beanies: Keep weight and stiffness under control; a large rigid patch can make the cuff stand away from the head.
- Workshop and hospitality aprons: Confirm washing frequency, detergent exposure, and whether the garment goes through commercial laundering.
- Leather goods and biker vests: Decide placement before sewing because needle holes can remain visible if the patch is moved.
Send the garment model or a clear photo with a ruler beside the placement. That often answers more questions than a paragraph describing a patch as medium-sized. For caps in particular, the custom hat patch guide helps separate usable panel space from the dimensions printed on a garment listing.
Choose genuine leather, faux leather, or a different patch construction
Genuine leather makes sense when natural grain and gradual changes in appearance fit the product. It is not perfectly uniform. Color, grain, and marking contrast can vary, so a craft business should decide whether that variation supports its handmade identity or creates a problem across matching retail items.
Faux leather can offer more consistent surface appearance within a specified material, but the term covers different constructions and coatings. Do not assume every faux leather is washable, heat-safe, or equally flexible. Ask for the actual material and care limits rather than approving a broad description.
Use the leather versus faux leather comparison to narrow the choice, then confirm the material in the quote. If a vegan claim matters to your brand, request documentation for the complete construction, including backing and adhesives. Appearance alone cannot substantiate that claim.
Know when leather is the wrong answer
A detailed illustration with gradients may belong on printed patches, not on a tonal leather mark. Printed is flatter; that is the point. It can carry visual detail without relying on a deep impression or a visible change in the leather surface.
For a fabric badge with smaller lettering, compare woven patches. For a classic stitched crest on a team jacket, compare embroidered patches. Leather should earn its place through the look and use of the finished product, not because it sounds more expensive.
Size the patch in inches before refining the logo
Start with a paper rectangle, circle, or custom outline. A 2.5-inch-wide by 1.25-inch-high rectangle is a useful trial footprint for some cap fronts, while a 2-inch square might suit a tote corner. These are planning examples, not universal fit recommendations.
Put that paper shape on the actual garment and view it from normal use distance. A cap logo needs to read when someone is standing across a counter, not only when the cap is held six inches from their face. A discreet maker’s label inside a bag serves a different purpose.
Keep the business name, outline, and stitch path from competing for the same narrow strip of material. For a first layout, you might reserve about 1/8 inch around the perimeter, then have production confirm the required clearance for the selected construction. That allowance is not a fixed manufacturing tolerance.
- Measure width and height separately. A 3-inch patch could mean a wide rectangle, a tall shield, or a circle with a 3-inch diameter.
- Note orientation. A horizontal wordmark can work on a cap but become awkward on a narrow apron strap.
- Avoid needle-like corners and skinny extensions unless production confirms they can be cut and attached reliably.
- Check the sewing area from inside the garment. A good exterior location may sit directly over a pocket bag or heavy seam.
A full-size printout catches mistakes that a large screen hides. Turn off automatic page scaling and verify the print with a ruler. The custom patch size guide is useful for placement comparisons, but the garment in your hands remains the better reference.
Build artwork that survives engraving or an impression
Leather patch artwork usually needs fewer competing elements than a website header. Keep the strongest symbol and the name customers should remember. A street address, social handle, founding date, and tagline can turn a clear 2.5-inch mark into a block of tiny cuts.
Engraving and debossing are not interchangeable specifications. Engraving changes the surface through a marking process, while debossing creates a recessed impression using pressure and suitable tooling. Ask which method is available for the selected material and how it is expected to reproduce your particular artwork.
Protect the negative space
Look at the openings inside letters such as A, B, and R, along with gaps between branches, tools, or mountain lines. If those spaces close up, the logo loses its character even when its outside shape remains recognizable. Thickening every line is not always the fix; sometimes you need to remove a line.
Do not rely on a universal minimum font size. Readability depends on the typeface, finished dimensions, material, and marking process. Ask production to flag the smallest text and tightest gaps, then inspect the revised design at actual size rather than judging a magnified proof.
Send vector artwork when you have it, with fonts converted to outlines and a reference image showing the intended appearance. A clear PNG or JPG can still be useful for review, but saving a small screenshot as an SVG does not recover missing detail. The artwork file guide explains what to send and what may need rebuilding.
Compare specifications for custom leather patches New York makers order
The table below is a selection guide, not a promise that every material accepts every finish. Confirm the exact construction on the quote. A mockup can show the intended arrangement, but material feel, actual marking contrast, and wash performance require a physical check.
Notice that the best option changes with the merchandise. A leather badge can be a good match for a small run of canvas bags and still be a poor choice for a lightweight staff polo. You are specifying a product system: patch, garment, attachment, and care.
| Option | Good starting use | Artwork approach | Main trade-off | Confirm before approval |
|---|---|---|---|---|
| Genuine leather, sew-on | Canvas totes, denim aprons, substantial bags | Bold name or icon with open spaces | Natural grain and color variation; care may differ from the garment | Leather type, thickness, stitch clearance, marking contrast, and cleaning limits |
| Faux leather, sew-on | Coordinated caps and retail labels | Simple mark suited to the specified surface | More uniform appearance is possible, but coating quality and care limits vary | Material construction, flexibility, edge finish, and attachment testing |
| Leather with a heat-applied backing | Compatible fabrics after application testing | Clear design with sufficient perimeter space | Heat can affect the garment or patch; adhesion is not universal | Availability, temperature, pressure, dwell time, and wash requirements |
| Leather with hook-and-loop attachment | Removable branding on an existing compatible loop panel | Compact shape that fits the panel | Added thickness and stiffness; the garment still needs the mating side | Hook side, loop side, finished thickness, and panel dimensions |
| Woven or printed alternative | Fine-detail logos and fabric-oriented branding | Smaller detail or multicolor artwork, subject to proof review | Does not provide leather grain or an impressed surface | Edge construction, backing, color expectations, and garment care |
For a cap-and-tote launch, keeping one logo but using two sizes may work better than forcing a large tote badge onto a curved crown. Ask how separate sizes affect setup and minimum quantities. A 10-piece minimum does not automatically mean a mixed assortment of unrelated designs can share one setup.
How to prepare your leather patch design in five steps
Set aside about 25 minutes to assemble the first brief if you already have the logo and a garment sample. This is preparation time, not a manufacturing estimate. The goal is to replace guesses with a measured placement and a clear list of requirements.
Work through the steps in this order. Selecting a finish before measuring the garment often leads to unnecessary revisions, while choosing attachment before checking the care label can create a more expensive problem. Keep the completed brief with your approved artwork so reorders have a reference.
- Identify the product and its care requirements. Write down the garment model, fabric, intended patch location, and washing instructions. Photograph the outside and inside of that location so seams, linings, and access restrictions are visible. A patch for a spot-cleaned canvas tote needs a different review from one going on a routinely washed hospitality apron.
- Measure and test the patch footprint. Choose a starting width and height in inches, then cut a paper template at that exact size. Place it on the actual product, not only on a screen. Check curved cap panels, apron pockets, bag hardware, and the available sewing area before settling on the outline.
- Simplify the artwork at finished size. Keep the main name or symbol and remove details that disappear at actual size. Convert fonts to outlines when possible, and supply a vector file or the clearest original image available. Mark which elements cannot change, including spelling, required symbols, and the relationship between the icon and business name.
- Specify material, marking, and attachment. State genuine or faux leather, the preferred color, the desired marking effect, and sew-on, heat-applied, or hook-and-loop attachment. Ask which combinations are available and suitable for the garment. Include an edge clearance and stitch-path request rather than assuming the installer can sew through any part of the design.
- Review the quote and approve the mockup. Confirm quantity, finished dimensions, material, attachment, artwork, shipping address, and the required delivery date. Review the free digital mockup at actual size and request corrections before approving it. GetUSAPatches produces only after approval; a digital proof does not replace physical testing for color, flexibility, attachment, or washing.
Choose attachment around the garment, not convenience
Sew-on is often a practical starting point for leather patches on substantial fabric because it does not depend entirely on an adhesive bond. It still requires the right installation. Stitching too close to an edge or crowding needle holes can weaken the material, and sewing through every layer can accidentally close a pocket.
Do not assume leather arrives with pre-punched sewing holes. State that requirement if your installer needs it and ask what is available. For bags and aprons, attaching the patch before final assembly may make sewing easier than working around a completed lining or narrow opening.
Heat application needs a tested combination
Iron-on that peels after a dryer cycle is not just an appearance issue; it becomes a return or a repair. Adhesive performance depends on the backing, fabric finish, application conditions, and subsequent care. A home iron and a controlled heat press do not apply heat and pressure in the same way.
Nylon shells need particular caution because heat, coatings, and needle holes can affect the garment. Wool coaches jackets, lined letterman jackets, and soft hospitality polos raise different concerns, including pressing marks, lining access, or distortion. Confirm the garment maker’s restrictions and the patch application instructions before testing a spare item.
Hook-and-loop needs both sides
For existing Velcro panels, provide the panel dimensions and identify which mating side is already on the garment. A hook-backed patch cannot attach to ordinary fabric without a compatible receiving surface. It also adds thickness, which may be acceptable on a gear bag and awkward on a soft beanie.
Merrowed crests have a thread-wrapped edge; that is a different construction from a typical cut leather outline. Do not carry border terminology from an embroidered club order into a leather order without checking it. Review patch backing options and the sew-on installation guide with whoever will attach the finished patches.
Build a budget that includes installation and unsold inventory
The patch unit price is only one part of the finished product cost. Size, material, marking method, outline, backing, quantity, and any tooling or artwork work can affect the quote. Shipping and garment attachment also matter, especially on a short run where fixed costs are divided among fewer pieces.
Use a simple formula: total patch-related cost divided by the number of sellable finished items. Include test pieces and installation losses if your process needs them. A lower patch price does not help much if the chosen attachment takes twice as long or damages an expensive blank.
For illustration only, a hypothetical $180 patch order plus $20 shipping and $100 in attachment labor totals $300. Spread across 50 sellable goods, that is $6 per item before the blank garment, packaging, taxes, and selling fees. Those figures are budgeting examples, not GetUSAPatches prices.
- Ask for the quantity you need now and one realistic reorder quantity. Compare total dollars committed, not only unit price.
- Separate changes in size, artwork, material, and backing. Each may affect setup or the way the order is grouped.
- Include a few spare pieces in the requested quantity if your installer needs practice or you expect repairs.
- Ask whether the quote is for loose patches or includes any garment attachment. Never assume those are the same service.
- Keep packaging and retail margins in the calculation. A patch should support the product’s selling price without consuming the margin.
A 10-piece minimum lets a craft business start small, but small does not automatically mean the lowest cost per piece. It can mean less cash tied up in an untested design. The patch pricing guide explains the main cost drivers without treating every patch as an identical item.
Order around the approval date and your New York delivery deadline
Give the required in-hand date, not just the market opening date. If a Buffalo retailer needs finished bags on Friday, loose patches arriving Friday do not leave time for attachment, inspection, or packing. Work backward from the date the merchandise must be ready to sell.
Separate artwork preparation, approval, production, shipping, and garment finishing on your schedule. GetUSAPatches produces only after approval, so unresolved spelling or material questions can move the start date. Ask for current production and transit estimates for the exact order rather than relying on a general delivery assumption.
- Supply the original logo and a reference image, plus finished width and height in inches.
- Name the desired material, color, marking effect, edge treatment, and attachment.
- List quantities by design, size, and material combination, and confirm how the 10-piece minimum applies.
- Provide the garment model, placement photo, care requirements, and installer’s technical questions.
- Give the full shipping address, ZIP code, required in-hand date, and any receiving restrictions.
- Request written confirmation of what is included, applicable shipping charges, and any separate tooling, sampling, or installation costs.
We ship from Corona, CA, to all 50 states, including New York. Nationwide service does not remove cross-country transit time, and shipping origin alone should not be treated as a certification of where every material or manufacturing step originated. If country-of-origin documentation matters to your purchasing policy, request it before ordering.
At proof review, check spelling first, then dimensions, layout, material description, and backing. Save the final approved version rather than relying on a screenshot of an earlier revision. For a fuller scheduling checklist, use the custom patch production timeline; ask separately about physical sample availability when the application needs testing.
Test the finished item and give customers useful care instructions
Inspect the patches before attaching the entire run. Compare them with the approved dimensions and artwork, check the edges, and look for variation outside the agreed expectations. Natural leather variation is different from receiving the wrong size, a missing letter, or an incorrect backing.
Attach a test patch to the same garment model using the planned process. Check for puckering, curling, uncomfortable stiffness, and any interference with pockets or closures. If the product will be washed, test according to the confirmed care limits of both the patch and garment rather than assuming the blank’s original instructions still apply.
The finished item inherits restrictions from its least tolerant component. A machine-washable canvas apron does not make an attached leather badge machine-washable by default. If your customers need frequent hot washing or commercial laundering, reconsider the construction before printing the care card.
Avoid recommending oils, conditioners, solvents, or direct heat without material-specific guidance. A treatment intended for one genuine leather can stain another finish or damage a faux-leather coating. The patch washing and care guide is a useful starting reference, but the confirmed material instructions should control your customer guidance.
Keep a reorder record and leave room for the next product
Save the approved artwork, finished dimensions, material description, attachment specification, quote, and installation notes together. Keep a physical reference patch if practical. A new order described only as the brown labels from last spring leaves too much room for interpretation.
For genuine leather, ask how a later batch may differ in grain or tone from the first. If matching a coordinated retail collection is critical, discuss ordering the collection together or agreeing on an acceptable variation range. A photograph on a phone is not a reliable color standard.
- For the material decision, keep Leather vs. Faux Leather Patches with your sourcing notes.
- For new garment placements, revisit the Custom Patch Size Guide and make another full-size paper template.
- For launches and seasonal reorders, use the Custom Patch Production Timeline to keep approval and delivery dates separate.
- For a broader merchandise line, compare the leather patches and embroidered patches product hubs rather than forcing one construction onto every product.
A good leather patch should look intentional after it is attached, not merely attractive on the proof. Keep the artwork readable, the footprint appropriate, and the care instructions honest. That gives a small New York craft business a repeatable product specification instead of a fresh guess on every order.


