How to Apply Iron-On Patches Step by Step
Iron-on backing bonds with heat. Use the right fabric, pressure, and time—or switch to sew-on for heavy wash wear.
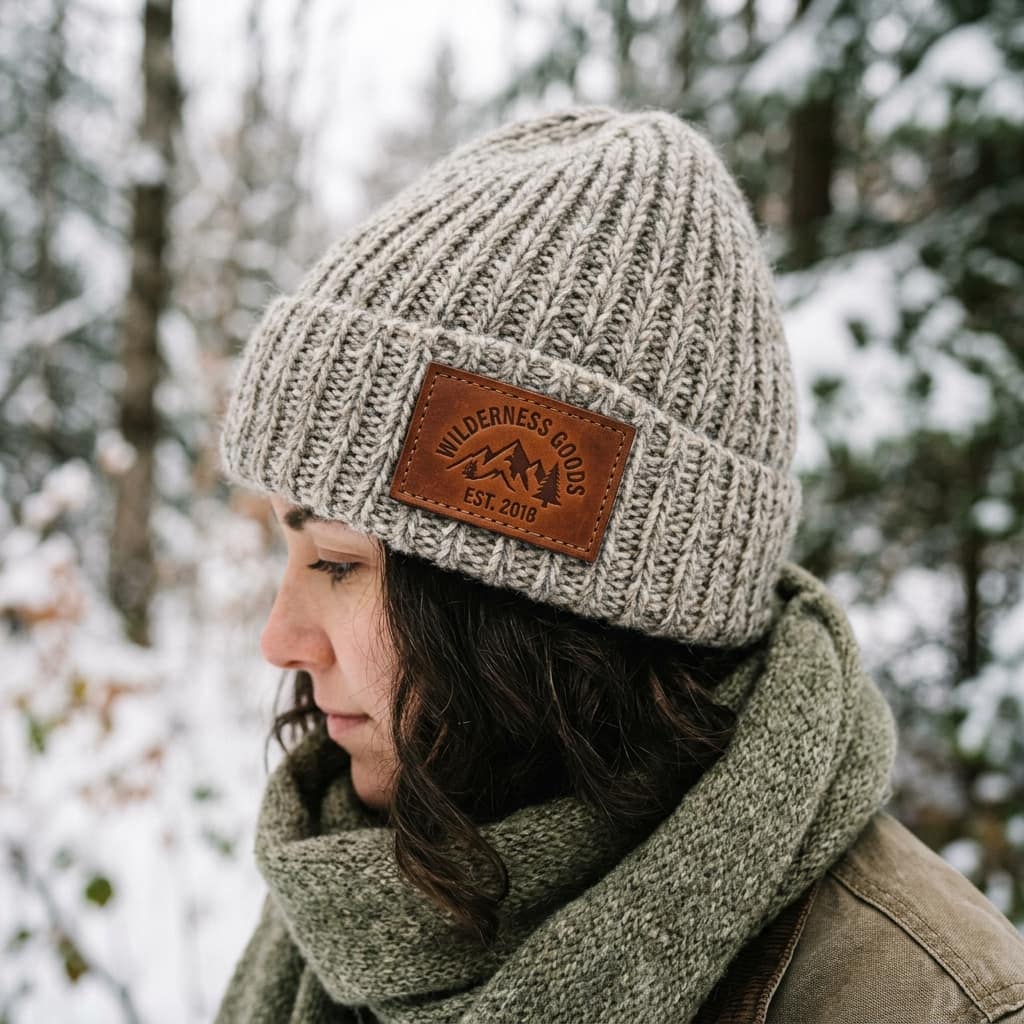
Quick answer: apply an iron-on patch by placing it adhesive-side down on a heat-safe fabric, covering it with a thin cloth, then pressing firmly with a dry iron or heat press until the adhesive bonds. GetUSAPatches offers iron-on backing on eligible embroidered, woven, and other fabric styles—not on typical PVC rubber.
Before you heat anything
- Confirm the garment can take iron or press heat
- Pre-wash the garment if the care label allows
- Do not use steam
- Skip iron-on on PVC—heat can damage rubber
- Have sew-on as a backup for daily workwear
Household iron method
Set a dry iron to a cotton-appropriate heat that your garment can handle. Position the patch. Cover with parchment or a thin cotton cloth. Press firmly for about 30–45 seconds without sliding. Let the patch cool, then check the edges. Re-press edge sections if needed. Always follow your specific garment care label.
Heat press method
A heat press gives more even pressure than a hand iron. Use a temperature and dwell time suited to the garment fabric and adhesive. Press, cool, then tug-test a corner. If the edge lifts, reseat and press again rather than yanking the patch.
When sew-on or Velcro is better
Daily uniforms, heavy jackets, and items that see industrial washing last longer with sew-on. Removable IDs belong on Velcro. Compare all three in iron-on vs Velcro vs sew-on.
Ordering iron-on patches in the USA
Choose iron-on in the quote builder. Minimum is 5 pieces. Mockup in 4–5 hours. Delivery in 5–7 days after approval from Corona, CA.
FAQ
Can I iron on a PVC patch?
No. Heat can damage PVC rubber. Use Velcro, sew-on, sticker, or a safety pin instead.
Do iron-on patches need sewing?
Iron-on can bond alone on heat-safe fabrics. For maximum durability on workwear, sew the edges after heat application or order sew-on.
Should I use steam?
No. Use dry heat. Steam can interfere with adhesive bonding.
Keep reading
- Embroidered vs Woven Patches: Which Should You Order?
- Iron-On vs Velcro vs Sew-On Patches: Backing Guide
- Custom PVC Patches in the USA: 2D vs 3D Rubber Guide