
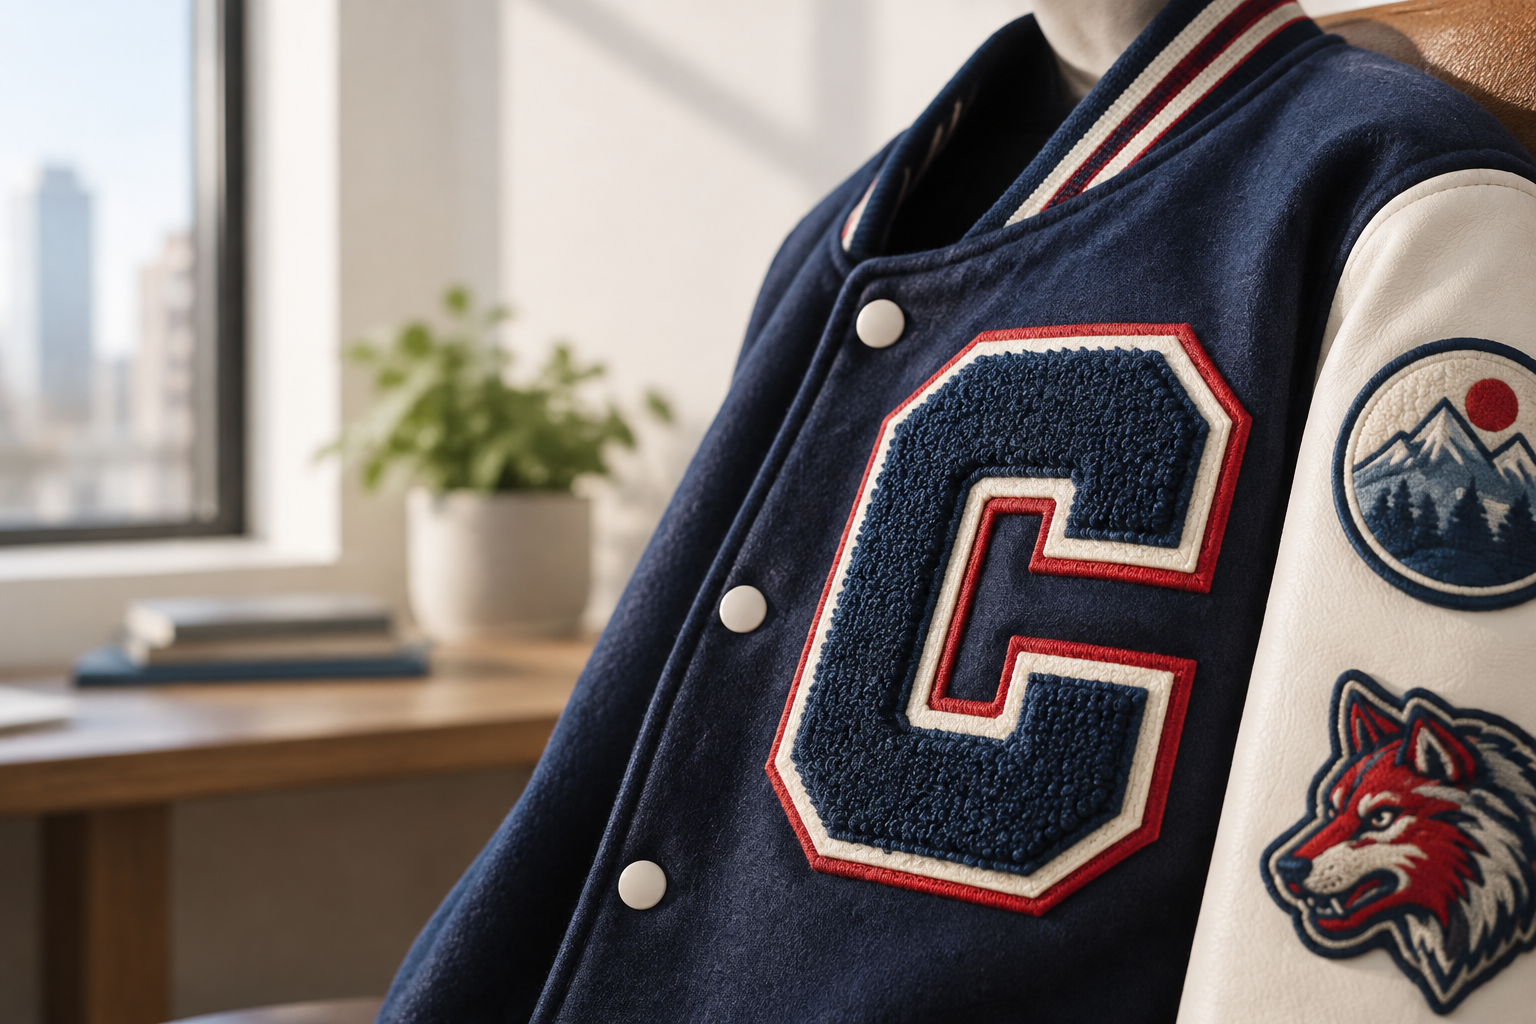
GetUSAPatches makes custom chenille patches Chicago teams, brands, clubs, and businesses can order online, with nationwide shipping from Corona, CA. We have a 10-piece minimum and provide a free digital mockup before production. We produce only after approval and ship to all 50 states.
Chicago buyers can also compare local letterman-jacket shops, embroidery shops, and school-uniform suppliers, especially if they need garment fitting or installation in person. The useful distinction is not simply local versus online: it is who makes the patch, who checks the specifications, and who attaches it. A good order starts with the jacket or sweatshirt, not just a logo file.
Where to order chenille patches in Chicago
A custom patch manufacturer is a practical choice when you already have garments or want loose patches for a team store. You can settle the artwork, size, and construction before sending the finished patches to your own decorator. GetUSAPatches serves Chicago from Corona, CA; this is a shipped order, not a claim of a Chicago storefront.
A local jacket retailer may be more useful if students need sizing, sleeve measurements, and installation together. A neighborhood embroidery shop may also attach supplied patches, but ask before ordering. Some shops accept outside patches, while others prefer to supply the decoration themselves or need to inspect a jacket's lining first.
- Ask whether the quote covers loose patches, garment attachment, or both. A patch price does not automatically include sewing it onto a jacket.
- Ask who handles artwork corrections and approves the production file. Keep one named buyer responsible for the final decision.
- Ask how design changes, individual names, and repeat orders are priced. Ten identical letters and ten different award designs are not necessarily equivalent jobs.
- Ask for the delivery destination and deadline to appear on the quote. A Chicago billing address is not always the school, decorator, or warehouse receiving the box.
Compare suppliers using the same brief. If one quote covers a 4-inch letter with one felt layer and another covers a 5-inch letter with two layers and embroidered wording, the totals tell you very little. Our chenille patches hub is the starting point for the fuzzy varsity construction; keep the garment and installation questions beside it.
What chenille does well—and where it loses detail
Chenille creates a raised, fuzzy yarn surface, commonly supported by felt. That texture gives varsity letters their familiar appearance and makes broad shapes stand out against wool, fleece, and heavyweight knit fabrics. It works best when the design has enough room for the material to show.
Large initials, a simple mascot silhouette, a graduation year, and bold award symbols are sensible starting points. Tiny script, narrow outlines, and a detailed skyline are harder to translate cleanly. Increasing the size can help, but sometimes the correct answer is to change the construction rather than keep enlarging the patch.
Use embroidery for the parts that need cleaner definition
A mixed design can use chenille for a large letter and conventional embroidery for a team name or small accent. That does not make every small detail workable; lettering still needs space. Ask the production team to identify which parts will be fuzzy yarn and which will be embroidered thread on the mockup.
For an intricate school crest, embroidered patches may be a better overall fit. For very fine lettering, consider woven construction. The Chenille Patches and Letterman Style: A Complete Guide explains the varsity look, but the basic production rule is short: texture and fine detail compete for space.
Choose the patch around the garment
A patch that looks right on a letterman jacket can feel bulky on a hospitality polo. Heavy wool bodies and substantial fleece support the visual weight of chenille better than thin performance knits. On a light shirt, a large patch can pull at the fabric and change how the chest hangs.
For letterman jackets and wool coaches' jackets, start with a sew-on plan and check access behind the placement. A fully lined jacket may need more installation work than an unlined sweatshirt. Keep the patch clear of pocket openings, snap lines, and ribbed areas that need to stretch.
Nylon shells, caps, and removable panels need a different check
Nylon shells and coated outerwear need special caution around heat and needle holes. Do not assume an iron-on backing makes a garment suitable for pressing. The shell, coating, insulation, and lining can have different limits, and the garment care label should be part of the attachment decision.
Caps add curvature and center seams. A broad, stiff chenille patch may bridge a seam instead of sitting neatly against the crown, so test a paper shape on the actual cap before committing. Our hat patches hub covers other constructions if the design needs less bulk.
Hook-and-loop attachment only helps if the garment already has a suitable receiving panel or you plan to add one. Measure existing Velcro panels instead of guessing from the uniform size. For operational fire and public-safety gear, follow department and garment-manufacturer requirements; a decorative varsity patch is not a substitute for approved identification.
Set the size, border, and backing before comparing prices
Quote the finished outer dimensions in inches, including the felt border. A 4-inch letter inside a larger felt silhouette is not the same specification as a patch measuring 4 inches overall. Include both width and height for irregular shapes, and say which measurement matters most.
As a planning example, try a 4- to 6-inch-tall paper letter on a jacket chest, then adjust it around the seams and the wearer's size. That range is a fitting exercise, not a universal varsity standard. A small youth jacket and an adult XL can require different choices even when the artwork is identical.
| Construction | Best use | Main trade-off | What to specify |
|---|---|---|---|
| Chenille on felt | Bold varsity letters, award symbols, heavyweight jacket decoration | Distinct fuzzy texture, but fine detail and small wording need simplification | Outer width and height, yarn areas, felt colors, visible border, attachment |
| Chenille with embroidered detail | Large letter with a team name, date, or defined mascot accent | Combines texture and cleaner lines, but small lettering still has size limits | Which elements use chenille, which use embroidery, and their readable sizes |
| Conventional embroidery | School crests, club marks, polos, and many uniform applications | Thread texture without chenille's fuzzy pile; dense detail can still close up | Letter size, fill areas, edge construction, backing, garment placement |
| Woven | Compact logos and wording that need finer definition | Flatter appearance with less raised thread texture | Finished size, smallest wording, border, backing, and color separation |
| Printed | Gradients, illustrated artwork, and designs built around ink detail | Printed is flatter; that is the point. It does not reproduce varsity pile | Artwork resolution, dimensions, color expectations, edge, and backing |
| PVC | Wipe-clean decorative identification and removable panel applications | Flexible molded surface rather than a textile varsity finish | Thickness, raised levels, panel fit, attachment, and approved use |
The alternatives are not lesser versions of chenille. Woven patches solve detail problems, printed patches preserve artwork that depends on shading, and PVC patches serve a different surface and cleaning preference. Choose by the result you need on the garment.
Specify the edge instead of asking for a standard border
Traditional merrowed crests have an overlocked edge, but a chenille letter often relies on a visible felt outline for its shape and contrast. Do not transfer the border specification from an old embroidered patch without checking it. State how many felt colors should show and ask how the proposed construction handles tight corners and interior openings.
For attachment, start by evaluating sew-on, then consider iron-on or hook-and-loop if the garment and intended use support them. Backing availability should be confirmed for the proposed construction, not assumed from another product. The Patch Backing Options Explained: Sew-On, Iron-On, Velcro® & More guide is useful for comparing the attachment methods.
Prepare artwork that survives the move from screen to yarn
A sharp logo on a laptop is only the starting point. At patch size, a mascot's teeth may become a solid area and the narrow gap between two initials may disappear into the pile. Review the design at its actual dimensions, not only enlarged on screen.
Send vector artwork if you have it, or the cleanest image available if you do not. Avoid a screenshot of a screenshot with a background that blends into the logo. The Artwork File Guide for Custom Patches: Vector, PNG, JPG and More explains what each file type can contribute.
- Mark the main letter or mascot area intended for chenille. Do not leave the production team to guess from a flat logo.
- List the required wording exactly, including punctuation, graduation years, and individual names. Copy it from an approved roster rather than a chat thread.
- Identify the garment color and each visible felt color. Dark yarn on dark felt can reduce the definition of the letter.
- Provide brand color references if available, then ask how those references will be matched to available yarn, thread, and felt.
- Separate must-keep features from details that may be simplified. A small sponsor line can sometimes move to a separate embroidered patch.
A free digital mockup is a layout approval tool, not a physical sample. It shows placement of elements and helps settle specifications, but a screen cannot fully represent pile height, softness, or material color under different lighting. If physical evaluation matters, ask about sample options, costs, and the added schedule before approving the main run.
Keep one final artwork version. If the coach approves the letter, the booster club changes the year, and the decorator works from an earlier email, the order can drift. Save the approved mockup with the written dimensions, backing, colors, and quantity so everyone is referring to the same job.
Compare the full cost, not just dollars per patch
Chenille pricing depends on the proposed construction. Size, quantity, felt layers, embroidered accents, shape complexity, and backing all affect the work involved. A simple block letter and a multi-part mascot should not be expected to share one generic price.
GetUSAPatches has a 10-piece minimum. If your order includes multiple designs, separate names, or different sizes, ask how those variations affect quantities and pricing. Do not assume that a ten-piece order can contain ten unrelated patch designs under identical terms.
Build a landed and installed budget
Request a written USD quote that identifies the patch total, any applicable preparation charges, shipping, tax if applicable, and any rush or sample charges. Then add installation if you are buying loose patches. Jacket attachment may involve more labor than sewing onto a flat, unlined panel.
Here is a budgeting example, not a GetUSAPatches price: if a hypothetical 40-patch order costs $320 and shipping is $20, the landed patch cost is $8.50 each before tax or installation. If a decorator hypothetically charges another $6 per jacket, the working total becomes $14.50 per installed patch before any other charges. That is the number a booster treasurer needs.
Ask for price breaks only at quantities you could reasonably use. Extra generic school letters may be useful next season; extra patches carrying an old graduation year may not be. The How Much Do Custom Patches Cost? What Drives the Price guide explains the broader quote variables.
For brand merchandise, include rejected garments, fulfillment, and packaging in your own margin calculation rather than treating the patch as the entire decoration cost. For clubs, separate the cost of a shared emblem from optional names or awards. Clear categories make member payments and later reorders easier to manage.
Order backward from the date the garments must be ready
The important date is usually not the day the patches arrive. It is the pep rally, senior night, merchandise launch, or club event when the finished garments must be handed out. Leave room between patch delivery and that date for counting, inspection, attachment, and corrections.
Separate artwork preparation, approval, production, and transit on the schedule. GetUSAPatches produces only after approval, so an unanswered revision email can move the job even if the original inquiry arrived early. Request current production and shipping estimates for your specific design rather than relying on a generic delivery promise.
- Send the artwork and garment details. Include fabric type, placement photographs, outer dimensions in inches, quantity, and any individual variations.
- Provide the Chicago delivery ZIP code and the actual garment-ready date. Say if the shipment should go directly to a decorator rather than to the team office.
- Review the written quote. Check the construction, backing, design count, shipping charges, and proposed schedule before treating the total as final.
- Review the free digital mockup. Check spelling, orientation, felt outlines, chenille areas, and every specification that affects the finished patch.
- Approve one final version. Production begins only after approval, and changes requested afterward may affect cost or timing.
- Reserve installation time. Confirm the decorator's availability and plan for inspection before garments are distributed.
We ship from Corona, CA, to Chicago and all 50 states. Transit depends on the service selected, destination, and carrier conditions; it is separate from production time. If the order is tied to a fixed event, ask what options are available before approving rather than assuming a rush can be added later.
School and business receiving arrangements matter too. Confirm the recipient name, suite or department, and any receiving-hour restrictions, particularly around school breaks. The Custom Patch Production Timeline: From Artwork to Delivery guide gives a useful framework for keeping those stages separate.
Plan attachment before the finished patches arrive
Sew-on attachment is often the first method to evaluate for a chenille letter on a substantial jacket. It creates a mechanical connection without relying solely on adhesive, but the installer still needs access and an appropriate stitch path. Ask where the stitching will sit relative to the felt edge.
A jacket pocket can be sewn shut if placement is checked only from the outside. A lining can bunch if it is caught carelessly. Have the installer inspect one representative garment before the entire run, especially if the order mixes jacket brands or includes older member-supplied pieces.
Iron-on is a method, not a promise
An iron-on that peels after a dryer cycle can result from poor material compatibility, an incorrect application, or care conditions the adhesive cannot tolerate. The backing alone does not resolve those issues. Follow the supplied application instructions and the garment limits; do not guess at temperature or dwell time.
Chenille pile also needs protection during application, and a press setup that works on a flat embroidered patch may not suit it. Ask the patch supplier and installer for construction-specific guidance. For general attachment preparation, see How to Sew On a Patch: A Step-by-Step Guide and How to Iron On a Patch the Right Way (and Make It Last).
For hook-and-loop orders, specify whether you need only the hook-backed patch or a matching loop piece as well. Confirm that the available construction is appropriate for the chenille design. A removable patch should fit its receiving panel without overhanging into a zipper, radio strap, or other equipment.
Match the order to the team, business, or club
A high-school sports order usually starts with consistency: the same main letter, approved school colors, and a clear system for sport or year identifiers. Keep the permanent school identity separate from details likely to change. That makes replacements easier when a new athlete joins or a jacket is lost.
For marching bands and cheer squads, check the smallest garment and the full range of movement. A large patch may look balanced when the wearer stands still but fold into an arm crease during use. Coordinate decorative placement with whoever manages the uniform rather than allowing each family to choose a different spot.
A streetwear brand may want oversized texture on a heavyweight hoodie or a broad letter on a varsity jacket. That is a reasonable chenille application, but test the paper layout across the size run and think about how the garment folds for shipping. Large felt areas can change drape, especially on lighter fleece.
Hospitality polos usually call for a flatter treatment with less bulk and a laundering plan that matches daily work. Fire and public-safety units may use chenille for off-duty or commemorative jackets while choosing a different construction for working uniforms. Our Custom PVC Patches for Rescue Teams in Chicago: Backing and Size Guide addresses a different set of garment and panel considerations.
Biker vests need a layout check around existing rockers, seams, and club identifiers. Chenille can suit a commemorative piece, but its fuzzy surface is not automatically the best choice for every riding garment. Compare it with biker and motorcycle club patches and agree on the full vest arrangement before ordering an additional emblem.
Inspect the delivery and keep a usable reorder record
Open the shipment before the sewing appointment, not on the morning of the event. Count the pieces by design and compare the dimensions, wording, backing, and visible borders with the approved specification. Check personalized pieces against the final roster while there is still time to address a discrepancy.
- Measure the finished outer dimensions using the same width and height definitions used in the quote. Compare them with any agreed tolerances.
- Lay several patches together under consistent lighting to check the overall appearance. Do not use a phone screen as the sole color reference.
- Check felt edges, embroidered wording, and the intended attachment surface. Photograph anything that needs clarification before installing it.
- Keep the approved mockup, invoice, construction notes, and garment placement measurements together for the next order.
Care should follow the garment instructions and the patch construction, using the more restrictive requirements where they differ. Avoid assuming that a washable sweatshirt makes every attached decoration suitable for high dryer heat. Do not scrub the fuzzy surface aggressively or press directly onto it without approved guidance.
For Chicago buyers, the strongest ordering plan is straightforward: choose a supplier that explains the construction, approve a readable design at a measured size, and schedule attachment as its own job. GetUSAPatches handles the custom patch order from Corona, CA, with a 10-piece minimum, a free digital mockup before production, and shipping throughout the United States. The garment, deadline, and approved specification should stay together from the first quote to the next reorder.


