
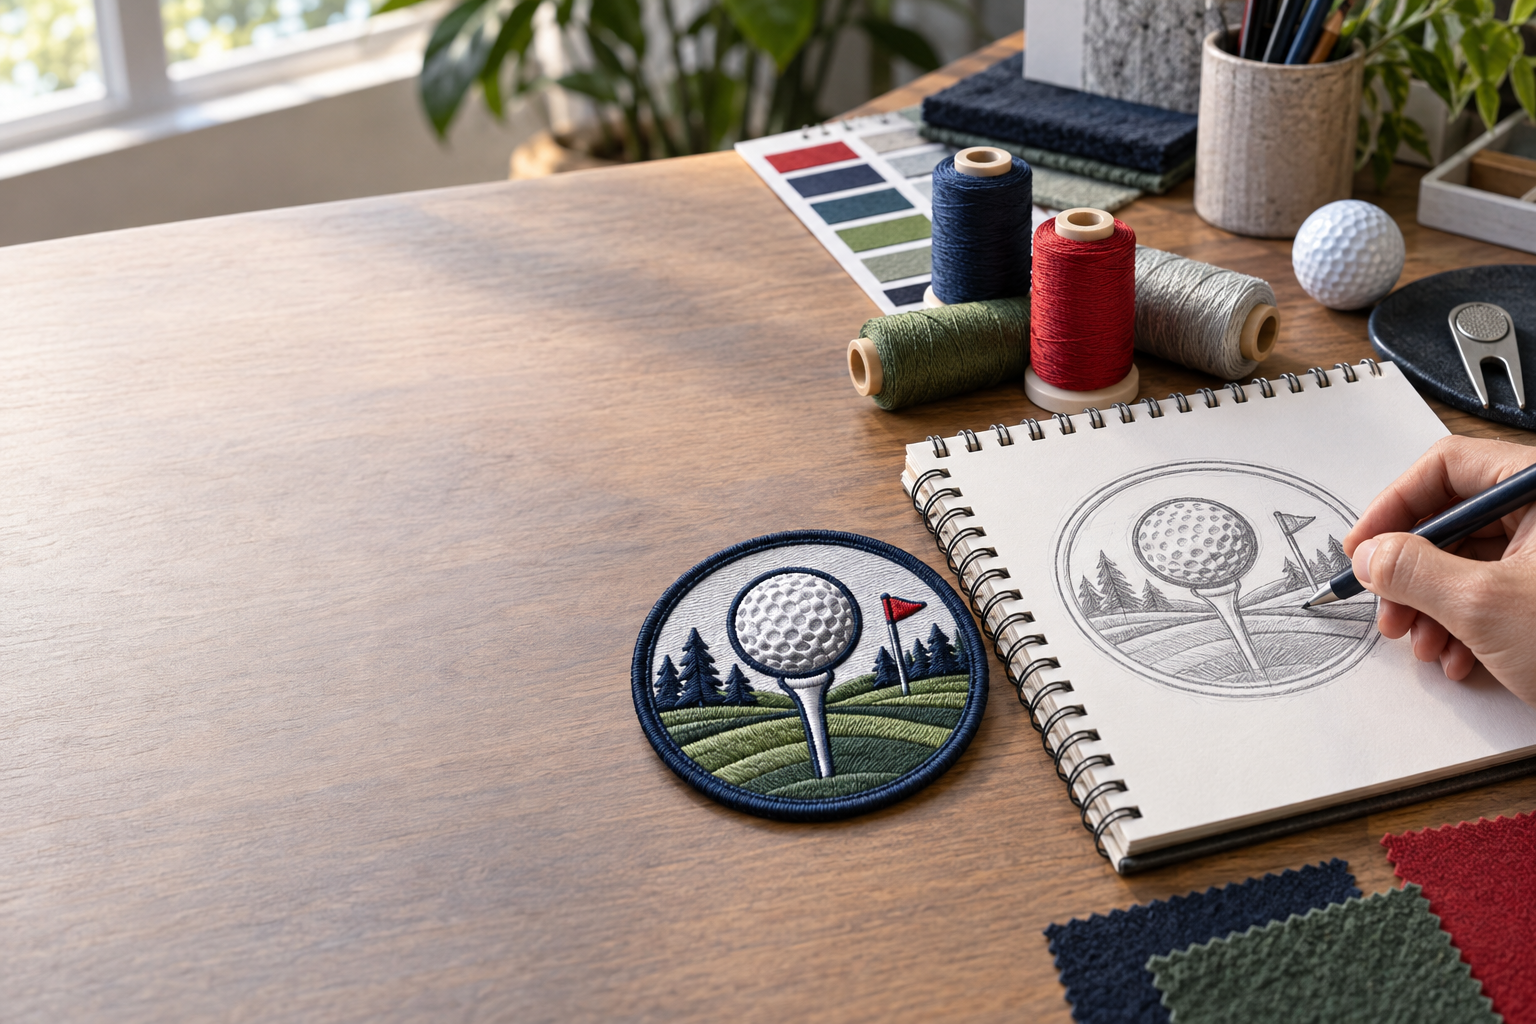
To design 3D embroidered patches Chicago golf clubs can wear on caps and jackets, start with bold raised initials, flat supporting lettering, and a size measured on the actual garment. Reserve the raised treatment for the part of the crest that needs emphasis. A tiny flag, establishment date, and full club name usually need flat stitching or a simpler layout.
GetUSAPatches serves clubs, teams, brands, and businesses across the United States with a 10-piece minimum and a free digital mockup before production. We produce only after approval and ship from Corona, CA, to all 50 states. For a Chicago golf outing or pro-shop run, the useful starting point is the cap model, artwork, quantity, and required in-hand date—not just a request for a raised logo.
Start with the garment, not the full club crest
A crest that looks balanced on a clubhouse sign can become crowded on a low-profile golf cap. The sign has room for crossed clubs, a ribbon, a founding year, and a course illustration; a small patch does not. Pick the one element members recognize first, then build the small version around it.
The same production-desk questions apply to high-school sports teams, fire and public-safety units, hospitality polos, biker vests, and letterman jackets: where does the patch go, what is underneath it, and how will it be cleaned? A stiff patch can pull at a lightweight polo. A broad patch can bridge the curve of a cap instead of sitting against it.
Separate the cap version from the outerwear version
For a structured cap, a compact monogram may be the cleanest choice. For a wool coach's jacket or a substantial quarter-zip, a larger crest can carry the full name without shrinking the letters into texture. Matching the colors and main symbol often gives a more consistent club identity than forcing identical dimensions onto every garment.
- Structured golf caps: check crown height, center seams, and curvature before setting the patch width.
- Performance polos: assess fabric stretch, patch weight, and how attachment could affect drape or wearer comfort.
- Nylon shells: identify coatings, water resistance, and care restrictions before choosing heat or stitching.
- Golf bags: locate a sewable panel and check access behind pockets, padding, and dividers.
- Wool coaches and letterman jackets: confirm that the installer can reach the chosen area without unintentionally sewing a pocket shut.
A patch is also different from direct puff embroidery stitched into a cap. A separate patch has its own foundation and edge, which adds structure and must fit the cap's curve. The hat patches hub is a useful starting point if the headwear is already selected but the patch construction is not.
Build the artwork around what 3D embroidery can hold
3D puff embroidery uses foam beneath selected stitched areas to create a raised surface. Stitch direction, coverage, and the way the ends are closed matter because the thread must cover and contain that foam. It is not a setting that makes every line in an existing logo thicker.
Bold initials are a sensible starting point because they provide enough visual mass for the raised effect. Very thin script, pointed flourishes, tiny counters inside letters, and tightly spaced strokes create harder production decisions. Widening a stroke may help the foam coverage but can also close the opening in a letter.
Give the raised area one clear job
Consider a hypothetical three-letter club monogram inside a round crest. Raise the monogram, stitch the outer club name flat, and keep the date flat at the bottom. That gives the patch depth without asking the smallest information to carry the most demanding construction.
Crossed golf clubs can work as simplified flat symbols behind raised initials. Individual grooves on an iron face, dimples on a tiny golf ball, and the weave of a flag usually need to disappear at cap scale. Removing those details is not careless artwork; it is adapting the mark to a different manufacturing method.
- Identify raised areas directly on the artwork rather than writing only 'make it 3D.'
- Leave visible space between letters, borders, and any surrounding crest details.
- Use flat stitching for supporting copy unless the lettering is large and the construction has been reviewed.
- Ask for a thread-color reference when club colors matter; monitor colors are not physical thread samples.
- Treat gradients, shadows, and photographic details as redesign decisions rather than automatic embroidery features.
There is no single minimum stroke width that works for every foam, thread, letter shape, and finished size. Have the artwork assessed at production scale before approving it. Our 3D Puff Embroidery Explained: How Raised Patches Are Made guide describes the construction, while the 3D embroidered patches hub keeps the product options together.
Set dimensions, lettering, and borders at actual size
Use inches for the finished outer dimensions, including the border. If the specification says 2.5 inches wide, clarify that it means the complete patch rather than the artwork inside the edge. That distinction can decide whether a crest fits between cap seams.
As planning examples, a compact cap design might start around 2 to 2.5 inches wide, while a jacket crest might start around 3 to 3.5 inches wide. These are layout starting points, not fit guarantees. A shallow cap crown may need a shorter design even when the width appears acceptable.
Use paper before debating another quarter inch
Print the crest at actual size, cut it out, and place it on the garment. Look at it from arm's length, not just across a desk with your face close to the screen. If the club name is already difficult to read on paper, thread will not recover the missing space.
For initial planning, supporting flat letters around 0.25 inch tall give more room than extremely small copy, although the font and stitching still need review. Do not apply that figure as a universal production minimum or as approval for raised lettering. Open block letters and compressed script behave differently at the same height.
Choose the edge before approving the internal layout
Merrowed crests have a wrapped thread edge that suits many circles, ovals, and straightforward shield shapes. That edge occupies visible space and adds thickness around the perimeter. Intricate outlines, narrow projections, and deep inside corners may call for a different finishing method.
A hot-cut or laser-cut construction can suit shapes that a traditional wrapped edge cannot follow cleanly, depending on the patch materials. Leave enough separation between raised lettering and the finished edge so the design does not look squeezed. Compare the options in Merrowed vs. Hot-Cut vs. Laser-Cut Borders: What’s the Difference? and check placement with the Custom Patch Size Guide: How Big Should Your Patch Be?.
Specs for 3D embroidered patches Chicago golf clubs can use
Choose the construction around the artwork, not around the assumption that more height always means a better patch. Raised thread makes a simple monogram stand out, but it also adds bulk and limits fine detail. A mixed flat-and-raised design often gives a golf crest the best balance.
The comparison below is a design guide, not a fixed price list or a promise that every material suits every garment. Attachment, dimensions, and the actual artwork still need review. If two versions look equally good on screen, the fabric and care routine may settle the choice.
| Construction | Useful golf club application | Artwork strength | Main trade-off | What to specify |
|---|---|---|---|---|
| 3D puff embroidery | Bold monogram on a structured cap or substantial jacket | Raised initials and broad, simple shapes | Small lettering and fine lines are poor candidates for raised treatment | Exactly which areas are raised, finished size, and garment model |
| Mixed flat and 3D embroidery | Traditional club crest with a prominent central mark | Flat name and date surrounding raised initials | Crowded designs still need simplification; mixing methods does not create extra space | Separate flat and raised artwork notes, clear spacing, and border |
| Flat embroidery | Staff jacket, club crest, or member uniform | Traditional thread texture without foam-backed height | Fine text still has practical limits, especially on small patches | Finished dimensions, lettering priorities, colors, and backing |
| Woven patch | Small crest with lettering that must remain legible | Fine lines and detailed logos with a flatter textile surface | Less raised thread texture than embroidery | Smallest text, edge finish, attachment, and garment placement |
| Printed patch | Tournament artwork with gradients or a detailed course illustration | Color transitions and image detail | Printed is flatter; that is the point, not a defect | Image quality, color expectations, finished size, and edge |
| PVC patch | Removable badge on a compatible bag or outerwear panel | Molded shapes and a wipeable face | Different weight and feel from a traditional textile crest; not every layout suits molding | Relief areas, dimensions, attachment, and receiving panel |
If your mark contains a detailed clubhouse drawing, compare woven patches or printed patches before stripping away everything that makes it recognizable. If the priority is a conventional uniform crest, embroidered patches may be enough without raised areas. Save the 3D treatment for the design element that benefits from it.
Match the backing to caps, polos, shells, and bags
Backing is a garment decision as much as a patch decision. A club can approve a good-looking crest and still end up with an attachment problem if the installer discovers coated nylon or inaccessible lining on delivery day. Identify the exact garment model and fabric before the quote is finalized.
Sew-on is often a practical permanent choice because it does not require activating adhesive with heat. It is not automatically appropriate for every item, though: stitching creates needle holes, and thin stretch fabric can distort. A water-resistant shell may also require specialist advice about maintaining its weather protection.
Iron-on needs a compatible fabric and application method
An iron-on that peels after a dryer cycle may have suffered from incomplete bonding, incompatible fabric, excessive heat exposure, or some combination of those problems. The backing alone does not tell you which application temperature, pressure, or dwell time is suitable. Follow the patch instructions and the garment restrictions together.
Raised embroidery adds another concern because direct pressure can flatten or mark the face. Do not assume an ordinary household-iron routine or a flat press is suitable for every puff patch, especially on a curved cap. Ask for the application method before selecting heat attachment, and test on an appropriate spare garment when possible.
Hook-and-loop requires a receiving surface
A hook-backed patch needs a compatible loop field on the garment or bag. If the item does not already have one, clarify whether a mating loop piece is included and who will attach it. Velcro panels also add thickness, which can be noticeable on a soft cap or lightweight polo.
- For permanent cap attachment, have the installer review access, curvature, and the patch edge before placing the order.
- For a washable staff polo, compare a lighter flat patch against raised construction and test the garment's drape.
- For removable bag badges, record the loop panel's usable dimensions rather than ordering from its advertised overall size.
- For lined jackets, agree on attachment access and whether stitching will pass through the lining.
The Patch Backing Options Explained: Sew-On, Iron-On, Velcro® & More guide is useful for comparing attachment methods. For a removable version, also read Velcro® Patches: How to Attach and Use Hook-and-Loop Backing. Neither replaces checking the actual fabric.
Prepare the design brief in six steps
A useful first brief can be prepared in about 25 minutes if the artwork and garment are already available. That estimate covers measuring and organizing the request, not production or a physical sample. The goal is to remove the questions that otherwise turn into several rounds of email.
Keep one document or message as the source of truth. If a committee changes the border color in a separate text thread, move that change into the final specification before approval. A polished mockup cannot prevent an error that never reached the production brief.
- Measure the usable placement. Measure the actual garment between seams, closures, and curved areas. Record the maximum usable width and height in inches, then photograph the placement beside a ruler.
- Separate raised and flat artwork. Mark bold initials or one simple symbol as raised. Keep the club name, establishment date, thin outlines, and small golf details in flat embroidery, or remove them from the small version.
- Test a full-size paper version. Print the design at the proposed finished dimensions and cut it out. Hold it on the garment, inspect it at arm's length, and revise lettering or proportions before requesting the proof.
- Choose the edge and attachment. Specify a border suited to the shape and an attachment suited to the fabric. Identify any coated nylon, stretch material, lining, or existing loop panel so the attachment method can be reviewed.
- Send a complete quote brief. Send the artwork, dimensions, quantity, colors, raised areas, backing, garment model, Chicago delivery ZIP code, and required in-hand date. Request separate specifications for cap and jacket versions if their construction differs.
- Review and approve the production proof. Check spelling, dimensions, thread colors, raised areas, border, backing, and quantity on the free digital mockup. Ask about physical sampling if needed, then approve the final specification before production begins.
Send vector artwork if you have it, but do not delay a request solely because the club only has a PNG or JPG. A clear source file is more useful than a tiny screenshot pasted into a document. The Artwork File Guide for Custom Patches: Vector, PNG, JPG and More explains what to gather.
Use different layouts for member caps, staff gear, and outings
A member cap needs quick recognition and a clean shape. A staff jacket may need a readable club name so guests can identify the team. A tournament patch may need a year, sponsor mark, or event title that will not appear on the regular member design.
Those are different jobs, even if all three use the same colors. Trying to fit every message into one cap patch usually makes the lettering smaller and the raised area less useful. Keep the identity consistent through the primary mark, then let each application carry the information it needs.
Three practical planning examples
- Member cap: start with a compact two-letter monogram and a simple surrounding shape. Raise the letters, keep the edge flat, and omit the founding year if it crowds the design.
- Staff outerwear: use a larger shield with a flat club name and a raised central symbol. Check the placement on both smaller and larger garment sizes rather than approving it on one jacket alone.
- Charity outing: use flat or printed event copy around a simplified club mark. If the date and sponsor details dominate, a flatter construction may communicate the event better than puff embroidery.
For a Chicago spring outing, the same badge may appear on a cap, rain layer, and presentation bag. Do not assume the backing should match across those items just because the artwork does. The Custom Patches for Sports Teams and Clubs: A Buyer’s Guide is helpful for organizing multiple applications under one club identity.
Understand the quote before comparing unit prices
GetUSAPatches has a 10-piece minimum, which makes a small club run possible without committing to a large inventory. For multiple designs, sizes, or backings, ask how the minimum applies to each version. Ten total pieces split across several different specifications should not be assumed to qualify as one identical run.
Size, stitch coverage, raised construction, edge finishing, backing, quantity, and artwork preparation can all affect the quote. A patch with exposed base fabric is not the same specification as a fully stitched background. Comparing only the outer dimensions can hide that difference.
- Request the patch unit price and extended quantity total in dollars.
- Confirm whether artwork preparation or digitizing is included or separately charged.
- Ask what is included in the attachment specification, especially mating loop pieces.
- Separate patch production from garment supply and installation unless the quote explicitly combines them.
- Confirm shipping, applicable tax, any approved rush service, and any physical sample cost.
Compare landed totals as well as unit prices. As a budgeting example only, an additional $0.75 per patch across 80 pieces adds $60 before any applicable tax or other charges. That is arithmetic, not a GetUSAPatches price estimate; the real comparison needs matching specifications.
If the budget is tight, simplify the crest before making the letters smaller. Removing a crowded ribbon, using fewer versions, or choosing flat embroidery can preserve readability more effectively than squeezing the same artwork into a smaller patch. See How Much Do Custom Patches Cost? What Drives the Price for the quote variables worth comparing.
Order backward from the Chicago in-hand date
Put the required in-hand date on the first request, not just the event date. If volunteers need to sort caps, attach patches, or assemble golfer gift bags, delivery must happen before that work begins. Include the Chicago-area delivery ZIP code and any receiving restrictions at the clubhouse or business address.
GetUSAPatches ships nationwide from Corona, CA, including all 50 states. A Chicago delivery is a shipped order, not a promise of local pickup or same-day service. Confirm the current production schedule and transit option for your specific order rather than treating a general website estimate as an event guarantee.
Separate proof time, production time, and shipping time
Artwork review comes first, and revisions take time. Production begins only after approval of the final specification; it does not begin because the initial logo was emailed. Carrier transit is a separate stage, followed by any garment attachment or packing work arranged for the club.
A free digital mockup shows the planned layout, colors, dimensions, and designated construction. It does not let you feel the foam height, bend the patch against a cap, or test the attachment. If those points are critical, ask whether a physical sample or production sample is available and how it changes the cost and schedule.
- Name one person to approve the final proof after collecting committee comments.
- Check every letter in the club name, initials, event title, and establishment date.
- Verify finished width and height, raised areas, border, backing, quantity, and color references.
- Confirm whether the quoted order is loose patches or includes any garment attachment.
- Approve one dated specification and keep it with the order record for future repeats.
For repeat member orders, retain the approved proof and a physical patch rather than relying on an old phone photo. If the club changes cap models, check fit again even when the artwork is unchanged. The free mockup quote brief should include that garment change so it is reviewed before the next run.
Inspect the first finished garments and protect the raised face
Before attaching an entire club run, inspect the patches against the approved specification and complete a first-garment check. Look for correct spelling, dimensions, colors, edge finish, backing, and the intended raised areas. On a cap, also look for a patch that bridges the crown or lifts at the sides.
After attachment, check for puckering, caught linings, blocked pockets, and scratchy stitching inside the garment. Have the installer stop and adjust the method if the first item does not sit correctly. Repeating a weak attachment eighty times does not make it more reliable.
Follow the garment care label and patch instructions, using the more restrictive compatible method. Avoid direct ironing over the raised face, and do not use high dryer heat unless both the garment and attachment instructions permit it. Caps may need a different cleaning routine from jackets or polos.
Keep these guides with the reorder file
Save the approved specification alongside attachment and care instructions so a new club volunteer does not have to reconstruct the order next season. These references cover placement, club-run planning, and the questions that apply to shipped raised-patch orders. Shipping to another city does not change the need for garment measurements and final approval.
- Custom Patch Size Guide: How Big Should Your Patch Be? helps check the usable area before changing garment models.
- Custom Patches for Sports Teams and Clubs: A Buyer’s Guide helps organize quantities and applications across a member program.
- 3D Embroidered Patches Shipped to Los Angeles, CA: What to Expect covers another shipped-order context for raised patches.
- How to Wash and Care for Patches (Embroidered, PVC, Leather & More) provides care considerations to review with the garment instructions.


