
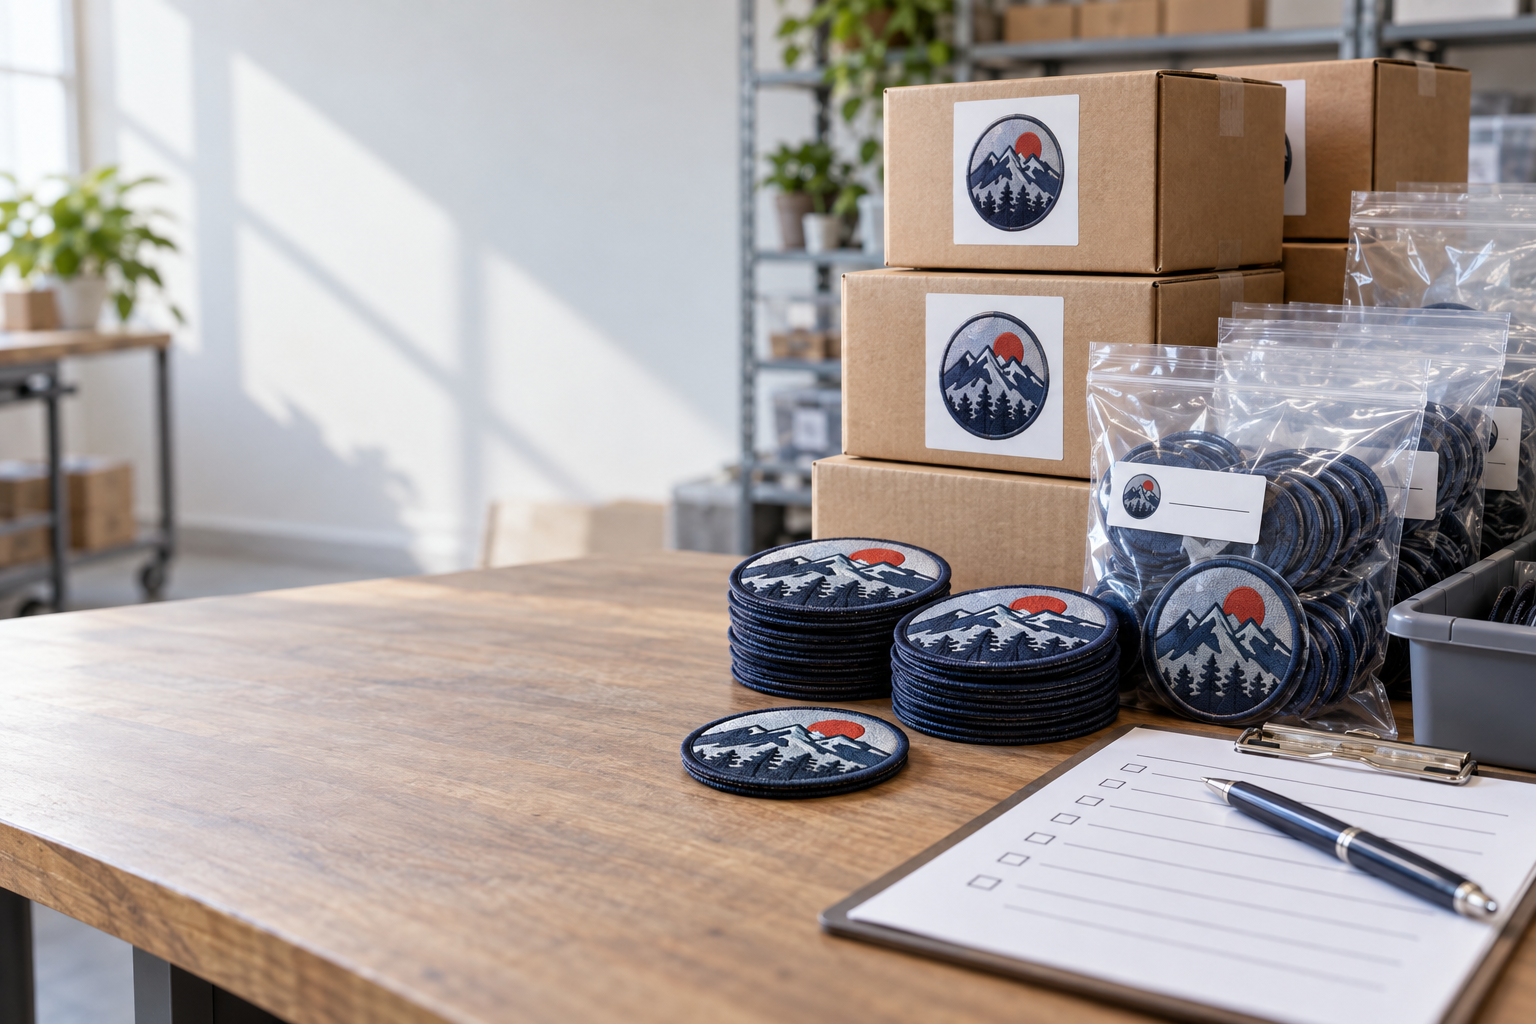
For bulk 3D embroidered patches in Houston, specify the garment, finished size, raised artwork, backing, and quantity before comparing quotes. GetUSAPatches has a 10-piece minimum and provides a free digital mockup before production. We produce only after approval and ship from Corona, CA, to all 50 states.
The right order is not simply the largest quantity with the lowest unit price. A raised logo that looks strong on a structured trucker cap can feel stiff on a hospitality polo, and a jacket-sized crest can overwhelm a shallow cap crown. Start with the product your customer will wear, then build the patch specification around it.
What bulk 3D embroidery actually changes
A 3D embroidered patch uses raised stitched elements, commonly created by stitching over foam, to put selected parts of the design above the surrounding surface. That extra height gives a broad initial or block wordmark a different feel from standard flat embroidery. It does not make every logo more readable, and it should not be applied automatically to every line.
A practical design often mixes raised and flat embroidery. The main brand initials stand up, while a small city name, founding year, or outer ring stays flat. This keeps the focal point dimensional without forcing tiny lettering through a construction that needs room for thread coverage and clean foam enclosure.
A separate patch is not direct puff embroidery
Direct puff embroidery is stitched into the garment itself; a 3D patch is made separately and then attached. That distinction matters for a Houston merch brand selling the same identity on caps, canvas totes, and work jackets. A separate patch can give you a repeatable component, but its base, border, and attachment still affect how it sits on each item.
Do not assume that one construction fits the whole collection. A firm patch can bridge across a curved cap front instead of following it, while a heavy crest can pull at lightweight jersey. Compare 3D embroidered patches with conventional embroidered patches around the actual garment, not just a close-up artwork rendering.
- Use raised stitching to emphasize a few broad letters, a simple emblem, or a substantial outline.
- Use flat stitching for supporting text and details that do not need height.
- Ask for a different construction if preserving tiny type or fine illustration matters more than texture.
- Treat a digital mockup as a specification review, not a physical test of thickness, flexibility, or garment fit.
Build artwork that survives the move from screen to thread
The first artwork question is where the raised portion starts and stops. A logo with broad vertical strokes may suit foam-backed stitching, while a thin script with sharp joins may need thicker strokes or a flat treatment. We would rather flag that during quoting than leave you expecting a tiny signature to behave like a block varsity letter.
There is no useful universal promise that every letter below a particular height will fail or every letter above it will work. Typeface, stroke width, open space, stitch direction, and finished size all matter. Ask for the smallest lettering to be reviewed at actual production dimensions, especially if the design includes a Houston neighborhood name or a long sponsor line.
Keep the brand hierarchy, not every original detail
Suppose a merch logo contains large initials, a thin skyline, and a small slogan. A sensible patch version might raise the initials, stitch the skyline flat with fewer windows, and move the slogan to a hangtag. That is not abandoning the identity; it is separating the mark customers recognize from details the patch cannot comfortably carry.
- Send vector artwork when available, but also include a readable reference image so the intended appearance is clear.
- Identify essential brand colors and ask how available thread colors will be matched; screen color is not a thread sample.
- Mark raised areas explicitly rather than assuming the entire logo will receive the same height.
- Remove unnecessary gradients, hairline outlines, and tiny isolated marks, or ask which construction can preserve them.
- Supply the correct spelling, capitalization, punctuation, and approved version of every team or sponsor name.
Keep open spaces inside letters such as A, B, and R visible in the finished design. Thickening the strokes without protecting those spaces can leave the word heavier but harder to read. The artwork file guide explains useful file formats; the artwork review still needs to consider how those files translate into stitches.
If the original illustration cannot change, consider woven patches or printed patches. Printed is flatter; that is the point. It can preserve image-based detail without pretending that raised thread is the best answer for every brand asset.
Size the patch on caps, jackets, and polos before quoting
Quote finished width and height in inches, including the border. A request for a 3-inch patch is incomplete if nobody knows whether that means width, height, or a round diameter. For an irregular logo, state the maximum outside dimensions and keep the artwork proportions consistent through revisions.
As a starting exercise, cut a paper rectangle 3 inches wide by 2 inches high and place it on the intended cap. Those are trial dimensions, not a standard that fits every hat. Check the crown height, center seam, bill clearance, and curvature before asking production to hold that size.
The smallest usable panel sets the limit
A structured five-panel cap and an unstructured six-panel cap can carry the same brand but need different patch proportions. A center seam may create a ridge under the patch, while a soft crown can collapse around a stiff badge. Send the cap style or a clear placement photograph; hat patches need to be planned around the panel, not just the logo.
On letterman jackets, a raised sleeve emblem can work alongside larger chenille patches without trying to replace their looped texture. On wool coaches' jackets, consider the patch weight and whether the installer can reach the shell without catching the lining. For hospitality polos, smaller flat embroidery may hang better than a wide, heavily raised chest patch.
- Measure the usable decoration area, leaving room for attachment stitches and nearby seams.
- Check the smallest garment size in the run rather than approving placement only on an adult extra-large.
- Photograph the template straight on and from the side to reveal curvature or unsupported edges.
- Ask whether the patch needs a separate cap version and jacket version instead of forcing one size onto both.
- Use the custom patch size guide to organize measurements, then verify them against the actual garment.
Keep placement instructions separate from patch dimensions. A patch can be manufactured at the correct size and still end up crooked, too close to a zipper, or trapped against a pocket opening during application. If another decorator will attach the order in Houston, settle their placement template before final approval.
Specify construction, borders, and backing together
The useful specification is a package: artwork, raised areas, dimensions, border, backing, and garment. Changing one can affect the others. A narrow custom outline may need a different edge finish from a round merrowed crest, and hook-and-loop adds thickness beyond the face of the patch.
Merrowed crests have a wrapped stitched border that suits many straightforward shapes. Tight inside corners and intricate outlines may need a cut edge with a suitable stitched finish instead. Ask which border follows your shape cleanly and whether it leaves the installer enough space to sew without crossing the raised logo.
| Construction or backing | Useful application | Main trade-off | What to confirm |
|---|---|---|---|
| 3D embroidery with sew-on backing | Bold logos on structured caps, denim, canvas, and suitable jacket shells | Raised texture needs substantial artwork; stitching requires garment access | Raised areas, sewing margin, cap curvature, and installer capability |
| 3D embroidery with iron-on backing | Compatible fabrics where an approved heat-application method is available | Heat, pressure, and dwell must suit both patch and garment; raised areas need protection | Application instructions, fabric heat tolerance, equipment, and a test garment |
| 3D embroidery with hook backing | Removable identity patches on correctly sized loop panels | Hook-and-loop adds thickness and needs a matching attachment surface | Hook only or both sides, loop-panel dimensions, and edge clearance |
| Flat embroidery | Traditional crests and logos with moderate detail | Less height, but often a better fit for supporting text and softer presentation | Letter readability, coverage, border, and finished flexibility |
| Woven patch | Compact labels with finer lettering and close linework | Flatter surface without the raised embroidery effect | Smallest text, color contrast, and border allowance |
| Printed patch | Gradients, illustrations, and image-heavy merchandise | Printed detail rather than dimensional thread texture | Image resolution, color expectations, surface finish, and backing |
| PVC patch | Molded designs for outdoor gear and suitable removable panels | Different material feel and relief construction; not an embroidered appearance | Molded detail, overall thickness, attachment method, and care requirements |
Backing failures usually start with a garment mismatch
Sew-on is often the sensible permanent attachment for denim, canvas, biker vests, and suitable jackets. It still needs the right needle, thread, and access to the garment layers. Sewing through a waterproof shell can affect its weather protection, so do not treat stitches as consequence-free on technical outerwear.
Iron-on that peels after a dryer cycle may reflect incompatible fabric, inadequate application, or care conditions the bond cannot tolerate. Nylon shells and coated fabrics need particular caution because heat can distort the fabric or damage a finish. Do not use a household iron temperature as a universal specification, and do not press directly onto raised embroidery without an approved application method.
For existing Velcro panels, measure the usable loop area and specify whether you need hook backing only or a mating loop piece as well. A patch wider than the panel can leave scratchy hook exposed around the edges. The backing options guide is useful for comparing attachment methods before you commit.
Compare bulk prices using the whole order cost
A bulk price is meaningful only when the specifications match. Two quotes for 100 patches can cover different dimensions, different amounts of raised stitching, different borders, and different backing. GetUSAPatches has a 10-piece minimum; ask how that minimum applies if the order includes separate designs, sizes, or color versions.
Ask for quantity breaks around what you can reasonably sell or issue. For example, a brand planning a 75-cap drop might compare 75, 100, and 150 patches rather than jumping straight to a carton it cannot use. More units may reduce the quoted price per patch, but leftover inventory still uses cash and storage space.
Keep patch cost separate from installed merchandise cost
Your patch budget should account for any applicable artwork preparation, sampling, shipping, tax, and garment application charges. Ask which items are included and which are separate instead of assuming. If another shop attaches the patches, get that quote before setting your retail margin.
Here is illustrative math, not a GetUSAPatches price list: a $420 patch order plus $80 shipping and $150 application totals $650 before blanks and any applicable tax. Across 100 finished items, that is $6.50 per item for those three costs. A lower patch quote can still produce a higher installed cost if it creates extra handling or attachment work.
- Request the same artwork, dimensions, border, backing, and quantity on every quote comparison.
- Separate one-time charges from recurring production costs and ask how reorders are handled.
- Confirm whether packing is bulk, individually bagged, or otherwise specified; do not assume retail-ready packaging.
- Ask whether garment attachment is included, available separately, or being handled by your own decorator.
- Compare the total payable amount and confirmed scope, not just the smallest number beside a unit.
The custom patch cost guide explains the main pricing inputs without treating every design as the same job. A broad two-letter cap mark and a multi-part club crest are different production problems, even at the same outside width.
Match the patch to the merch run, not just the organization
A high-school team order often combines student caps, coach outerwear, and letterman jackets. Those garments do not automatically need identical construction. Keep the identity consistent, but allow a small flat cap version, a raised coach-jacket badge, and a larger chenille letter if each serves the garment better.
For a Houston streetwear capsule, a bold raised wordmark on a structured cap can pair with a flatter label on a lightweight overshirt. Matching thread color and artwork proportions may matter more than matching thickness. The Houston guide to woven patches for streetwear brands is a useful comparison if the collection includes smaller labels.
Uniforms and club garments bring different constraints
Fire and public-safety units need clear lettering, accurate identifiers, and backing that matches the issued garment or panel. Raised thread can emphasize a central emblem, but it should not compromise a critical unit name. Obtain department approval and check uniform requirements before ordering; a decorative patch is not a certification of protective performance.
Hospitality polos face frequent washing and movement across the chest. A large, firm patch can pucker a light knit or feel awkward against the wearer, so a restrained flat design may be the better call. Biker vests and heavier denim can support more substantial pieces, though sewing access, lining, and pocket placement still matter.
- For clubs, confirm permission to use the artwork and have the correct person approve names, rockers, and chapter identifiers.
- For hospitality teams, review the garment's wash instructions and test the attachment on the actual polo fabric.
- For school programs, check both youth and adult placements before approving one common size.
- For public-safety garments, keep department review separate from the supplier's artwork review.
- For outdoor merchandise, compare PVC patches if molded relief better suits the intended use than thread.
The point is to keep the run wearable. You can review biker and motorcycle club patches for club-specific formats, but do not borrow a large vest specification for a cap simply because the artwork is related. Each placement earns its own measurement.
Read the digital mockup like a production document
A free digital mockup is where the visual decisions become something you can approve. Check the finished dimensions, spelling, border, thread-color references, raised areas, and backing notes together. A clean picture with an incomplete specification is not enough to release a bulk run.
Look at the design at actual size as well as enlarged on a screen. Enlarging the proof makes small lettering seem easier than it will be on a cap. Print it at 100% when possible, verify the ruler measurement, and place it on the garment before approving the proportions.
- Does the proof use the latest approved artwork rather than an old sponsor or previous-season date?
- Are the raised and flat elements identified clearly enough that nobody has to guess?
- Do the outside dimensions include the border, and is the shape correct?
- Are the backing and edge treatment written on the specification?
- Are separate versions labeled clearly, with quantities assigned to each?
- Does the confirmed order distinguish patch-only supply from any garment application service?
Digital approval cannot confirm every physical property. It does not reproduce actual thread sheen, foam height, stiffness, or how the patch follows a cap crown. If those points are decisive for a launch, ask about physical sampling availability, charges, and schedule before approving bulk production rather than assuming a sample is included.
Keep one decision-maker responsible for the final version. A designer may approve the logo while an operations manager catches the wrong backing, and a coach may notice a misspelled surname neither person recognizes. Gather those checks first, then send one consolidated approval; GetUSAPatches produces only after approval.
Plan application, washing, and receiving checks
Application deserves a test before the decorator starts a full run. Use a representative blank to check placement, puckering, edge lift, and whether the patch follows the garment's shape. On a raised patch, confirm that the attachment process does not flatten or damage the dimensional areas.
For sew-on work, keep the attachment stitches clear of the raised design and use the intended sewing margin. Avoid sewing pockets shut or catching jacket linings unintentionally. The step-by-step sewing guide can help with preparation, but a bulky cap or lined jacket may still need an experienced decorator and appropriate equipment.
For iron-on orders, follow the instructions supplied for the actual backing and confirm that the garment tolerates the application conditions. More heat is not a universal fix for a weak bond. If you are dealing with nylon shells, coatings, or technical fabric, stop and confirm compatibility rather than experimenting on the entire order.
- Count received pieces by design and backing before sending them to an installer.
- Check several patches across the shipment against the approved dimensions and artwork.
- Look for loose threads, visible foam at raised edges, inconsistent borders, or mismatched backing.
- Set aside questionable pieces and document the issue before altering or attaching them.
- Test normal garment care on an applied sample before writing care instructions for customers.
Care guidance must respect both the garment and the patch attachment. Avoid directing heat onto raised embroidery unless the supplied instructions specifically allow the method. For removable patches, the hook-and-loop attachment guide helps explain panel use and handling without treating every backing as permanent.
Order 3D embroidered patches Houston brands can schedule reliably
A reliable order starts with an in-hand date, not just an event date. If your Houston pop-up opens on a Saturday, the patches may need to reach your decorator well before that week so there is time for attachment, inspection, and packing. Tell us where the patches go first and who handles the next production step.
GetUSAPatches ships nationwide from Corona, CA, serving customers throughout the United States, including all 50 states. Houston service does not mean a Houston pickup counter or same-day local production. Share the delivery ZIP code, receiving hours, and any special address requirements so the quote and shipping plan reflect the actual destination.
- Send the artwork and garment information. Include placement photos, material, finished dimensions in inches, desired raised areas, and any details that must remain unchanged.
- State quantities by version. List separate designs, sizes, and backing types clearly, and ask how the 10-piece minimum applies to the proposed split.
- Provide the required in-hand date and destination. Distinguish the decorator's deadline from the public launch, school event, or club ride.
- Review the quote and free digital mockup. Confirm scope, applicable charges, dimensions, colors, border, backing, and which elements will be raised.
- Approve the final specification in writing. Production begins only after approval; unresolved artwork or backing changes can affect the schedule.
- Confirm shipment and receiving arrangements. Reserve time to count and inspect the patches, then attach and check the finished garments before distribution.
Separate artwork time, production time, and transit
There is no honest universal delivery number for every bulk 3D patch order. Quantity, construction, artwork revisions, current capacity, shipping service, and destination all affect the calendar. Ask for the current production estimate for your approved specification and a separate transit estimate for the selected service.
Ask what starts the production clock and which commercial or artwork requirements must be completed first. A quote date is not necessarily a production start date, and faster shipping cannot recover days spent resolving an unapproved logo. If a rush option is available, have the scope and timing confirmed rather than treating the word rush as a promise.
For a fixed event, build a recovery window for receiving checks and garment application. A patch shipment arriving the night before a launch is not a finished cap shipment if nobody has sewn the patches on. Put both suppliers on the same calendar and make sure the installer has the approved dimensions and attachment method.
Keep the specification ready for the next merch drop
Save the approved artwork, proof, dimensions, backing, border, thread references, and quantity breakdown in one order folder. Keep a physical patch from the accepted run if color and feel are important to future comparisons. A reorder based on a phone photo alone leaves too much room for interpretation.
Treat changes as revisions, even when they seem small. Replacing a year, adding a sponsor, switching from sew-on to hook backing, or shrinking the patch for a new cap can change the production requirements. Ask for the updated specification to be reviewed rather than assuming the old approval covers the new run.
Useful guides and product hubs for the next decision
- Are Custom Woven Patches Worth It for Streetwear Brands in Houston? helps compare flatter labels with raised embroidery for a mixed apparel collection.
- How to Design 3D Embroidered Patches for Golf Clubs in Chicago, IL provides another design-focused reference for cap and club artwork.
- How Much Do Custom Patches Cost? What Drives the Price helps organize quote comparisons across quantities and construction choices.
- Use the embroidered patches and 3D embroidered patches hubs to compare conventional stitched texture with selected raised elements.
For the next drop, start with what the garment taught you. If the cap curved more than expected, adjust the proportions; if the small slogan disappeared, simplify it rather than ordering the same problem again. A well-documented specification makes those changes deliberate and keeps the next bulk run easier to quote, approve, and receive.


