
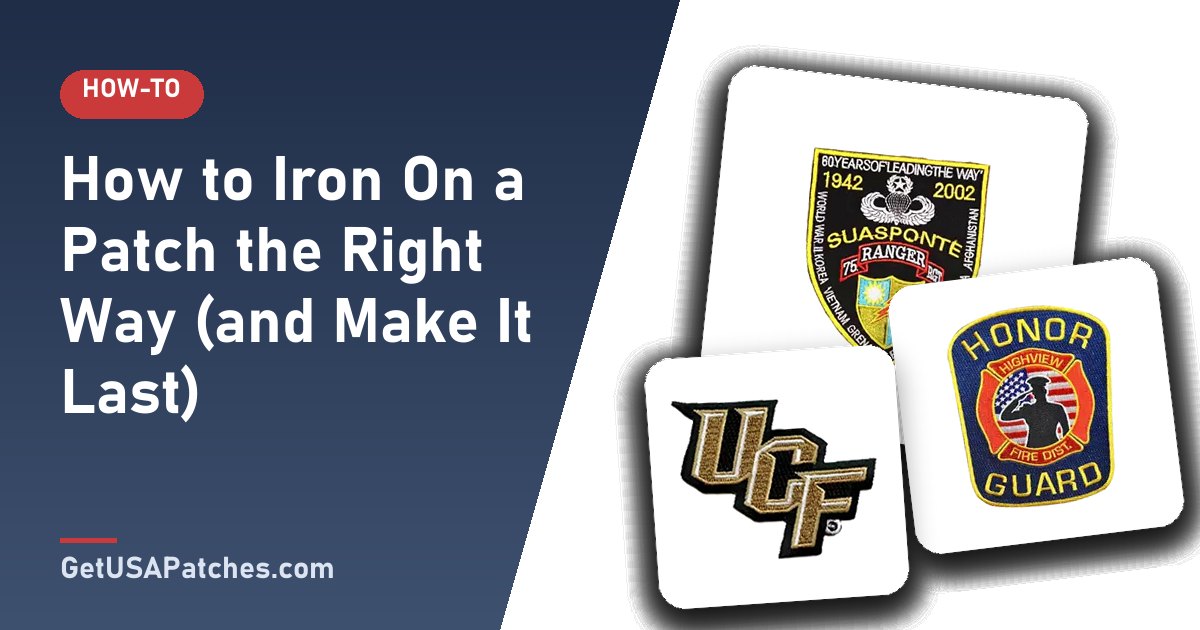
Iron-on patches are popular because they need no sewing. A layer of heat-seal adhesive on the back melts into the fabric when heated and cools into a bond.
A few details make the difference between a patch that lasts and one that peels after the first wash.
Check your fabric first
Iron-on works best on cotton and cotton blends. It is not ideal for nylon, waterproof fabrics, leather or anything that melts or scorches under heat. If you are unsure, test a hidden area or choose a sew-on or Velcro® backing.
| Fabric | Iron-on suitable? | Notes |
|---|---|---|
| Cotton / cotton blend | Yes | Best results; press firmly |
| Denim | Yes | Use higher heat; add stitches on heavy-wear areas |
| Polyester | Sometimes | Use lower heat and a cloth; test first |
| Nylon / waterproof fabric | No | Heat can melt or damage the fabric — sew instead |
| Leather / vinyl | No | Sew or use adhesive alternatives |
| Stretch knits | Sometimes | Stitch edges for durability |
What you need
- An iron (no steam) or a heat press
- A thin cotton cloth or parchment paper as a barrier
- A hard, flat surface — not a padded ironing board if possible
- The patch and the garment
Step-by-step
Make it last longer
- Sew a few stitches around the edge, especially on jackets, bags and items that are washed often.
- Wait 24 hours before washing.
- Wash inside out on a gentle cycle and skip the high-heat dryer.
Why patches peel (and how to fix it)
- Not enough heat or pressure: re-press with a cloth barrier.
- Wrong fabric: move to sew-on or Velcro®.
- Moisture: make sure the garment is dry before applying.
- Heavy wear: add stitches around the border.
Should you choose iron-on for your order?
If your customers will apply patches at home or you need fast, needle-free application on cotton, iron-on is a strong choice. For workwear, outerwear or gear, compare it with other backing options first.
Heat press vs. household iron
A heat press applies even heat and pressure across the whole patch, which is why it gives the most reliable bond. A household iron works well when you press firmly, keep the iron still and avoid steam. If you use an iron, use a hard surface such as a wooden board or a folded towel on a countertop rather than a soft ironing board.
Testing the bond
- Let the patch cool fully after pressing.
- Gently try to lift a corner with a fingernail.
- If it lifts, re-cover with a cloth and press again for another 15–20 seconds.
- When the edges are tight against the fabric, the bond is set.
When to sew instead
Sew (or add stitches to) the patch if the garment is washed frequently, if the patch is large or heavy, or if the fabric is stretchy. Learn how in how to sew on a patch.
Iron-on patches at different temperatures and fabrics
Fabric determines how much heat you can safely use. Cotton tolerates high heat, denim tolerates even more, while polyester blends need a lower setting and a cloth barrier. Always test on a hidden area, and never exceed the fabric care label’s guidance.
- Cotton and denim: high heat, firm pressure.
- Cotton/polyester blends: medium heat, cloth barrier, press slightly longer.
- Polyester and delicate blends: test first — many will need to be sewn instead.
- Nylon and waterproof jackets: do not iron on; sew or use Velcro®.
Iron-on patch problems and fixes
- Corners lift after washing: press again, then sew the corners.
- Patch looks scorched: the iron was too hot or there was no cloth barrier.
- Adhesive seeps out: reduce heat and pressure and use parchment paper.
- Fabric puckers: apply the patch on a hard, flat surface and press without dragging the iron.
Best practices for teams and small businesses
If you are applying dozens of patches, invest in a heat press for consistent results, create a simple checklist (temperature, time, cloth barrier, cooling time) and test one garment from each fabric type before starting. Provide customers or team members with the same instructions so results are consistent.


