
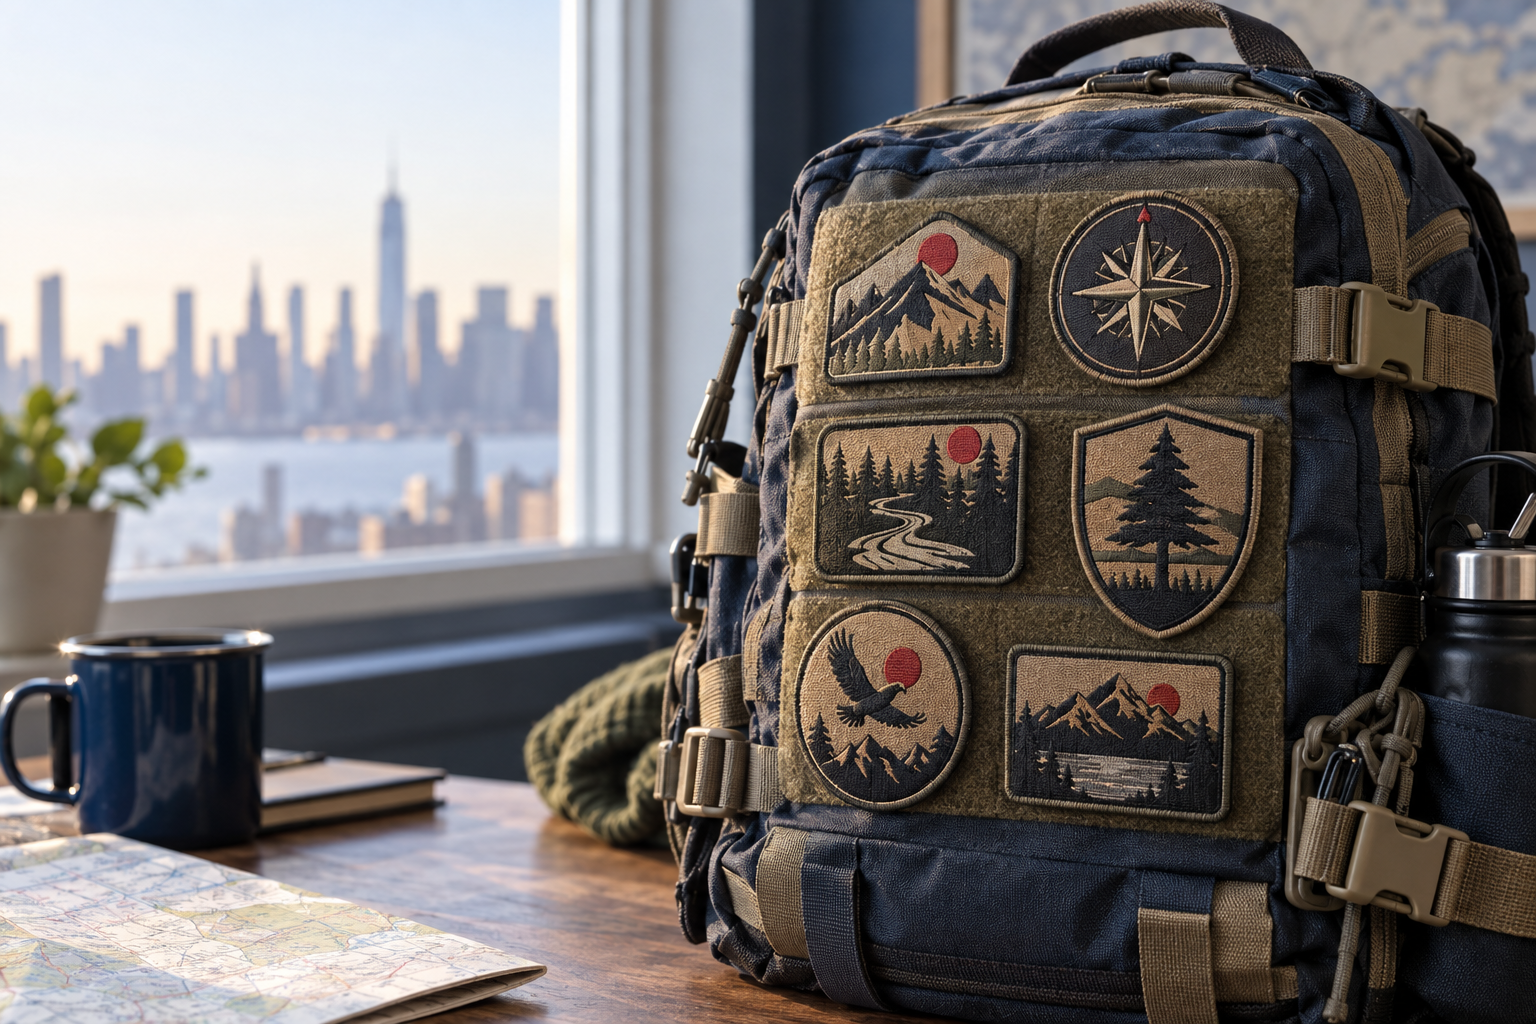
The best custom military patches New York reunion planners can order start with a recognizable unit symbol, readable event information, and a backing that fits the garment. Ten useful directions are a unit crest, anniversary badge, New York outline, host-city design, service-route patch, memorial, call-sign patch, family companion patch, motorcycle vest badge, and collectible reunion series.
GetUSAPatches has a 10-piece minimum and provides a free digital mockup before production. We produce only after approval and ship from Corona, CA, to all 50 states in the United States. A small veterans' breakfast in Albany needs the same basic checks as a hotel reunion in Manhattan: correct names, usable dimensions, suitable attachment, and a delivery plan that leaves room to distribute the patches.
Start with the garment, not a crowded reunion logo
On the production desk, the first useful question is simple: where will this patch go? A structured cap, a nylon shell, a wool coach's jacket, and a biker vest do not give you the same space or tolerate the same attachment method. One design can serve several garments, but one size and backing may not.
The same issue turns up on high-school sports orders, fire and public-safety unit jackets, hospitality polos, and letterman jackets. The committee approves an impressive full-screen image, then discovers that the lettering disappears at actual size. Print a paper outline, cut it out, and hold it against the garment before approving dimensions.
- Choose one primary use: a worn patch, a removable panel patch, or a keepsake for a display board.
- Separate essential text from supporting information. The unit name may belong on the patch; the hotel address belongs on the itinerary.
- Pick a recognizable center symbol and leave space around it. Small stars, flags, dates, and mottos compete quickly.
- Decide who wears the design. Veterans, family guests, volunteers, and host staff may need different wording without requiring completely different artwork.
Ideas 1–5: Put the unit and reunion location first
These first five concepts work well when the reunion is primarily about shared service and gathering again. Keep the main identity visible from a few feet away, then let the date and location reward a closer look. A patch does not need to carry the whole reunion program.
1. A unit crest with a separate reunion line
Start with an approved unit identifier and add a clearly commemorative line such as Albany Reunion 2027. A roughly 3.5-inch crest is a reasonable starting point for a jacket chest or display patch, not a promise that every crest will fit. Long unit names may need a larger shape or fewer words.
Traditional embroidered patches give broad shapes and borders the familiar thread texture many reunion committees want. Keep the original symbol separate from new event wording so the design does not look like an altered official insignia. Confirm permission to reproduce the source artwork before using it.
2. An anniversary badge with one dominant number
A 25th, 40th, or 50th reunion badge works best when the number is the main feature. Place the unit name above it and the reunion year below, with the host location on a short lower line. A round patch gives the committee a predictable format for jackets, tote bags, and keepsake envelopes.
Check what the anniversary actually measures: unit activation, a deployment, separation from service, or the first reunion. Those are different dates. Raised work can make a large numeral stand out, but 3D embroidered patches are not the place to hide a paragraph of small service history.
3. A New York state outline with a host-location marker
Use the state silhouette as the center graphic, with a star or dot marking the host area. This suits groups whose members now live across the country but return to New York for the reunion. Keep the location name in text; a tiny marker alone may not identify Albany, Buffalo, or a Long Island venue clearly.
A state-shaped outer edge looks distinctive, but narrow projections can complicate the border. The simpler alternative is a round or shield-shaped patch containing the state outline. That keeps the geographic reference without making every irregular part of the map into a vulnerable edge.
4. A host-city landmark in a restrained silhouette
For a New York City gathering, use an original, simplified skyline rather than a detailed photograph squeezed into thread. For other host cities, select a location reference the group actually recognizes. A generic Manhattan skyline on a Buffalo reunion patch may look polished, but it tells the wrong story.
Limit the landmark to a few strong shapes and give the unit name the more prominent text position. If architectural detail is essential, compare woven and printed construction rather than demanding that embroidery reproduce every window. The location should support the reunion identity, not take it over.
5. A service-route or shared-journey patch
A simple route connecting two or three meaningful places can tell a shared history without listing every assignment. Use a line, a few markers, and short labels. This works especially well as a rectangular keepsake patch that does not have to fit the curved front of a cap.
Avoid publishing sensitive, private, or unapproved details simply because someone includes them in a reference file. Ask the committee to confirm the locations and wording. If the labels become too small, woven patches can preserve finer lines than a comparable embroidered layout, though they still need readable spacing.
Ideas 6–10: Make room for remembrance, families, and traditions
Not every reunion patch needs a formal crest. Some groups want a quiet memorial, a familiar nickname, or something spouses and grandchildren can wear comfortably. Give each concept a clear role before creating multiple versions that split a small order.
6. A memorial patch with restrained wording
A memorial design can use the unit identifier, a short remembrance phrase, and one respectful symbol. A dark background with contrasting lettering often reads better than several similar gray thread colors. Keep the overall design calm rather than filling the border with decoration.
Have a designated committee member verify names and dates, and seek the appropriate family or group approval for personal references. A long roster usually belongs in a program or accompanying card. Reducing the names until they technically fit does not make the memorial more useful.
7. A call-sign or shared-humor morale patch
A familiar phrase can mean more to the group than another formal emblem. Put the wording in a broad, readable type style with a simple central graphic. Check that the phrase will still feel appropriate at the family dinner, public venue, and group photograph.
For attendees who already use loop panels on bags or outerwear, a hook-backed version may be practical. PVC patches suit bold shapes and wipe-clean surfaces, while embroidery gives a more traditional fabric appearance. Confirm the actual panel dimensions before choosing the patch size.
8. A family and supporter companion patch
Create a related design with wording such as Reunion Family or Reunion Supporter, using the same colors and main shape. That lets guests participate without suggesting military service or a qualification they do not hold. It also makes volunteer and family packets easier to identify at registration.
Keep the change modest: one text line is usually enough to explain the different role. Ask how separate wording affects quantities and pricing rather than assuming several versions combine into one production minimum. For a very small gathering, one neutral commemorative design may be the better budget choice.
9. A reunion ride badge for motorcycle vests
For a reunion with a group ride, consider a compact event badge for the front of a denim or leather vest. Include the reunion name, host location, and year. Make it clearly an event patch rather than borrowing the structure or wording of an established motorcycle club's colors.
Sew-on attachment is usually the practical starting point, but a leather specialist should assess the garment and stitch placement. Our biker and motorcycle club patches hub shows that product category. A large back design may need an entirely different layout from the small badge handed out at check-in.
10. A collectible series for recurring reunions
Set a consistent outer shape and change only the year, location, or center icon for each gathering. Members can arrange the patches on a blanket, shadow box, or display board. A stable format makes the collection look intentional even as the host city changes.
Save the approved dimensions, color references, border, and construction notes for the next committee. Do not rely on a photograph of last year's patch as the only reference. For designs built around group photographs or gradients, printed patches are flatter; that is the point, because image detail matters more than thread relief.
Choosing the specs for custom military patches New York reunions need
Choose construction after deciding what the artwork must preserve. Embroidery is a strong starting point for bold crests, but small lettering and photographic shading may point elsewhere. A digital mockup helps settle layout; it does not physically demonstrate thread texture, exact color under every light, or garment compatibility.
| Construction | Best reunion use | Main trade-off | Spec to confirm |
|---|---|---|---|
| Embroidered | Unit crests, anniversary badges, traditional jacket patches | Visible thread texture; tiny lettering and intricate lines may need simplification | Final dimensions, smallest lettering, stitch coverage, and border |
| Woven | Fine-line symbols, longer unit names, compact location labels | Finer detail with a flatter textile surface than embroidery | Text spacing and readability at actual size |
| Printed | Group photographs, complex illustrations, gradients | Preserves tonal detail without the raised texture of thread artwork | Source-image resolution and color expectations |
| PVC | Bold morale designs for compatible bag and jacket panels | Flexible molded surface rather than a traditional textile appearance | Line thickness, relief, backing, and panel fit |
| 3D embroidered | Large anniversary numerals or simple initials | Raised emphasis takes space and is unsuitable for crowded detail | Which elements are raised and which remain flat |
For initial paper tests, try roughly 2.5–3 inches wide on a cap front, 3–4 inches for a jacket chest, and 4–5 inches for a keepsake or larger vest position. These are starting ranges, not fit guarantees. The cap crown, garment size, patch proportions, and surrounding seams decide what actually works.
Simple rounds and shields often suit merrowed crests with a raised wrapped edge. Detailed contours may need another edge treatment; construction limits differ by material. Use the patch size guide and border comparison to narrow the request before quoting.
Match the backing to the jacket, cap, or display
Backing is not a small finishing detail. It determines how the attendee uses the patch and can create more problems than the artwork if the wrong method is chosen. An iron-on that peels after a dryer cycle is not necessarily poor stitching; the adhesive, application, fabric, and care routine all matter.
Sew-on for long-term garment attachment
Sew-on is a sensible starting point for denim vests, many fabric jackets, and durable tote bags. It avoids relying on adhesive alone, but needle holes are permanent and may affect weather-resistant garments. On lined jackets, ask the person sewing whether the attachment will catch the lining or require access behind it.
Wool coaches and letterman jackets need attention to lining, trim, and placement, not just a patch that fits between seams. Lightweight hospitality polos can sag under a large, dense badge. The sew-on guide explains the basic method, but valuable leather or specialty outerwear deserves a qualified garment professional.
Iron-on only where the garment can take the application
Heat-applied backing can be convenient on compatible fabrics, but never assume every reunion jacket can accept it. Nylon shells, coated rainwear, stretch fabrics, and heat-sensitive trims need special caution. Follow the garment label and the patch-specific application instructions rather than borrowing a temperature from an unrelated online tutorial.
A curved cap front also makes even heat and pressure harder to achieve with a household iron. For heavily worn items, discuss sewn reinforcement where the garment permits it. Our iron-on application guide is a useful preparation read, not permission to ignore the fabric manufacturer's care limits.
Hook-and-loop for removable patches
Hook backing attaches to a compatible loop field; it does not attach directly to an ordinary jacket. Measure existing Velcro panels and state whether you need the hook side only or a mating loop piece too. A panel that looks like a standard size in a photograph may have rounded corners or less usable area than expected.
Removable patches are useful when attendees want to switch designs or take the patch off before garment care. They also add thickness and require compatible placement. Compare the choices in Patch Backing Options Explained before assigning one backing to the entire registration list.
Keep military references accurate and clearly commemorative
A reunion patch can honor service without presenting itself as authorized uniform insignia. Use clear event wording, verify symbols, and avoid implying official endorsement. For wear on an active-duty uniform, the attendee should consult the applicable current uniform rules rather than treating a commemorative patch as automatically permitted.
Do not assume a graphic found online is approved for reproduction. Branch marks, organizational emblems, licensed artwork, and photographs may carry usage restrictions. Ask the relevant rights holder or authorized unit contact about the intended use, especially if the committee will sell the patches.
- Verify unit spelling, punctuation, abbreviations, and the historical version of the identifier.
- Check service dates separately from reunion dates and anniversary calculations.
- Approve flag orientation for the actual design and intended placement instead of copying a sleeve image without context.
- Keep awards, rank, and qualification symbols out of guest designs unless their use is appropriate and authorized.
- Review memorial names with the responsible organizer before sending the final approval.
The military and morale patch guide covers more planning considerations. At the production stage, an accurate source file and an identified approver are more useful than six slightly different images collected from old jackets.
Plan quantities around registration, not a hopeful head count
Start with confirmed attendees, then separate paid extras, volunteer needs, memorial presentations, and committee archives. A registration question asking who wants an additional patch gives you better information than guessing that every family will buy three. Keep a small reserve if the budget allows, but assign a purpose to it.
GetUSAPatches has a 10-piece minimum. If you want a main design, a family version, and several different backings, ask how the minimum applies to each configuration. Do not assume a ten-piece total can be divided into any combination of artwork, size, and material.
For example, a committee might plan 60 attendee patches, 10 confirmed guest extras, and 5 archive or replacement pieces, for a requested quantity of 75. That is a planning example, not a recommended surplus for every event. A firm registration list may justify less reserve than a gathering that accepts walk-ins.
Cost depends on size, construction, detail, quantity, border, backing, and the requested schedule. More colors do not affect every construction the same way, and a complicated contour may matter more than one extra thread color. The patch cost guide explains the variables without treating every design as the same product.
- Request the total in USD and identify which charges are included, including shipping and any applicable tax.
- Compare quotes using the same finished size, material, border, backing, and quantity.
- Ask about price breaks only at quantities you could reasonably use; unused patches still cost money.
- Budget garment attachment separately if a tailor or cap decorator will install the patches.
- For fundraising, subtract patch, attachment, packaging, and distribution costs before estimating the amount available to the reunion fund.
Order backward from the New York in-hand date
Use the date the organizer needs the patches in hand, not the date guests arrive. A Manhattan hotel may have package-receiving rules, while a Long Island volunteer may need time to assemble registration envelopes. An upstate reunion with several check-in locations may require another distribution step after delivery.
GetUSAPatches ships nationwide from Corona, CA, including all 50 states. Production and transit are separate parts of the schedule, so request a current estimate for the specific construction, quantity, destination ZIP code, and approval date. Do not treat a general website timeline or an old order as a guaranteed arrival date.
- Send the exact event name, essential wording, artwork, approximate quantity, and intended garments. Vector artwork is helpful where available; send the best original file you have rather than repeatedly saving a small screenshot.
- Specify width and height in inches, preferred construction, backing, and edge treatment. Include a photograph or measurements of an existing loop panel if fit is critical.
- Provide the required in-hand date, complete delivery address, and receiving contact. Ask a hotel or venue about package labels, storage rules, and receiving availability before shipping there.
- Review the quote and free digital mockup together. Check spelling, artwork version, dimensions, colors, border, backing, and the quantity assigned to each version.
- Have one person send final approval. GetUSAPatches produces only after approval; committee discussion and artwork changes must happen before that authorization.
- Confirm the production and shipping plan, then leave time to inspect, count, and distribute the order before the event.
A digital proof is not a physical sample. If exact texture, color matching, or attachment performance is critical, ask what physical sampling or testing options are available and how they affect cost and timing. The artwork file guide and production timeline guide help keep those questions separate.
Make distribution and care part of the order
A good patch can still create a check-in problem if nobody knows which packet gets which backing. Separate attendee and family designs, label removable versions, and give volunteers a simple count sheet. If some patches were prepaid and others are available for purchase, keep those quantities distinct.
Include a short care or attachment note instead of telling every guest to iron the patch onto whatever they brought. Advise recipients to follow both garment and patch instructions, and remove hook-and-loop patches before washing when appropriate. Avoid giving one heat-setting instruction for denim, nylon, wool, and leather.
For display-only gifts, a backing card can carry the longer reunion story, full roster, and acknowledgments that did not fit on the patch. That leaves the actual design readable. Store the approved artwork and order specifications with the reunion records so the next organizer does not have to rebuild the job from memory.
Related guides and product hubs for the next decision
If the committee agrees on the concept but not the construction, compare the product rather than adding more artwork. If everyone agrees on the design but the schedule is tight, move the discussion to approval and delivery. Those are different problems and need different answers.
- Custom Military and Morale Patches: What to Know Before You Order covers the military-specific questions to settle before submitting art.
- Where to Order Custom Embroidered Patches in New York, NY: Buyer's Guide helps organize supplier and specification questions.
- Custom Patch Production Timeline: From Artwork to Delivery explains why artwork approval, production, and transit need separate planning.
- Use the embroidered patches, woven patches, printed patches, and PVC patches hubs to compare the construction that fits your approved concept.
The strongest reunion patch is usually the one people can identify, read, and actually attach to something they own. Keep the unit identity clear, make the location meaningful, and settle the garment details before authorizing production. The extra committee wording can go on the program.


