
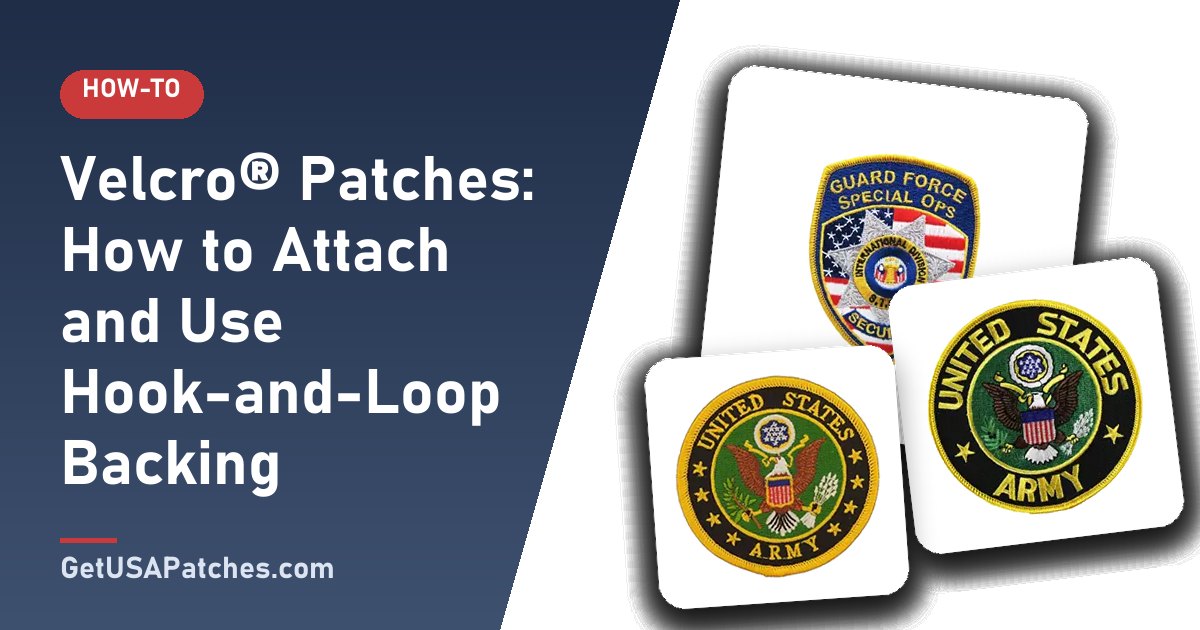
Velcro®-style hook-and-loop backing lets you attach and remove a patch as often as you like. It is common on tactical gear, uniforms, backpacks and any item where patches change.
Here is how it works and how to attach it correctly.
How hook-and-loop backing works
A hook-and-loop set has two parts: the hook side (stiff, rough) and the loop side (soft, fuzzy). Your custom patch is made with the hook side on the back. A matching loop panel gets attached to the garment or gear.
Why the hook goes on the patch
Hooks can snag and abrade fabric, so they stay on the patch, which is protected when it is removed. The soft loop side stays on the garment where it is unlikely to damage anything.
How to attach the loop panel
When Velcro® is the best choice
- Tactical and uniform gear where patches change often.
- Backpacks, bags and vests.
- Collectible or morale patches you want to rotate.
- PVC patches, which should not be ironed.
Care tips
- Keep the hook side free of lint and thread — clean with a stiff brush or tape.
- Close hook-and-loop fasteners before washing to avoid snagging other items.
- Replace the loop panel if it becomes matted and stops gripping.
Ordering Velcro® patches
We can add hook-and-loop backing to embroidered, woven, printed and PVC patches. It is especially popular for military and morale patches. Add a matching loop panel to your order if you would like one.
Velcro® vs. sew-on vs. iron-on
- Velcro®: removable and swappable; needs a loop panel; best for gear and uniforms.
- Sew-on: permanent; strongest; best for jackets and bags.
- Iron-on: quick; best on cotton; edges may lift without stitches.
Where loop panels work best
- Tactical vests and plate carriers.
- Backpack panels and hat fronts designed for morale patches.
- Uniform pockets and sleeves that allow removable patches.
- Display boards for collectors.
Troubleshooting Velcro® patches
- Patch will not stay: check the loop panel is not matted or worn; replace it.
- Hook side snags clothing: keep the patch on its loop panel or store it hook-to-loop.
- Loop panel peels: sew it — do not rely on adhesive alone.
- Lint in the hooks: brush with a stiff brush or pick with tape.
Choosing the right loop panel
- Size: slightly smaller than the patch so the loop is hidden.
- Type: sew-on loop panels are the most durable; avoid adhesive-only for gear that flexes.
- Color: match the garment so any visible edge blends in.
- Quality: dense, soft loops hold better and last longer than thin material.
Placing patches for a professional look
- Lay the garment flat and use a ruler to mark the center line.
- Position all patches in the intended layout before sewing any panels.
- Leave equal spacing between patches.
- Mark the corners of each loop panel with chalk or pins.
- Sew each panel and test the patches in place.
Using hook-and-loop for uniforms, gear and collections
Hook-and-loop is popular because it lets you change patches as roles, events or missions change. Collectors use loop-covered panels or display boards to show off patches without permanent attachment, and brands use loop panels on demo jackets to swap seasonal patches quickly.


