
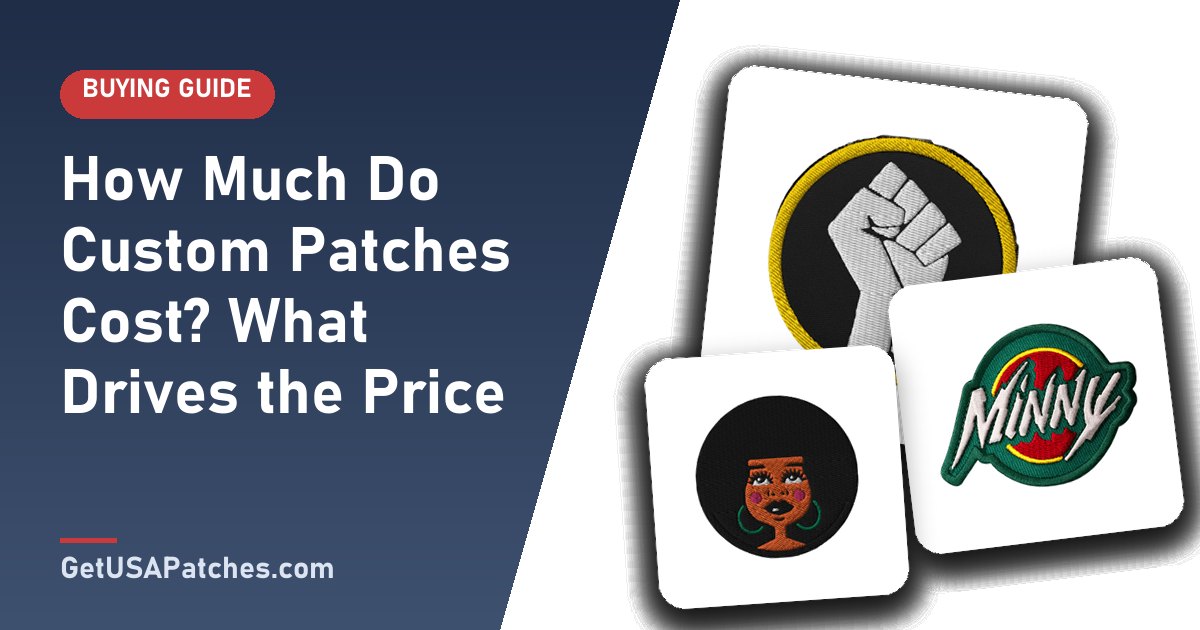
“How much do custom patches cost?” is the first question almost every customer asks — and the honest answer is that it depends on a handful of choices you control. There is no single price, because a 2-inch woven label and a 12-inch embroidered back patch are very different products.
This guide explains each factor that moves the price so you can design a patch that fits your budget without losing the look you want.
The 6 factors that set the price of a custom patch
- Size. More surface area means more thread, fabric and production time. Going from 2" to 3" increases area by more than double.
- Patch type. Embroidered, woven, PVC, chenille, leather and printed patches each use different materials and processes.
- Detail and stitch count. Dense fills and complex artwork take longer to stitch than simple shapes.
- Border style. Merrowed, hot-cut and laser-cut edges have different production steps.
- Backing. Sew-on is standard; iron-on, Velcro®, adhesive and magnetic backings add materials.
- Quantity. Setup work is spread across more pieces, so the per-patch cost usually drops as quantity rises.
| Factor | Tends to lower cost | Tends to raise cost |
|---|---|---|
| Size | Smaller patches (about 2"–3") | Large patches and back pieces |
| Detail | Bold shapes, few colors | Dense fills, fine detail, many colors |
| Patch type | Simple embroidered or printed | Specialty builds such as 3D, chenille, leather |
| Border | Standard merrowed on simple shapes | Complex custom cut shapes |
| Backing | Standard sew-on | Velcro®, magnetic or combined backings |
| Quantity | Larger runs share setup costs | Very small runs carry full setup cost |
Why quantity changes the cost per patch
Every order requires digitizing, machine setup and quality checks, no matter how many patches are made. Those fixed steps cost the same for 10 patches or 500, so larger runs spread the cost thinner.
That said, many styles at GetUSAPatches start at a 10-piece minimum, so you can start with a 10-piece run to test a design before scaling up.
How to lower the cost without lowering the quality
- Choose a simple shape such as a circle, rectangle or shield.
- Reduce the number of thread colors and remove very fine details that will not read at small sizes.
- Pick a size that fits the placement — a patch that is slightly too large adds cost without adding impact.
- Order a larger quantity of one design instead of several small runs.
- Ask for the most cost-effective backing that still works for how you will attach the patch.
Embroidered vs. woven vs. PVC: which is more economical?
There is no universal winner. Embroidery is efficient for medium-sized logos with bold shapes. Woven patches suit small, highly detailed marks. PVC is competitive for bold designs that need to be waterproof. Our comparison, embroidered vs. woven vs. PVC patches, walks through when each makes sense.
How to get an accurate quote
Upload your artwork on our free mockup form and tell us the size, quantity and backing. We send a free digital mockup so you can see the design and confirm the details before production begins. Because every specification is confirmed on the mockup, there are no surprises at checkout.
Typical price scenarios (no exact numbers, just how it works)
Every quote is built from the same ingredients, so you can predict how changes will move the price. Picture three common orders:
- A small business ordering 50 chest logos (3"). A simple embroidered design with sew-on backing is one of the most economical setups because the size is modest and the design is bold.
- A club ordering 25 large jacket patches (10"). Size is the biggest driver here: a large patch uses far more thread and machine time, so cost per patch is higher than a chest logo.
- A brand ordering 500 woven labels. High quantity spreads setup across many pieces, so the per-piece cost drops even though the detail is fine.
Hidden costs to watch for when comparing quotes
When you compare suppliers, make sure every quote covers the same things. Ask whether the price includes:
- Digitizing and setup (some suppliers charge separately; we include a free digital mockup).
- Backing — sew-on, iron-on or Velcro® can differ in price.
- Shipping to your address (free shipping options apply on qualifying GetUSAPatches orders).
- Revisions — unlimited free revisions are available with us until you approve the design.
- Minimums — some suppliers require 50 or 100 pieces; many of our styles start at one.
Budget-friendly design checklist
- Pick one of the standard sizes for your placement rather than an oversized patch.
- Reduce colors — every extra thread color adds handling.
- Choose a simple border shape (circle, oval, rectangle, shield).
- Avoid tiny text; enlarge or remove it.
- Order the quantity you will realistically use in 6–12 months to unlock a lower per-patch cost.
Cost by patch type: what to expect
Each patch style uses different materials and machines, so the same artwork can price differently depending on the technique. Understanding the tradeoffs helps you pick the best value rather than only the lowest price.
- Embroidered patches — the most common choice. Cost follows size and stitch count, so a dense, full-coverage design costs more than a light, simple one.
- Woven patches — excellent for fine detail. Because thread is woven rather than stitched, tiny lettering does not add time the way it can with embroidery.
- PVC patches — molded rubber with a mold-based process, so the number of colors and the depth of the mold influence cost.
- Chenille patches — bulkier materials and larger minimum sizes often place them at a higher price per patch, especially with embroidered accents.
- Leather patches — material choice (genuine or faux) and the logo method (deboss, emboss or engrave) both influence price.
- Printed patches — full-color printing helps when a design has gradients that thread cannot match, often a good value for small runs of detailed art.
How to request an accurate quote
- Choose the patch type you think fits best, or ask for two options.
- Give the finished size (width and height) and where it will be worn.
- State the quantity you want — and a second, higher quantity to compare price breaks.
- Choose the backing (sew-on, iron-on, Velcro®).
- Upload your artwork on the free mockup form so we can assess stitch count and color count.
- Review the digital mockup and quote, then approve only when every detail is right.
Common cost mistakes to avoid
- Ordering too large. A patch that is one inch bigger than needed adds material and time for little visual gain.
- Adding tiny details. Fine lines that will not read at the finished size still add stitches.
- Skipping the mockup review. Changes after production starts are the most expensive changes of all.
- Buying without a sample. For a new design, a 10-piece starter run can prevent a costly bulk mistake.
- Comparing quotes with different specs. Always compare size, backing, border and quantity like-for-like.


