
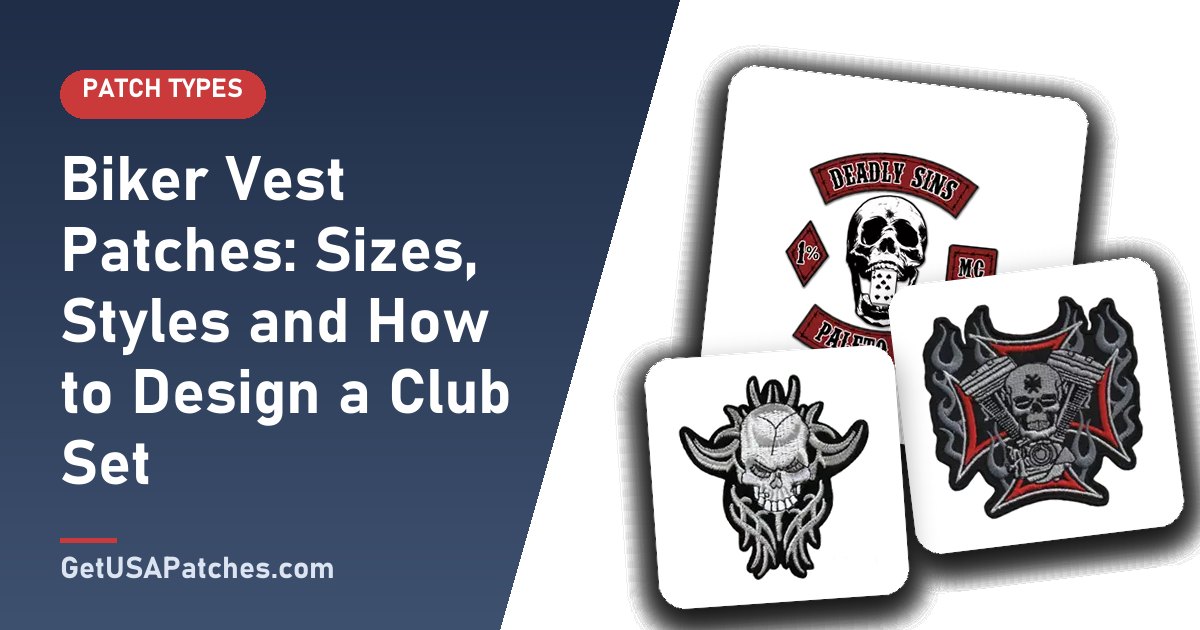
A biker vest tells a story with patches. Whether you ride with a club, a chapter or a group of friends, well-made patches keep your colors sharp through wind, rain and miles.
Here is how to plan and design them.
Common biker patch layouts
- Center patch: the main emblem or artwork.
- Top rocker: club or group name.
- Bottom rocker: location or chapter.
- Side and front patches: ranks, memorials, event patches.
Choosing materials
Biker patches are usually heavy embroidery for a rugged, textured look, or PVC where weatherproofing matters. Large back patches are the classic choice for vests and jackets.
| Piece | Purpose | Typical placement |
|---|---|---|
| Center patch | Main emblem or artwork | Center of the back |
| Top rocker | Club or group name | Above center patch |
| Bottom rocker | Location or chapter | Below center patch |
| Side / front patches | Ranks, memorials, events | Front and sides of the vest |
Sizing a set
- Measure the back of the vest, leaving margins.
- Decide the center patch height, then size the rockers to match its width.
- Share the measurements with us so the set fits together.
- Review the free mockup to confirm balance.
Design tips for club patches
- Use bold, high-contrast colors.
- Keep artwork simple enough to read from a distance.
- Make the rocker lettering match the center art in weight.
- Only use artwork you have the rights to use.
Attaching patches to a vest
Sewing is the most secure choice for riding gear. Learn the method in how to sew on a patch. Many riders take large patches to a tailor or leather shop for a professional finish.
Materials for riding gear
- Heavy embroidery: textured, rugged and traditional.
- PVC: waterproof and wipe-clean; ideal for rain and dirt.
- Twill base: a stable base for large patches that must stay flat.
- Merrowed border: a durable, raised edge that resists fraying.
Placement and layout tips
- Lay the vest flat and mark the center line.
- Position the center patch first, then align rockers to its width.
- Leave even spacing above and below.
- Check symmetry from a distance before sewing.
Caring for vest patches
- Brush off dust and mud with a soft brush.
- Spot-clean; avoid soaking leather vests.
- Store the vest away from direct heat.
- Re-stitch loose edges promptly.
Design elements of a great club patch set
- Central emblem: memorable, simple, and readable from behind at a distance.
- Rockers: consistent lettering and border weight with the center patch.
- Color palette: two or three strong colors plus outline.
- Symbols: consider the meaning of each symbol so the set tells your story.
- Border: merrowed edges give a rugged, traditional look.
Materials and stitching for riding gear
Riding patches face wind, rain, sun and abrasion, so materials and stitching matter. Dense embroidery on a stable twill base resists distortion, and PVC patches add waterproofing for rain-soaked rides. For large back patches, ask for reinforced digitizing so fills stay flat on the vest.
Ordering checklist for a club set
- Measure the vest back and decide the layout.
- Finalize artwork and lettering for all pieces.
- Confirm the border and backing.
- Approve the free digital mockup as a set.
- Order spares for new members.


